VideoSDK AI SIP Framework
A production-ready framework for creating AI-powered voice agents using VideoSDK and various SIP providers (e.g., Twilio). This framework enables you to build and deploy sophisticated conversational AI agents that can handle both inbound and outbound phone calls with natural language processing.
How It Works
The framework simplifies a complex process into a manageable workflow. Here’s a high-level overview of the architecture:
- Phone Call: A user calls a phone number you have acquired from a SIP provider (like Twilio, Plivo, etc.).
- SIP Provider: The provider receives the call and sends a webhook notification to your application server.
- Your Application Server: This is the application you build using this framework.
- It receives the webhook.
- It uses the
SIPManagerto create a secure VideoSDK room for the call. - It launches your custom AI Agent.
- It responds to the SIP provider with instructions (e.g., TwiML) to forward the call's audio into the VideoSDK room.
- VideoSDK & AI Agent: Your AI Agent joins the room, receives the live audio from the phone call, processes it using your chosen AI models (for speech-to-text, language understanding, and text-to-speech), and responds in real-time to create a seamless, interactive conversation.
Prerequisites
Before you get started, ensure you have the following:
System Requirements
- Python: 3.11 or higher
- Network: Public internet access for webhook delivery
Required Credentials
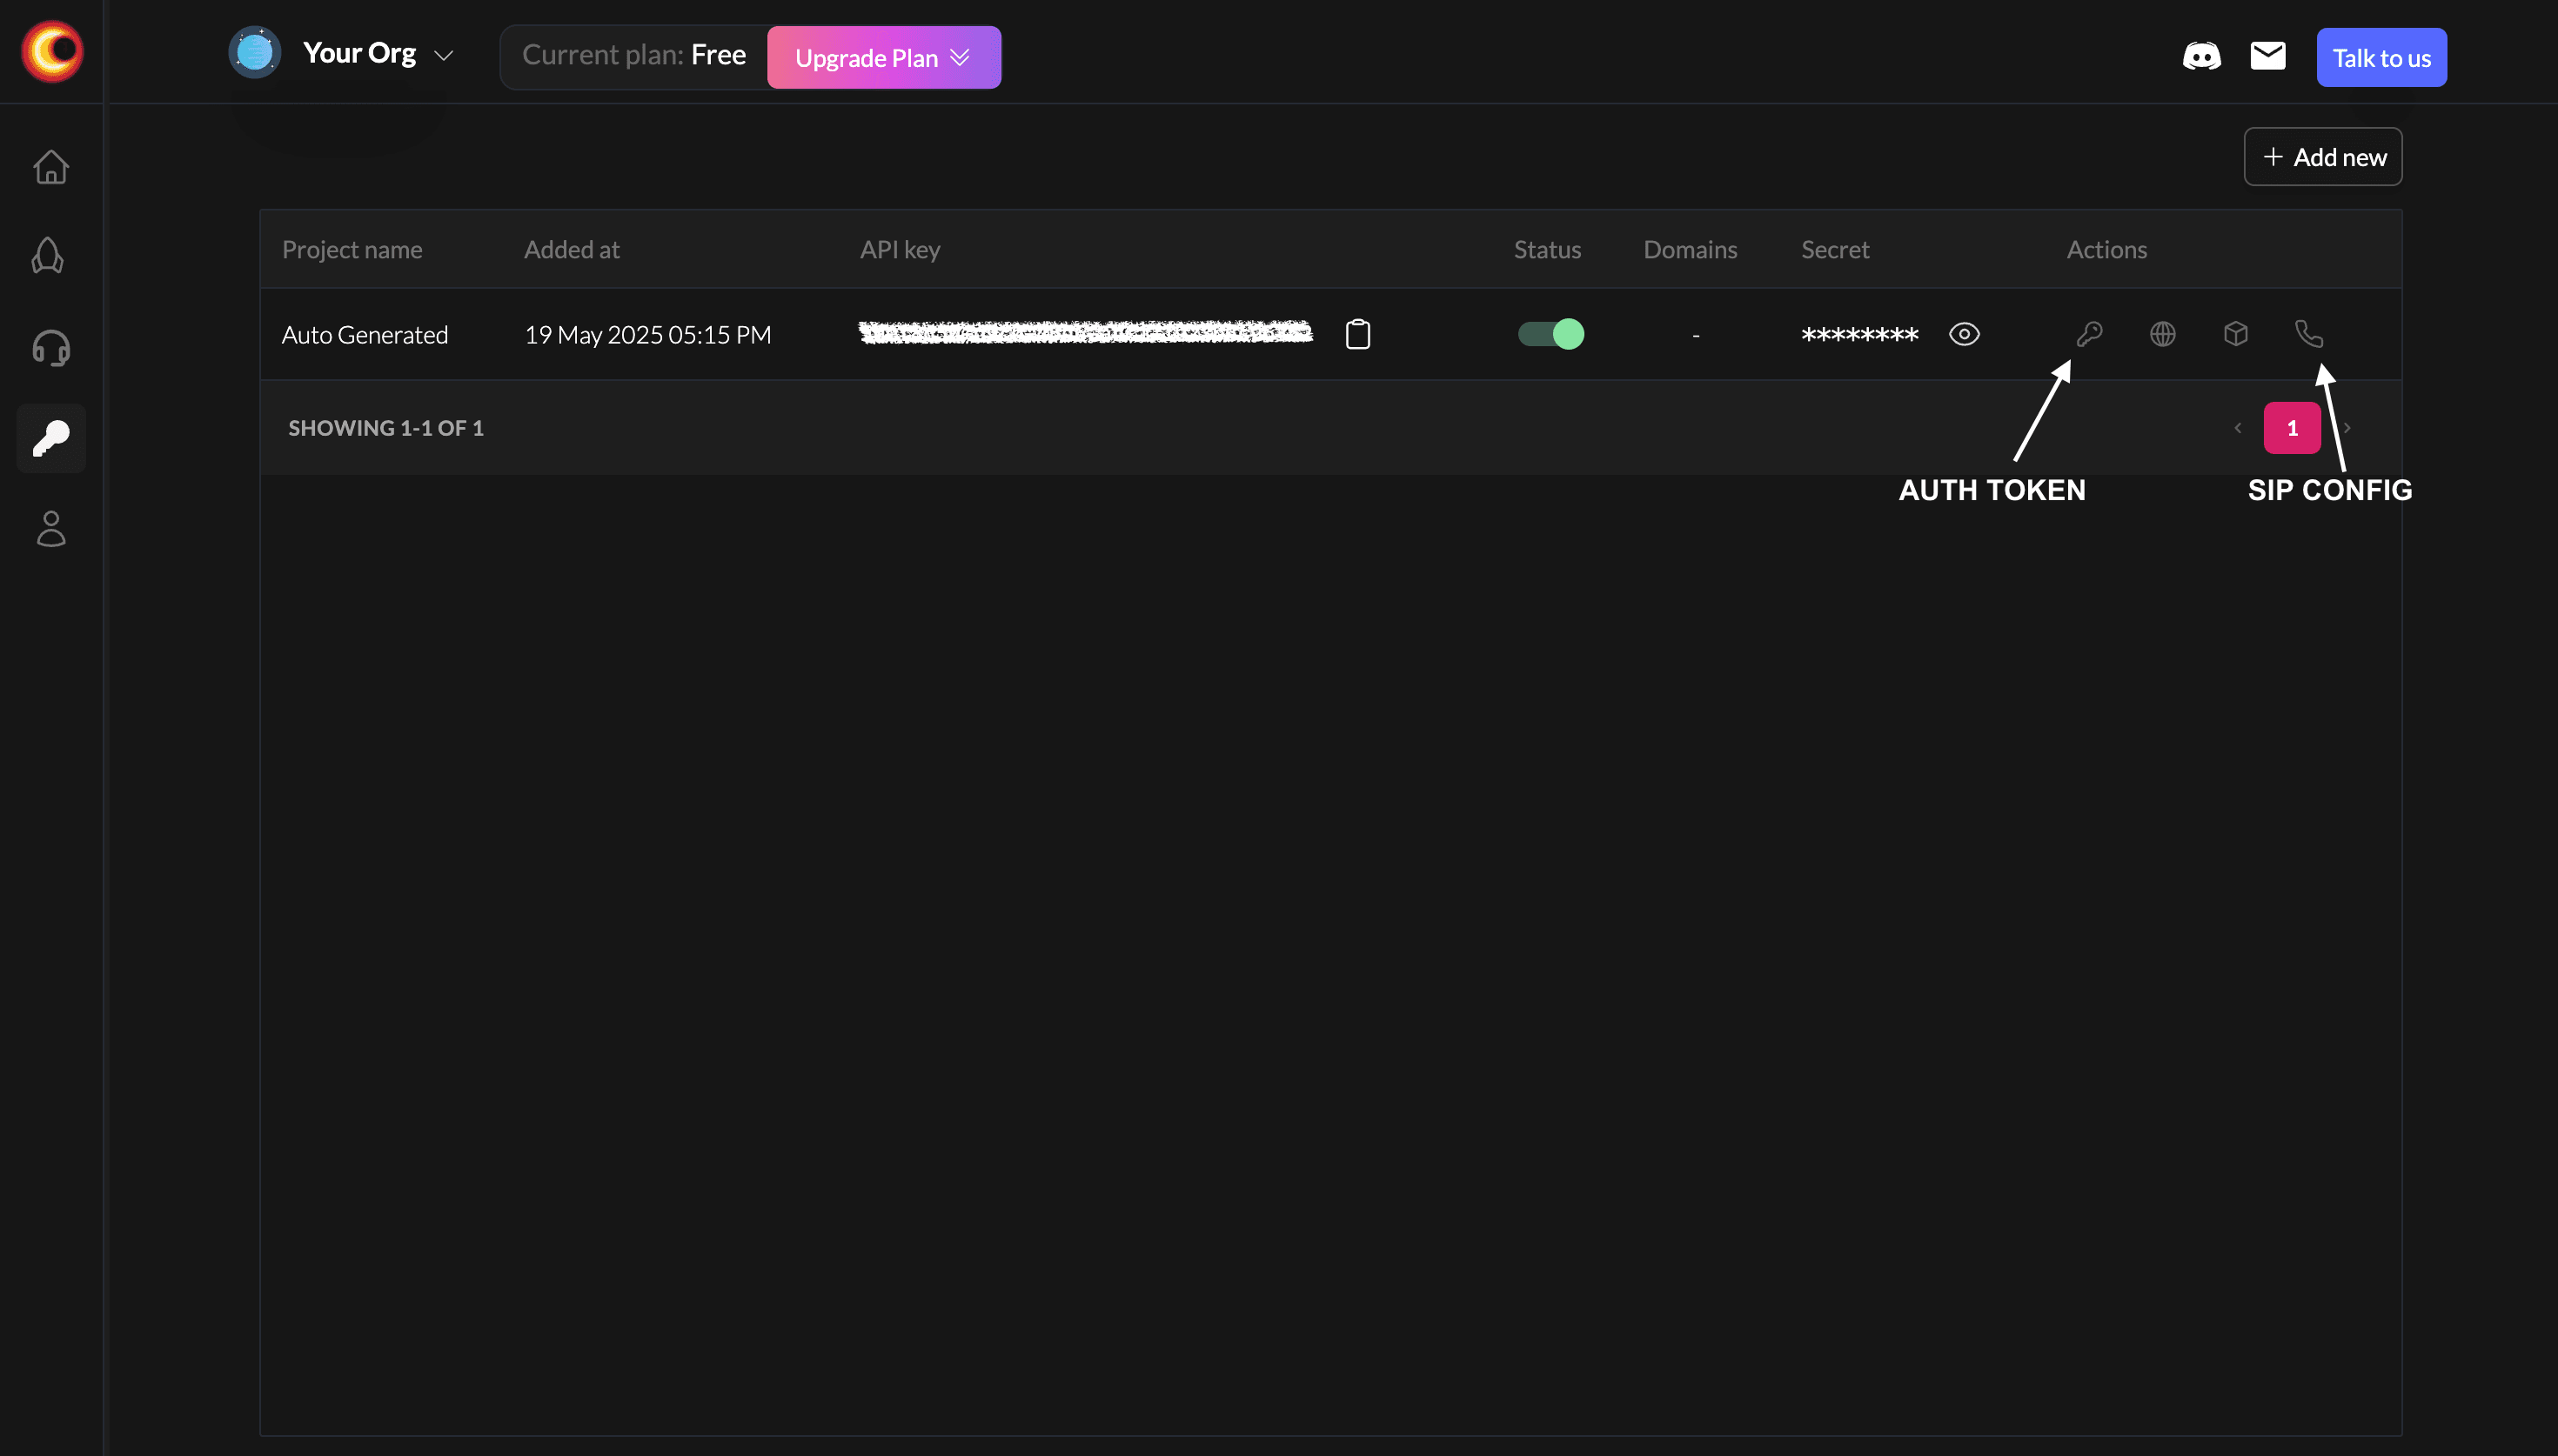
- VideoSDK Credentials: Sign up at app.videosdk.live to get your token and SIP credentials.
- SIP Provider Account: Obtain provider-specific credentials.
- AI Model Provider: An account with Google, OpenAI, or another supported provider.
Get Started
1. Installation
Create and activate a virtual environment
- macOS/Linux
- Windows
python3 -m venv venv
source venv/bin/activate
python3 -m venv venv
venv\Scripts\activate
Install the core framework
pip install videosdk-plugins-sip
Install plugins for your chosen AI services (e.g., Google)
pip install videosdk-plugins-google
2. Environment Configuration
Your agent requires credentials for both VideoSDK and your chosen SIP provider. You can provide these through environment variables (recommended) or directly in your code.
Create a .env file in your project's root directory, edit the file with your credentials.
VideoSDK Credentials (Required)
These are essential for the framework to function.
VIDEOSDK_AUTH_TOKEN=your_videosdk_jwt_token
VIDEOSDK_SIP_USERNAME=your_videosdk_sip_username
VIDEOSDK_SIP_PASSWORD=your_videosdk_sip_password
AI Model Credentials (Required)
Add the API key for your chosen AI provider.
GOOGLE_API_KEY=your_google_api_key_here
SIP Provider Credentials
Fill in the details for the provider you will be using. The framework will automatically use the correct variables based on the SIP_PROVIDER you set.
- Twilio
Get your credentials from the Twilio console.
SIP_PROVIDER=twilio
TWILIO_ACCOUNT_SID=ACxxxxxxxxxxxxxxxxxxxxxxxxxxxx
TWILIO_AUTH_TOKEN=your_auth_token
TWILIO_PHONE_NUMBER=+1234567890
Copy the example environment file and populate it with your credentials.
cp env.example .env
Now, edit the .env file:
# VideoSDK Configuration
VIDEOSDK_AUTH_TOKEN=your_videosdk_jwt_token
VIDEOSDK_SIP_USERNAME=your_videosdk_sip_username
VIDEOSDK_SIP_PASSWORD=your_videosdk_sip_password

# AI Model Configuration (Example for Google Gemini)
GOOGLE_API_KEY=your_google_api_key

# Provider Selection (currently, 'twilio' is supported)
SIP_PROVIDER=twilio

# Twilio Configuration
TWILIO_ACCOUNT_SID=your_twilio_account_sid
TWILIO_AUTH_TOKEN=your_twilio_auth_token
TWILIO_PHONE_NUMBER=+1234567890
AI Agent and SIP Setup
Here’s how to structure your application.
Step 1: Initialize the SIP Manager
The create_sip_manager function is the main entry point. It establishes the connection to your SIP provider by reading the environment variables you configured.
import os
from dotenv import load_dotenv
from videosdk.agents.plugins import create_sip_manager

# Load variables from the .env file
load_dotenv()

# This function reads your .env variables and configures the correct provider
sip_manager = create_sip_manager(
    provider=os.getenv("SIP_PROVIDER"),
    videosdk_token=os.getenv("VIDEOSDK_AUTH_TOKEN"),
    # The provider_config dictionary passes provider-specific environment variables.
    provider_config={
        # Twilio
        "account_sid": os.getenv("TWILIO_ACCOUNT_SID"),
        "auth_token": os.getenv("TWILIO_AUTH_TOKEN"),
        "phone_number": os.getenv("TWILIO_PHONE_NUMBER"),
    }
)
Step 2: Define Your Agent's Pipeline
The pipeline defines which AI models your agent uses. Here, we are using Google's Gemini for a Pipeline in realtime mode. You could also use a Pipeline in cascading mode.
from videosdk.agents import Pipeline
from videosdk.agents.plugins import GeminiRealtime, GeminiLiveConfig

def create_agent_pipeline():
    """This creates the AI model pipeline for our agent."""
    model = GeminiRealtime(
        api_key=os.getenv("GOOGLE_API_KEY"),
        model="gemini-3.1-flash-live-preview",
        config=GeminiLiveConfig(
            voice="Leda", # Choose your desired voice
            response_modalities=["AUDIO"], # We want the agent to speak back
        ),
    )
    return Pipeline(llm=model)
Step 3: Define Your Agent's Personality and Tools
The Agent class defines the system prompt (instructions), personality, and custom function tools and MCP Servers that your agent can use.
import asyncio
from videosdk.agents import Agent, function_tool, JobContext
from typing import Optional

class SIPAIAgent(Agent):
    """An AI agent for handling voice calls."""

    def __init__(self, ctx: Optional[JobContext] = None):
        super().__init__(
            instructions="You are a friendly and helpful voice assistant. Keep your responses concise.",
            tools=[self.end_call],
            # You can also integrate other function tools and MCP Servers here.
        )
        self.ctx = ctx
        self.greeting_message = "Hello! Thank you for calling. How can I assist you today?"

    async def on_enter(self) -> None:
        pass

    async def greet_user(self) -> None:
        """Greets the user with the message defined above."""
        await self.session.say(self.greeting_message)

    async def on_exit(self) -> None:
        pass
Server Setup and Deployment
Your application must be accessible from the public internet so that your SIP provider can send it webhooks. You have two main options for this.
- Local
- Cloud/Server
For testing on your local machine, ngrok is the perfect tool. It creates a secure, public URL that tunnels directly to your local server.
The lifespan manager in our example code handles this for you automatically. When you start the server, it will generate a unique URL and automatically configure the SIPManager with it.
Code Snippet (FastAPI Lifespan Manager):
import os
import logging
from contextlib import asynccontextmanager
from fastapi import FastAPI
from pyngrok import ngrok

logger = logging.getLogger(__name__)

@asynccontextmanager
async def lifespan(app: FastAPI):
    """Lifespan manager for FastAPI app startup and shutdown."""
    port = int(os.getenv("PORT", 8000))
    try:
        ngrok.kill()
        ngrok_auth_token = os.getenv("NGROK_AUTHTOKEN")
        if ngrok_auth_token:
            ngrok.set_auth_token(ngrok_auth_token)
        tunnel = ngrok.connect(port, "http")

        # The Base URL is generated here
        sip_manager.set_base_url(tunnel.public_url)

        logger.info(f"NGROK TUNNEL CREATED: {tunnel.public_url}")
    except Exception as e:
        logger.error(f"Failed to start ngrok tunnel: {e}")

    yield

    try:
        ngrok.kill()
        logger.info("Ngrok tunnel closed")
    except Exception as e:
        logger.error(f"Error closing ngrok tunnel: {e}")

app = FastAPI(title="SIP AI Agent", lifespan=lifespan)
For a live application, you will deploy your code to a cloud server (e.g., AWS EC2, Google Cloud Run, Heroku) that has a permanent public IP address or domain name.
In this case, you should not use the ngrok lifespan manager. Instead, set the base URL directly in your code.
Code Snippet (Cloud Server Setup):
from fastapi import FastAPI

# Your FastAPI app for production
app = FastAPI(title="SIP AI Agent")

# IMPORTANT: Set your server's public URL before starting the app.
# This should be the actual domain where your service is hosted.
PUBLIC_URL = "https://api.your-public-url.com"
sip_manager.set_base_url(PUBLIC_URL)
You must configure your SIP provider's webhook to point to https://your-public-or-ngrok-url.com/webhook/incoming.
API Endpoint Guide
Your application server, powered by the sip framework, exposes a set of endpoints for controlling and monitoring calls.
POST /webhook/incoming
This is the most important endpoint for handling inbound calls. When a user calls your SIP provider's phone number, the provider sends an HTTP request (a webhook) to this URL.
- Purpose: To serve as the primary entry point for all incoming phone calls.
- Provider Configuration: You must configure this full URL in your SIP provider's dashboard for your phone number.
- Core Process:
- Receives the webhook from the SIP provider.
- Creates a new VideoSDK room for the call.
- Launches your
SIPAIAgentin a separate process, which then waits in the room. - Responds to the provider with instructions (XML-based TwiML/ExoML) detailing how to forward the call's audio stream to the newly created room's SIP address.
POST /call/make
This endpoint allows you to programmatically initiate an outbound call from your agent to a user's phone number.
# Replace with the destination phone number
curl -X POST "http://localhost:8000/call/make?to_number=+1234567890"
- Purpose: To start new conversations with users. Ideal for automated reminders, lead qualification, or proactive support.
- Query Parameters:
| Parameter | Type | Description | Required |
|---|---|---|---|
to_number | string | The full phone number to call, in E.164 format (e.g., +15551234567). | Yes |
- Core Process (Outbound Call Flow):
- Your request hits the endpoint.
- The
SIPManagercreates a VideoSDK room and immediately launches yourSIPAIAgent. The agent then waits in the room. - The manager sends an API request to your SIP provider (e.g., Twilio), instructing it to call the
to_number. - Crucially, it provides the SIP provider with a unique webhook URL for this specific call:
https://<your-url>/sip/answer/{room_id}. - When the user answers their phone, the SIP provider sends a webhook to that unique answer URL to connect the user to the waiting agent.
POST /sip/answer/{room_id}
This is an internal-facing endpoint designed to complete the outbound call loop. You will not call this endpoint directly.
- Purpose: To serve as the dynamic "answer URL" for outbound calls.
- Path Parameters:
| Parameter | Type | Description |
|---|---|---|
room_id | string | The unique ID of the VideoSDK room where the agent is waiting. |
- Core Process:
- This endpoint is called by the SIP provider only after the user answers an outbound call initiated by
/call/make. - It uses the
room_idto find the correct SIP address for the room where the agent is waiting. - It returns a simple TwiML/XML response that tells the provider how to bridge the just-answered call with the agent.
- This endpoint is called by the SIP provider only after the user answers an outbound call initiated by
GET /sessions
A simple utility endpoint for monitoring the health and status of your service.
- Purpose: To see how many calls are currently active.
- Core Process:
- Receives a simple
GETrequest. - Checks the
SIPManager's internal state. - Returns a count of active sessions and a list of their corresponding room IDs.
- Receives a simple
If you experience high latency when connecting a call, it may be due to a mismatch between the geographical region of your VideoSDK meeting server (which defaults to the nearest server region to you) and your SIP provider's region. To reduce latency, upgrade to an enterprise plan and set VIDEOSDK_REGION=sip_provider_region in your .env file for a low-latency experience.
Got a Question? ![]() Ask us on discord
Ask us on discord

