AI Voice Agent Quick Start
Get started with VideoSDK Agents in minutes. This guide covers both Realtime (speech-to-speech) and Cascaded (STT-LLM-TTS) pipeline implementations.
Prerequisites
Before you begin, ensure you have:
- A VideoSDK auth token or API key + secret from app.videosdk.live - see Authentication and Tokens
- A VideoSDK meeting ID (you can generate one using the Create Room API or through the VideoSDK dashboard)
- Python 3.12 or higher
Understanding the Architecture
Before diving into implementation, let's understand the two main pipeline architectures available:
- Cascade
- Realtime
Realtime provides direct speech-to-speech processing with minimal latency:

The realtime processes audio directly through a unified model that handles:
- User Voice Input → Speech to Speech model → Agent Voice Output
This approach offers the fastest response times and is ideal for real-time conversations.
Cascade processes audio through distinct stages for maximum control:

The cascade processes audio through three sequential stages:
- User Voice Input → STT (Speech-to-Text) → LLM (Large Language Model) → TTS (Text-to-Speech) → Agent Voice Output
This approach provides better control over each processing stage and supports more complex AI reasoning.
Installation
Create and activate a virtual environment with Python 3.12 or higher:
- macOS/Linux
- Windows
python3.12 -m venv venv
source venv/bin/activate
python -m venv venv
venv\Scripts\activate
- Cascade (STT-LLM-TTS)
- Realtime
pip install "videosdk-agents[deepgram,openai,elevenlabs,silero,turn_detector]"
Want to use a different provider? Check out our plugins for STT, LLM, and TTS.
pip install videosdk-agents

# Choose your real-time provider:
# For OpenAI
pip install "videosdk-plugins-openai"

# For Gemini (LiveAPI)
pip install "videosdk-plugins-google"

# For AWS Nova
pip install "videosdk-plugins-aws"
Environment Setup
It's recommended to use environment variables for secure storage of API keys, secret tokens, and authentication tokens. Create a .env file in your project root:
- Cascade (STT-LLM-TTS)
- Realtime
DEEPGRAM_API_KEY = "Your Deepgram API Key"
OPENAI_API_KEY = "Your OpenAI API Key"
ELEVENLABS_API_KEY = "Your ElevenLabs API Key"

# Option A: pre-generated token
VIDEOSDK_AUTH_TOKEN = "VideoSDK Auth token"

# Option B: SDK auto-generates token (omit VIDEOSDK_AUTH_TOKEN)
# VIDEOSDK_API_KEY = "Your VideoSDK API Key"
# VIDEOSDK_SECRET_KEY = "Your VideoSDK Secret Key"
API Keys - Get provider keys from Deepgram ↗, OpenAI ↗, and ElevenLabs ↗. For VideoSDK, use an auth token from VideoSDK Dashboard ↗ or API key + secret - follow guide.
# Option A: pre-generated token
VIDEOSDK_AUTH_TOKEN="VideoSDK Auth token"

# Option B: SDK auto-generates token (omit VIDEOSDK_AUTH_TOKEN)
# VIDEOSDK_API_KEY="Your VideoSDK API Key"
# VIDEOSDK_SECRET_KEY="Your VideoSDK Secret Key"

OPENAI_API_KEY="Your OpenAI API Key"

// For Google Live API
// GOOGLE_API_KEY="Google Live API Key"

// For AWS Nova API
// AWS_ACCESS_KEY_ID="AWS Key Id"
// AWS_SECRET_ACCESS_KEY="AWS Secret Key"
// AWS_DEFAULT_REGION="AWS Region"
API Keys - Get keys from OpenAI ↗, Gemini ↗, or AWS ↗. For VideoSDK, use an auth token from VideoSDK Dashboard ↗ or API key + secret - follow guide.
Step 1: Creating a Custom Agent
First, let's create a custom voice agent by inheriting from the base Agent class:
- Cascade (STT-LLM-TTS)
- Realtime
import asyncio, os
from videosdk.agents import Agent, AgentSession, Pipeline, JobContext, RoomOptions, WorkerJob
from videosdk.agents.plugins import SileroVAD, TurnDetector, pre_download_model, DeepgramSTT, OpenAILLM, ElevenLabsTTS

# Pre-downloading the Turn Detector model
pre_download_model()

class MyVoiceAgent(Agent):
    def __init__(self):
        super().__init__(instructions="You are a helpful voice assistant that can answer questions and help with tasks.")
    async def on_enter(self): await self.session.say("Hello! How can I help?")
    async def on_exit(self): await self.session.say("Goodbye!")
import asyncio, os
from videosdk.agents import Agent, AgentSession, Pipeline, JobContext, RoomOptions, WorkerJob
from videosdk.agents.plugins import OpenAIRealtime, OpenAIRealtimeConfig
from openai.types.beta.realtime.session import  TurnDetection

class MyVoiceAgent(Agent):
    def __init__(self):
        super().__init__(instructions="You are a helpful voice assistant that can answer questions and help with tasks.")
    async def on_enter(self): await self.session.say("Hello! How can I help?")
    async def on_exit(self): await self.session.say("Goodbye!")
This code defines a basic voice agent with:
- Custom instructions that define the agent's personality and capabilities
- An entry message when joining a meeting
- State change handling to track the agent's current activity
Step 2: Assembling and Starting the Agent Session
The pipeline connects your agent to an AI model.
- Cascade (STT-LLM-TTS)
- Realtime
async def start_session(context: JobContext):
    # Create agent
    agent = MyVoiceAgent()

    # Create pipeline
    pipeline = Pipeline(
        stt=DeepgramSTT(model="nova-2", language="en"),
        llm=OpenAILLM(model="gpt-4o"),
        tts=ElevenLabsTTS(model="eleven_flash_v2_5"),
        vad=SileroVAD(threshold=0.35),
        turn_detector=TurnDetector(threshold=0.8)
    )

    session = AgentSession(agent=agent, pipeline=pipeline)

    await session.start(wait_for_participant=True, run_until_shutdown=True)

def make_context() -> JobContext:
    room_options = RoomOptions(
     #  room_id="YOUR_MEETING_ID",  # Set to join a pre-created room; omit to auto-create
        name="VideoSDK Cascaded Agent",
        playground=True
    )

    return JobContext(room_options=room_options)

if __name__ == "__main__":
    job = WorkerJob(entrypoint=start_session, jobctx=make_context)
    job.start()
async def start_session(context: JobContext):
    # Initialize Model
    model = OpenAIRealtime(
        model="gpt-realtime-2025-08-28",
        config=OpenAIRealtimeConfig(
            voice="alloy",  # Available voices:alloy, ash, ballad, coral, echo, fable, onyx, nova, sage, shimmer, and verse
            modalities=["text", "audio"],
            turn_detection=TurnDetection(
                type="server_vad",
                threshold=0.5,
                prefix_padding_ms=300,
                silence_duration_ms=200,
            )
        )
    )

    # Create pipeline
    pipeline = Pipeline(
        llm=model
    )

    session = AgentSession(agent=MyVoiceAgent(), pipeline=pipeline)

    await session.start(wait_for_participant=True, run_until_shutdown=True)

def make_context() -> JobContext:
    room_options = RoomOptions(
    #   room_id="YOUR_MEETING_ID",  # Set to join a pre-created room; omit to auto-create
        name="VideoSDK Realtime Agent",
        playground=True
    )

    return JobContext(room_options=room_options)

if __name__ == "__main__":
    job = WorkerJob(entrypoint=start_session, jobctx=make_context)
    job.start()
Step 3: Running the Project
Once you have completed the setup, you can run your AI Voice Agent project using Python. Make sure your .env file is properly configured and all dependencies are installed.
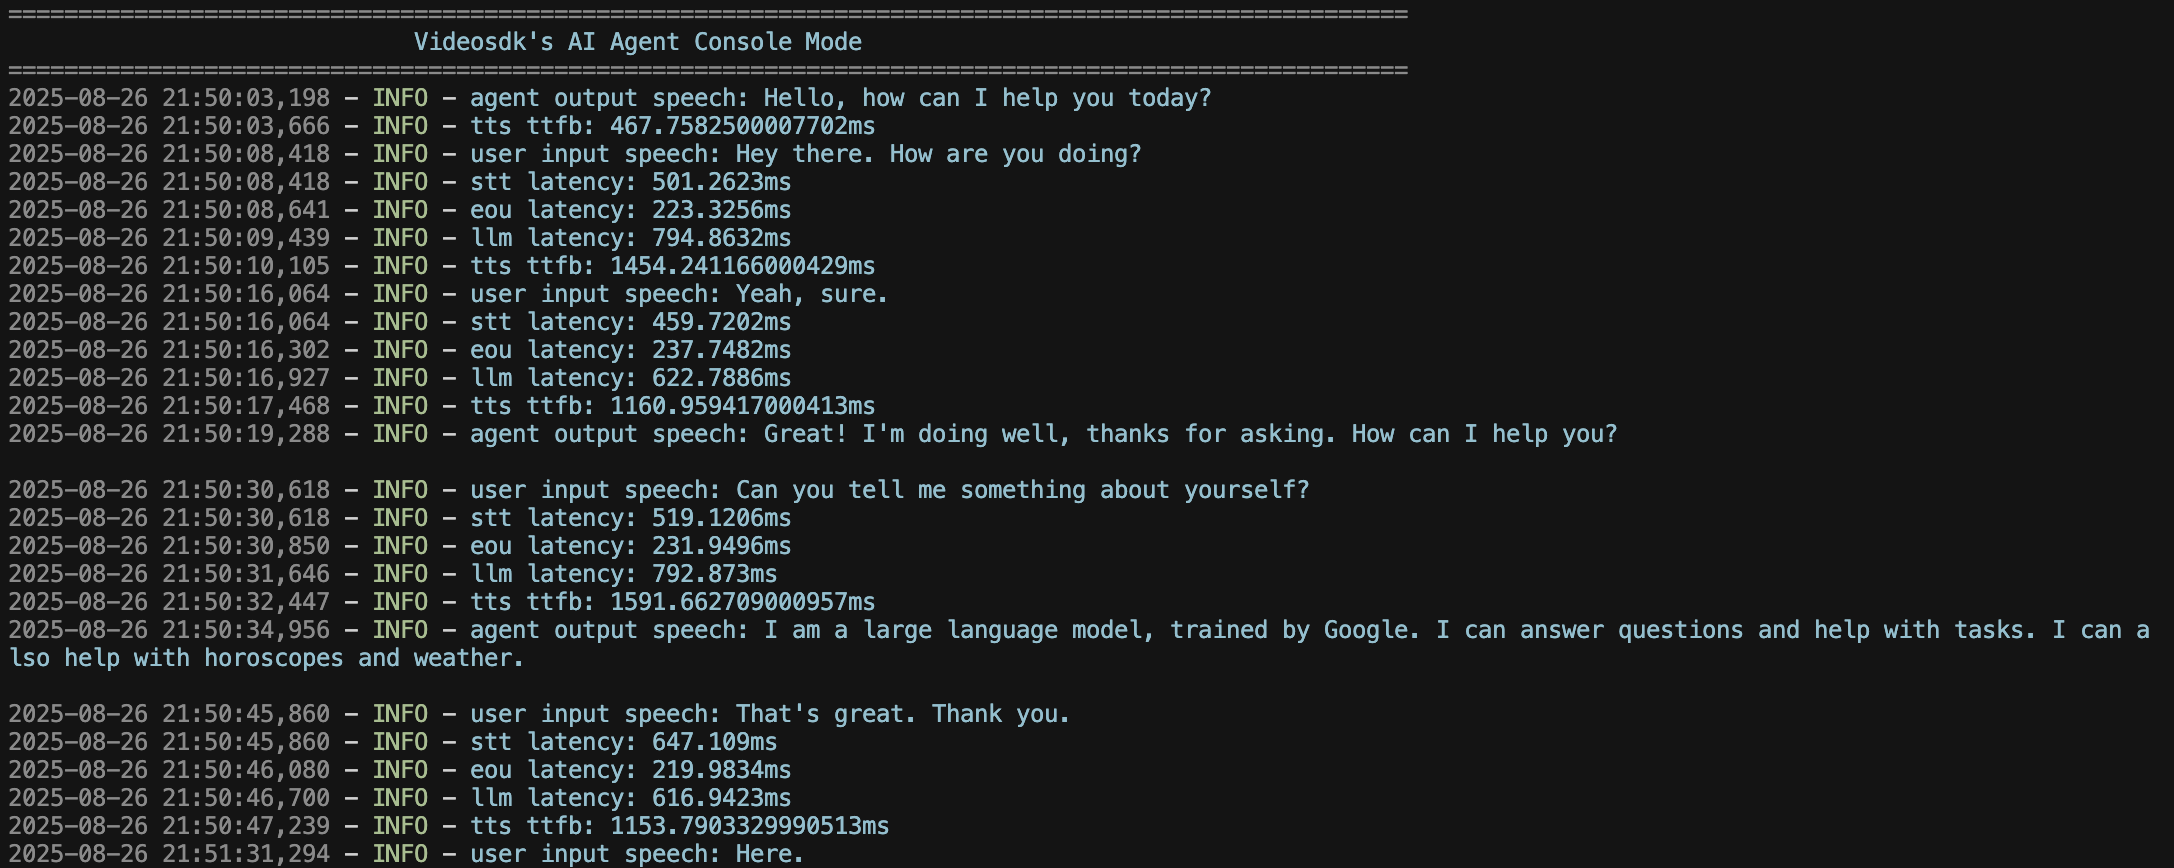
- Console Mode
- Web Mode
python main.py console
Want to see the magic instantly? Try console mode to interact with your agent directly through the terminal! No need to join a meeting room - just speak and listen through your local system. Perfect for quick testing and development.
Learn more about Console Mode.
python main.py
Once you run this command, a playground URL will appear in your terminal. You can use this URL to interact with your AI agent.
Step 4: Connecting with VideoSDK Client Applications
When working with a Client SDK, make sure to create the room first using the Create Room API
. Then, simply pass the generated room id in both your client SDK and the RoomOptions for your AI Agent so they connect to the same session.
Get started quickly with the Quick Start Example for the VideoSDK AI Agent SDK - everything you need to build your first AI agent fast.
Got a Question? ![]() Ask us on discord
Ask us on discord

