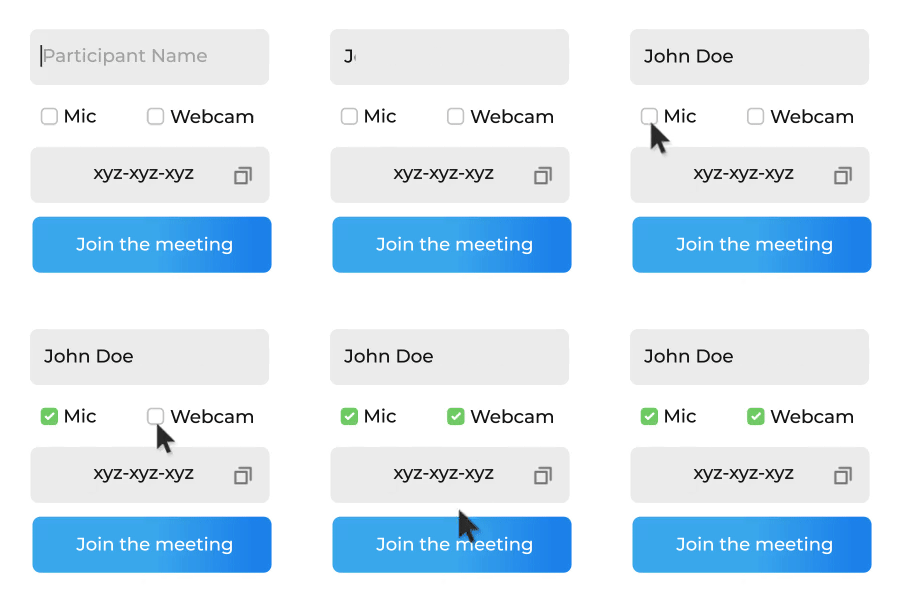
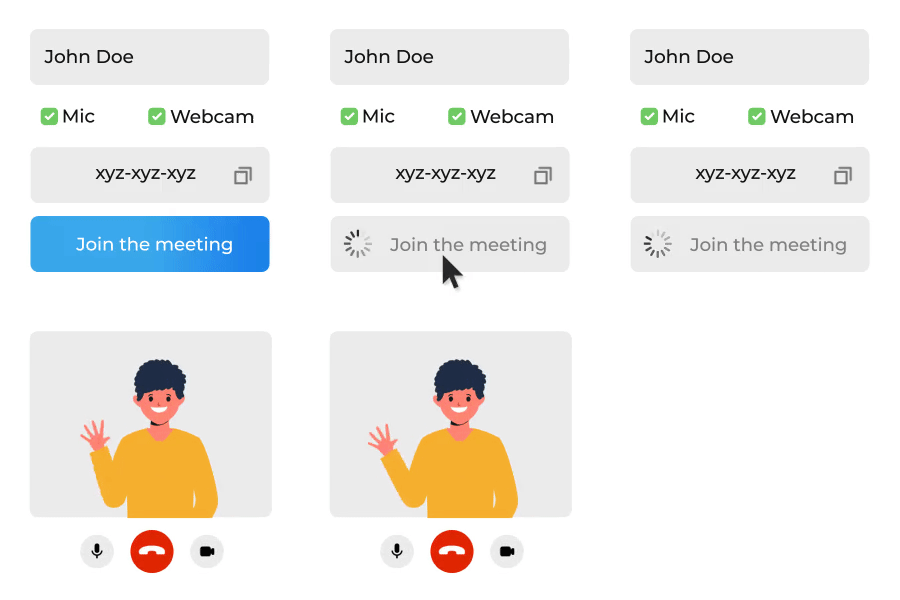
Start or Join Meeting
After the successful installation of VideoSDK, the next step is to integrate VideoSDK features with your webApp/MobileApp.
To Communicate with other participant's audio or video call, you will need to join the meeting.
This guide will provide an overview of how to configure, initialize and join a VideoSDK meeting.

1. Configuration
To configure a meeting, you will need generated token and meetingId, we had discussed in Server Setup. This code snippet calls API from local server
Scenario 1 - Suppose you don't have any meetingId, you can simply generate meetingId by invoking create-meeting API.
Scenario 2 - Suppose you have meetingId, now you don't have to call create-meeting API to generate meetingId, instead you can call validate-meeting API to validate meetingId.
Token generation API is necessary for both scenario.
- JavaScript
- React
- ReactNative
- Android
- IOS
- Flutter
const getToken = async () => {
  try {
    const response = await fetch(`${LOCAL_SERVER_URL}/get-token`, {
      method: "GET",
      headers: {
        Accept: "application/json",
        "Content-Type": "application/json",
      },
    });
    const { token } = await response.json();
    return token;
  } catch (e) {
    console.log(e);
  }
};

const getMeetingId = async (token) => {
  try {
    const VIDEOSDK_API_ENDPOINT = `${LOCAL_SERVER_URL}/create-meeting`;
    const options = {
      method: "POST",
      headers: {
        "Content-Type": "application/json",
      },
      body: JSON.stringify({ token }),
    };
    const response = await fetch(VIDEOSDK_API_ENDPOINT, options)
      .then(async (result) => {
        const { meetingId } = await result.json();
        return meetingId;
      })
      .catch((error) => console.log("error", error));
    return response;
  } catch (e) {
    console.log(e);
  }
};

/** This API is for validate the meeting id  */
/** Not require to call this API after create meeting API  */
const validateMeeting = async (token, meetingId) => {
  try {
    const VIDEOSDK_API_ENDPOINT = `${LOCAL_SERVER_URL}/validate-meeting/${meetingId}`;
    const options = {
      method: "POST",
      headers: {
        "Content-Type": "application/json",
      },
      body: JSON.stringify({ token }),
    };
    const response = await fetch(VIDEOSDK_API_ENDPOINT, options)
      .then(async (result) => {
        const { meetingId } = await result.json();
        return meetingId;
      })
      .catch((error) => console.log("error", error));
    return response;
  } catch (e) {
    console.log(e);
  }
};

const access_token = await getToken();
const meetingId = await getMeetingId(access_token);
const validatedMeetingId = await validateMeeting(token, "provided-meeting-id");
package live.videosdk.rtc.android.java;

import com.androidnetworking.AndroidNetworking;
import com.androidnetworking.error.ANError;
import com.androidnetworking.interfaces.JSONObjectRequestListener;
import org.json.JSONException;
import org.json.JSONObject;

public class JoinActivity extends AppCompatActivity {
  private String apiServerUrl = "http://localhost:9000";

  // ...
  // onCreate() and other methods

  private void getToken(@Nullable String meetingId) {
    AndroidNetworking
      .get(apiServerUrl + "/get-token")
      .build()
      .getAsJSONObject(
        new JSONObjectRequestListener() {
          @Override
          public void onResponse(JSONObject response) {
            try {
              String token = response.getString("token");

              if (meetingId == null) {
                createMeeting(token);
              } else {
                joinMeeting(token, meetingId);
              }
            } catch (JSONException e) {
              e.printStackTrace();
            }
          }

          @Override
          public void onError(ANError anError) {
            anError.printStackTrace();
          }
        }
      );
  }

  private void createMeeting(String token) {
    AndroidNetworking
      .post(apiServerUrl + "/create-meeting")
      .addBodyParameter("token", token)
      .build()
      .getAsJSONObject(
        new JSONObjectRequestListener() {
          @Override
          public void onResponse(JSONObject response) {
            try {
              // final String meetingId = response.getString("meetingId");

              // Intent intent = new Intent(JoinActivity.this, MainActivity.class);
              // intent.putExtra("token", token);
              // intent.putExtra("meetingId", meetingId);

              // startActivity(intent);
            } catch (JSONException e) {
              e.printStackTrace();
            }
          }

          @Override
          public void onError(ANError anError) {
            anError.printStackTrace();
          }
        }
      );
  }

  private void joinMeeting(String token, String meetingId) {
    AndroidNetworking
      .post(apiServerUrl + "/validate-meeting/{meetingId}")
      .addPathParameter("meetingId", meetingId)
      .addBodyParameter("token", token)
      .build()
      .getAsJSONObject(
        new JSONObjectRequestListener() {
          @Override
          public void onResponse(JSONObject response) {
            // Intent intent = new Intent(JoinActivity.this, MainActivity.class);
            // intent.putExtra("token", token);
            // intent.putExtra("meetingId", meetingId);

            // startActivity(intent);
          }

          @Override
          public void onError(ANError anError) {
            anError.printStackTrace();
          }
        }
      );
  }
}
// Update server url here.
let LOCAL_SERVER_URL = "http://192.168.0.101:9000"

class APIService {

    class func getToken(completion: @escaping (Result<String, Error>) -> Void) {
        var url = URL(string: LOCAL_SERVER_URL)!
        url = url.appendingPathComponent("get-token")

        URLSession.shared.dataTask(with: url) { data, response, error in
            if let data = data, let token = data.toJSON()["token"] as? String {
                completion(.success(token))
            } else if let err = error {
                completion(.failure(err))
            }
        }
        .resume()
    }

    class func createMeeting(token: String, completion: @escaping (Result<String, Error>) -> Void) {
        var url = URL(string: LOCAL_SERVER_URL)!
        url = url.appendingPathComponent("create-meeting")

        let params = ["token": token]

        var request = URLRequest(url: url)
        request.httpMethod = "POST"
        request.httpBody = try? JSONSerialization.data(withJSONObject: params, options: [])

        URLSession.shared.dataTask(with: request) { data, response, error in
            if let data = data, let meetingId = data.toJSON()["meetingId"] as? String {
                completion(.success(meetingId))
            } else if let err = error {
                completion(.failure(err))
            }
        }
        .resume()
    }
}
import 'dart:convert';
import 'package:http/http.dart' as http; // For API Calling, you need to add third party package "http"
import 'package:videosdk/rtc.dart';

// States Defined in Stateful Component.
String? meetingId;
String? token;

void _getMeetingIdAndToken() async {
    final LOCAL_SERVER_URL = dotenv.env['LOCAL_SERVER_URL'];

    // Calling get-token API.
    final Uri tokenUrl = Uri.parse('$LOCAL_SERVER_URL/get-token');
    final http.Response tokenResponse = await http.get(tokenUrl);

    final dynamic _token = json.decode(tokenResponse.body)['token'];

    // Calling create-meeting API.
    final Uri meetingIdUrl =
        Uri.parse('$LOCAL_SERVER_URL/create-meeting/');

    final http.Response meetingIdResponse =
        await http.post(meetingIdUrl, body: {"token": _token});

    final _meetingId = json.decode(meetingIdResponse.body)['meetingId'];

    // Setting into states of stateful widget
    setState(() {
      token = _token;
      meetingId = _meetingId;
    });
  }

  // This API is for validate the meeting id
  // Not require to call this API after create meeting API

dynamic validateMeeting(token, meetingId) async {
    final String LOCAL_SERVER_URL = dotenv.env['LOCAL_SERVER_URL'];
    final Uri validateMeetingUrl =
        Uri.parse('$LOCAL_SERVER_URL/validate-meeting/$meetingId');
    final http.Response validateMeetingResponse =
        await http.post(validateMeetingUrl, body: {"token": token});
    final _meetingId = json.decode(validateMeetingResponse.body)['meetingId'];
    if (_meetingId != null) {
      return _meetingId;
    } else {
      return null;
    }
  }
2. Initialization
After configuration, you will have to Initialize
meeting by providing name, meetingId, micEnabled, webcamEnabled & maxResolution.
NOTE : For React & React native developer, you have
to be familiar with hooks concept. You can understand hooks concept on React Hooks.

- JavaScript
- React
- ReactNative
- Android
- IOS
- Flutter
import { VideoSDK } from "@videosdk.live/js-sdk";

// Configure authentication token
VideoSDK.config("<Authentication-token>");

// Initialise meeting
const meeting = VideoSDK.initMeeting({
  meetingId: "<Id-on-meeting>", // required
  name: "<Name-of-participant>", // required
  participantId:'Id-of-participant' // optional, default: SDK will generate
  micEnabled: "<Flag-to-enable-mic>", // optional, default: true
  webcamEnabled: "<Flag-to-enable-webcam>", // optional, default: true
  maxResolution: "<Maximum-resolution>", // optional, default: "hd"
});
import { MeetingProvider, useMeeting } from "@videosdk.live/react-sdk";

const App = () => {
  // Init Meeting Provider
  return (
    <MeetingProvider
      config={{
        meetingId: "<Id-on-meeting>",
        name: "<Name-of-participant>",
        participantId:'Id-of-participant' // optional, default: SDK will generate
        micEnabled: "<Flag-to-enable-mic>",
        webcamEnabled: "<Flag-to-enable-webcam>",
        maxResolution: "<Maximum-resolution>",
      }}
      token={"<Authentication-token>"}
    >
      <MeetingView>...</MeetingView>
    </MeetingProvider>
  );
};

const MeetingView = () => {
  // Get Meeting object using useMeeting hook
  const meeting = useMeeting();

  return <>...</>;
};
import { MeetingProvider, useMeeting } from "@videosdk.live/react-native-sdk";

const App = () => {
  // Init Meeting Provider
  return (
    <MeetingProvider
      config={{
        meetingId: "<Id-on-meeting>",
        name: "<Name-of-participant>",
        micEnabled: "<Flag-to-enable-mic>",
        webcamEnabled: "<Flag-to-enable-webcam>",
        maxResolution: "<Maximum-resolution>",
        notification: {
          title: "<Notification-Title>",
          message: "<Notification-Message>",
        },
      }}
      token={"<Authentication-token>"}
    >
      <MeetingView>...</MeetingView>
    </MeetingProvider>
  );
};

const MeetingView = () => {
  // Get Meeting object using useMeeting hook
  const meeting = useMeeting();

  return <>...</>;
};
import live.videosdk.rtc.android.VideoSDK;
import live.videosdk.rtc.android.Meeting;

public class MainActivity extends AppCompatActivity {
    private Meeting meeting;

    @Override
    protected void onCreate(Bundle savedInstanceState) {

        // Configure parameters
        final String token = getIntent().getStringExtra("token");
        final String meetingId = getIntent().getStringExtra("meetingId");
        final String participantName = "John Doe";
        final boolean micEnabled = true;
        final boolean webcamEnabled = true;

        // Configure authentication token
        VideoSDK.config(token);

        // create a new meeting instance
        meeting = VideoSDK.initMeeting(
                MainActivity.this,
                meetingId,
                participantName,
                micEnabled,
                webcamEnabled
        );
    }
}
// import sdk
import VideoSDKRTC

class MeetingViewController: UIViewController {

    // meeting
    private var meeting: Meeting?

    override func viewDidLoad() {
        super.viewDidLoad()

        // Configure authentication token got earlier
        VideoSDK.config(token: <Authentication-token>)

        // create a new meeting instance
        meeting = VideoSDK.initMeeting(
            meetingId: <meetingId>, // required
            participantName: <participantName>, // required
            micEnabled: <flag-to-enable-mic>, // optional, default: true
            webcamEnabled: <flag-to-enalbe-camera> // optional, default: true
        )
    }
}
import 'package:flutter/material.dart';
import 'package:videosdk/rtc.dart';

class MyApp extends StatelessWidget {
    @override
    Widget build(BuildContext context) {
        return MeetingBuilder(
            meetingId: "<Id-on-meeting>",
            displayName: "<Name-of-participant>",
            micEnabled: "<Flag-to-enable-mic>",
            webcamEnabled: "<Flag-to-enable-webcam>",
            token: "<Authentication-token>",
            builder: (Meeting: meeting) {

                return Container(
                    child: Column(
                        children: [
                            ListParticipants(
                                participants: meeting.participants,
                            ),
                            LocalParticipant(
                                localParticipant: meeting.localParticipant,
                                meeting: meeting as Meeting,
                            )
                        ],
                    ),
                );
            }
        );
    }
}
3. Join
After configuration & initialization, the third step is to call join() to join a meeting.
After joining, you will be able to Manage Participant in a meeting.

- JavaScript
- React
- ReactNative
- Android
- IOS
- Flutter
const onPress = () => {
  // Joining Meeting
  meeting?.join();
};
const onPress = () => {
  // Joining Meeting
  meeting?.join();
};
const onPress = () => {
  // Joining Meeting
  meeting?.join();
};
// After receiving mic and webcam access permissions
// join the meeting
meeting.join();
// join
meeting?.join();
// Join the meeting
meeting?.join();
Got a Question? Ask us on discord

