Quickstart for Wordpress
Prebuilt SDK enables opportunity to integrate real-time communication SDK without writing explicit code. It just requires 10 minutes to integrate.
In this tutorial, we will be getting knowledge of embeding video call using Prebuilt SDK on wordpress with fewer steps. TBH, it's quite simple.
We hope you are familiar with wordpress and may have already set up in your machine.
Before getting started, you'll need a Videosdk.live account. It's free to get started with our API, and embed video calls.
Step 1 : Generate API Key
Visit settings/api-keys and generate a new API key for integration. For more info you can follow How to generate API Key ?.
Step 2 : Add Pages in Your Wordpress Project
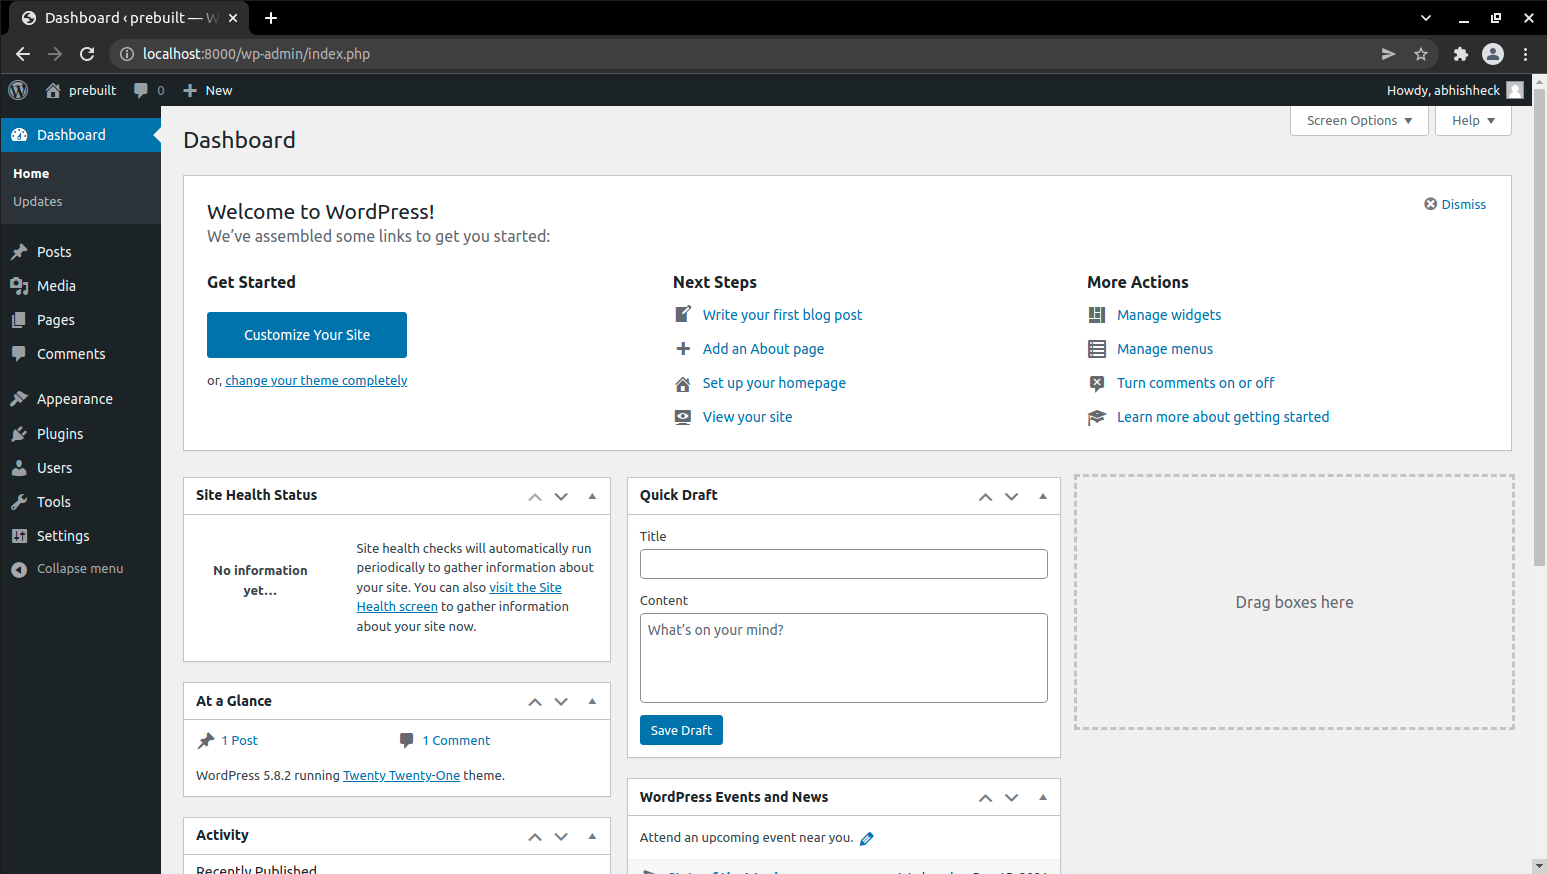
After signup, very fist step is to Log in to your Wordpress dashboard.
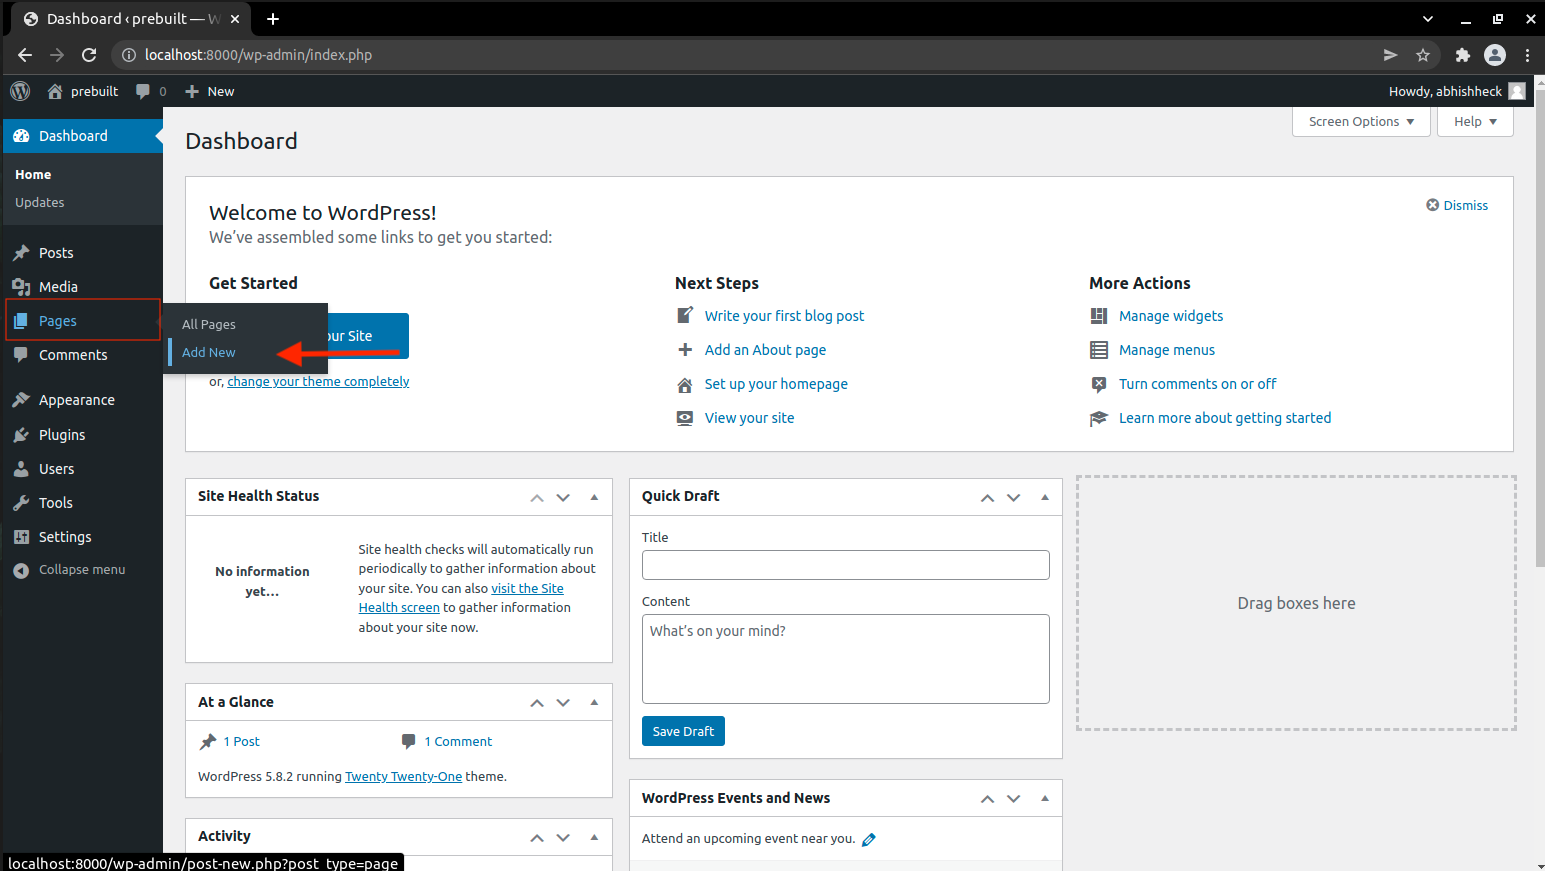
In side bar panel, go to pages > Add New for creating new page.
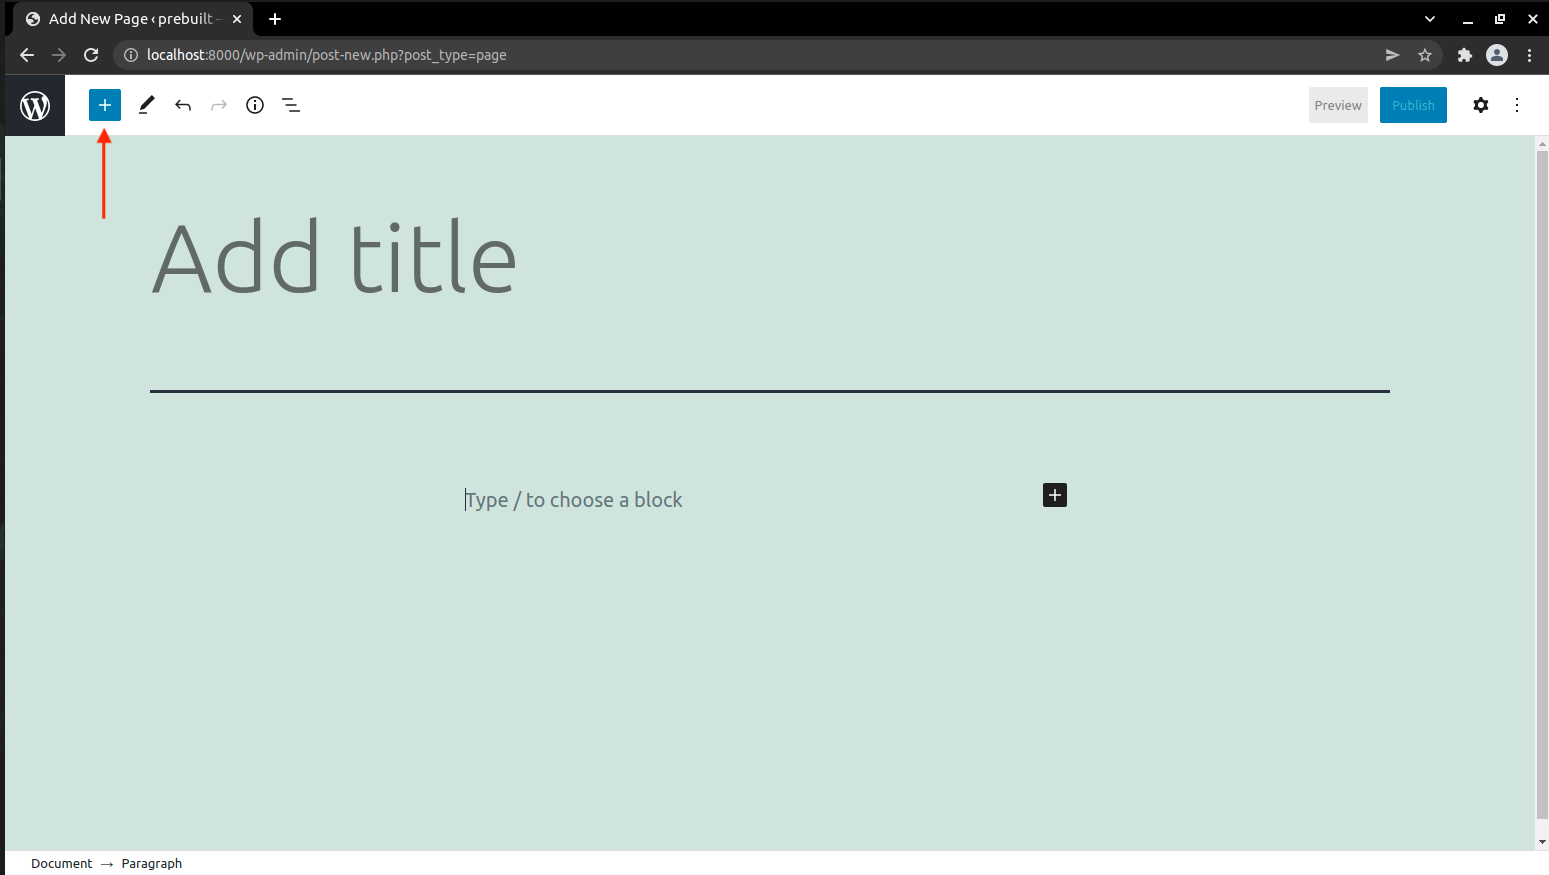
Step 3 : Add a Custom HTML block to your page
After creating new page, below screen will appear. For adding HTML block in your page, have to click on Square Plus button on top side.
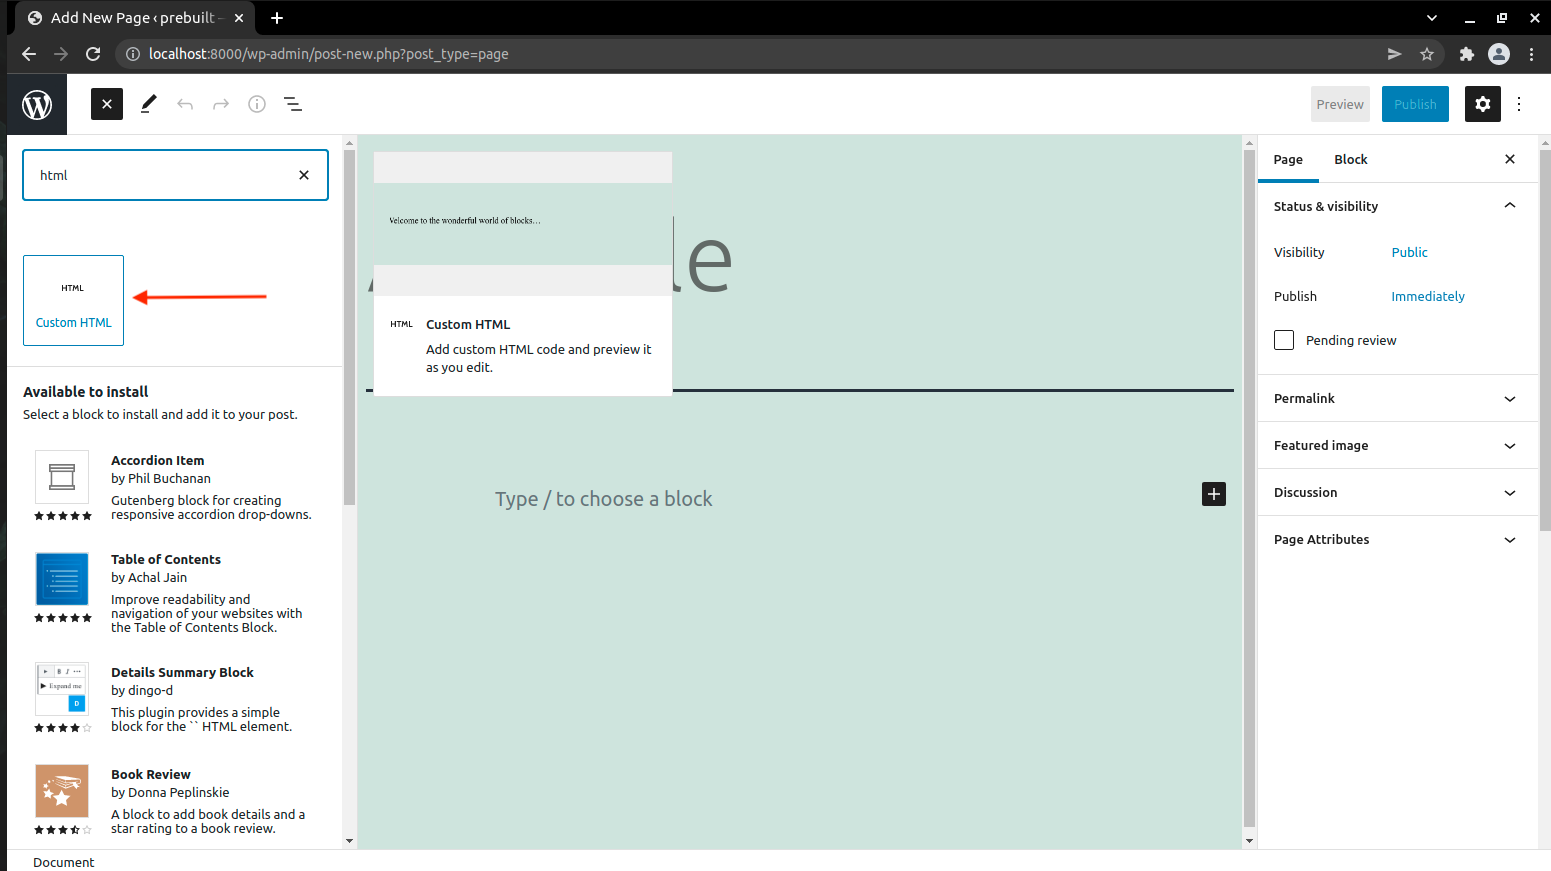
You can simply add Custom HTML block in page, just by clicking on it.
Step 4 : Add prebuilt code in a HTML block
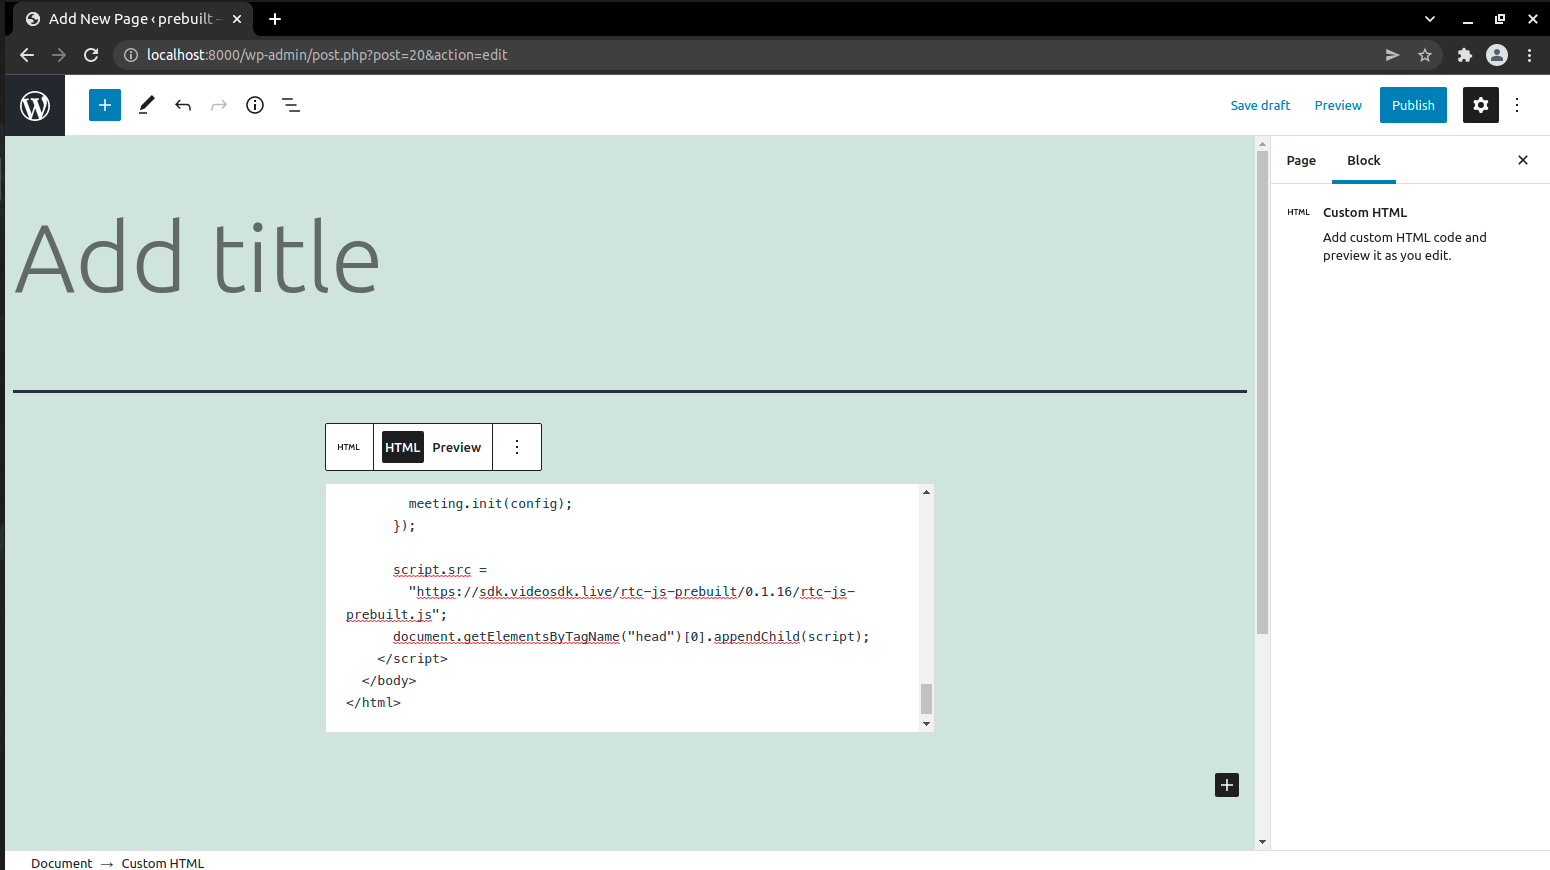
White color code snippet will appear, after adding cusotm html block. Copy the code from below snippet.
<script>
  var script = document.createElement("script");
  script.type = "text/javascript";

  script.addEventListener("load", function (event) {
    const config = {
      name: "Video SDK Live",
      meetingId: "prebuilt",
      apiKey: "<YOUR API KEY>",

      containerId: null,

      micEnabled: true,
      webcamEnabled: true,
      participantCanToggleSelfWebcam: true,
      participantCanToggleSelfMic: true,

      chatEnabled: true,
      screenShareEnabled: true,
    };

    const meeting = new VideoSDKMeeting();
    meeting.init(config);
  });

  script.src =
    "https://sdk.videosdk.live/rtc-js-prebuilt/0.2.6/rtc-js-prebuilt.js";
  document.getElementsByTagName("head")[0].appendChild(script);
</script>
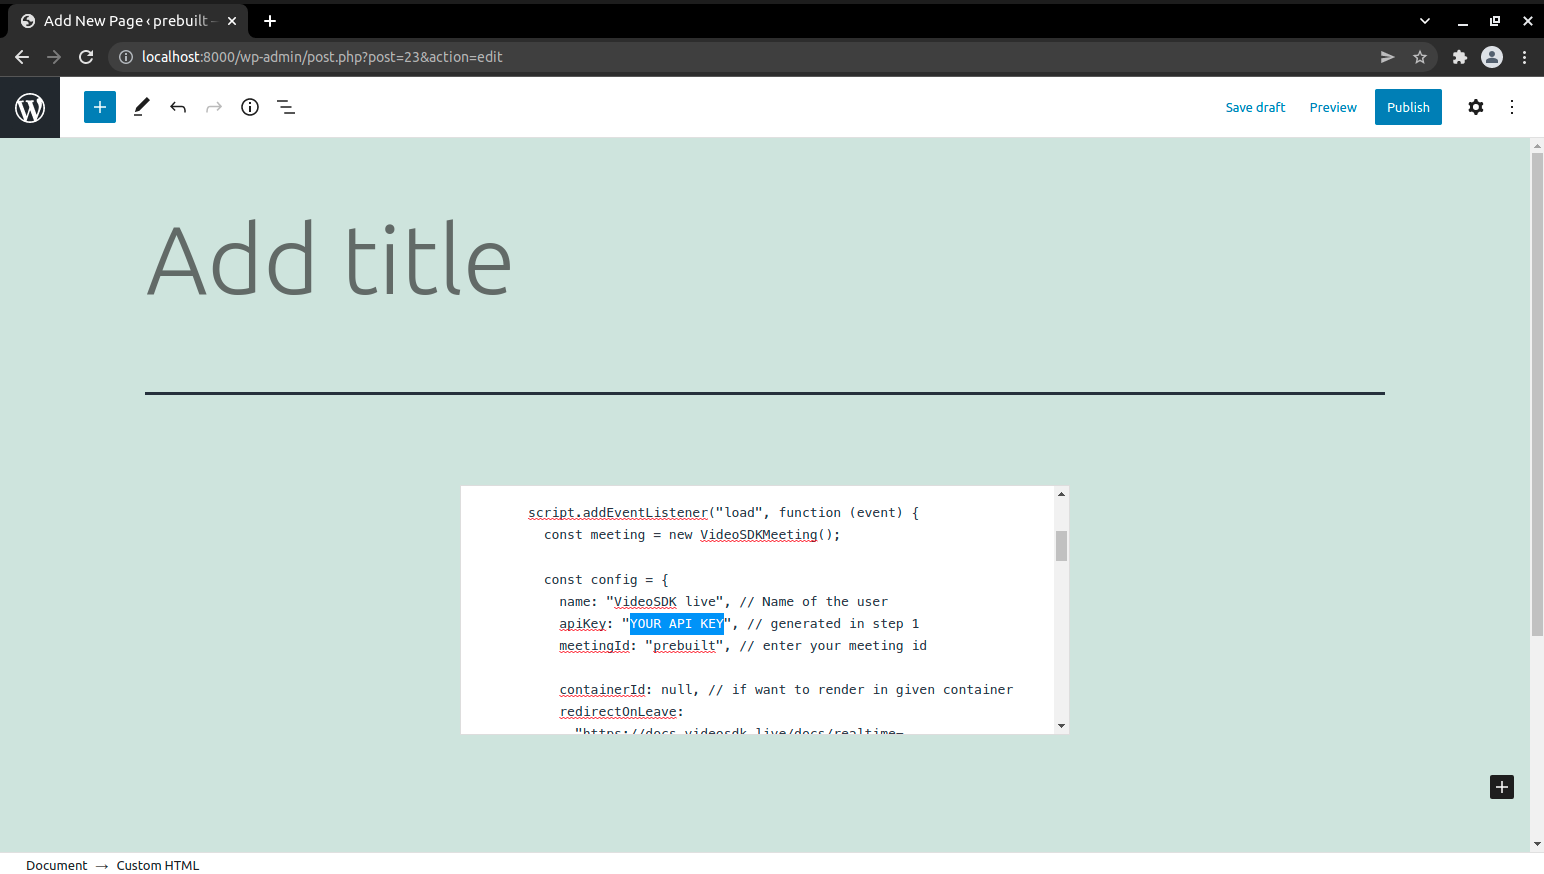
After that, it will look like this.
After adding code snippet, in apiKey property you need to provide your API KEY which we have generated in Step 1
Step 5 : Join Session
After updating code snippet, last step is to execute this code by clicking Preview button on code block top side.

After executing code, joining screen will appear.
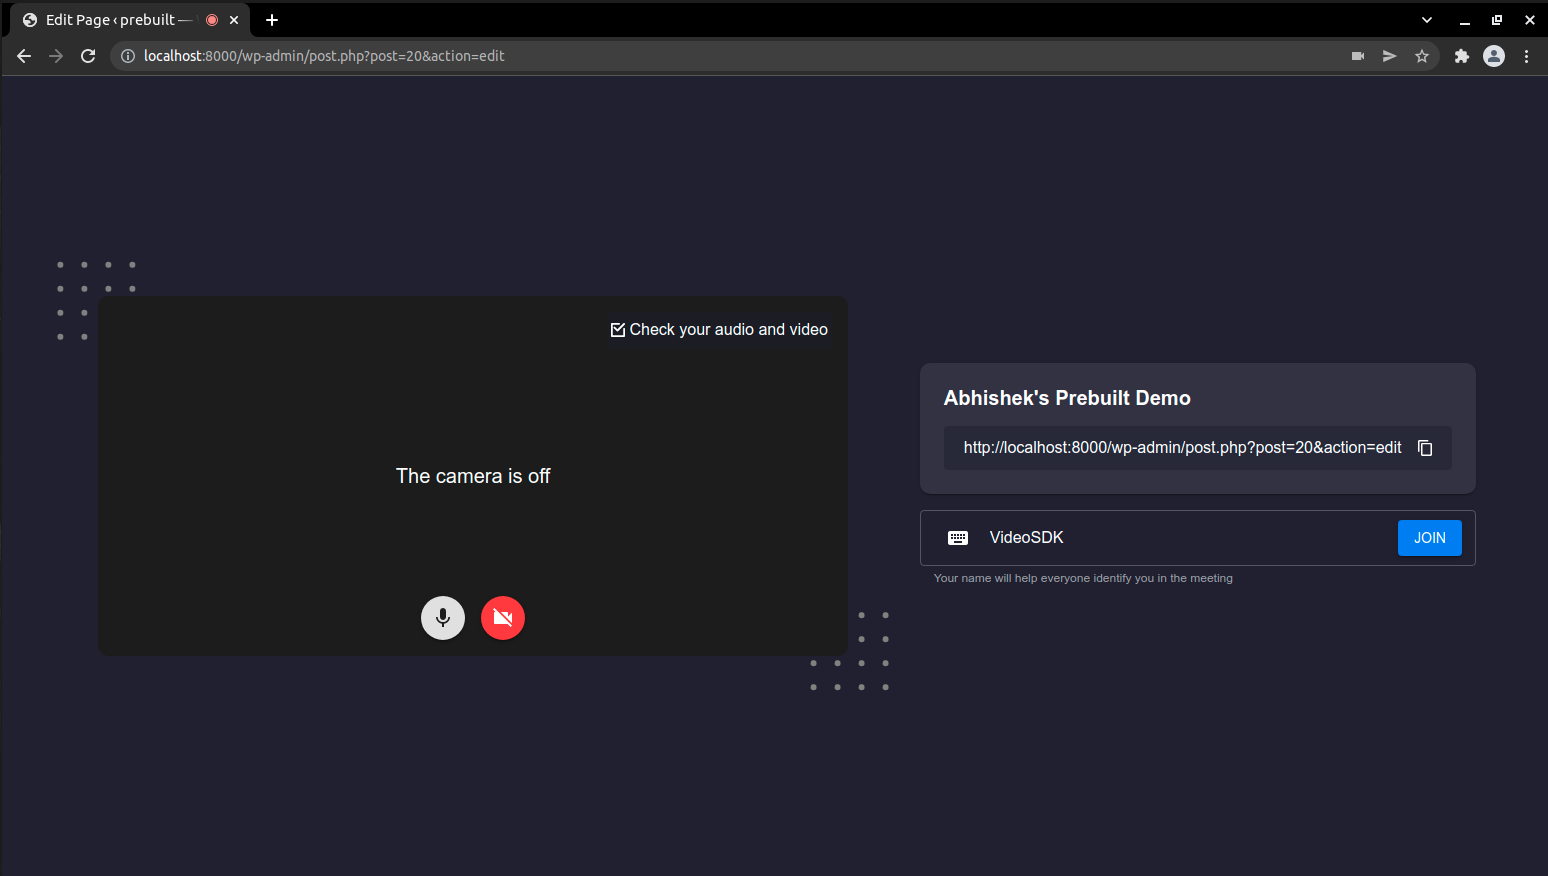
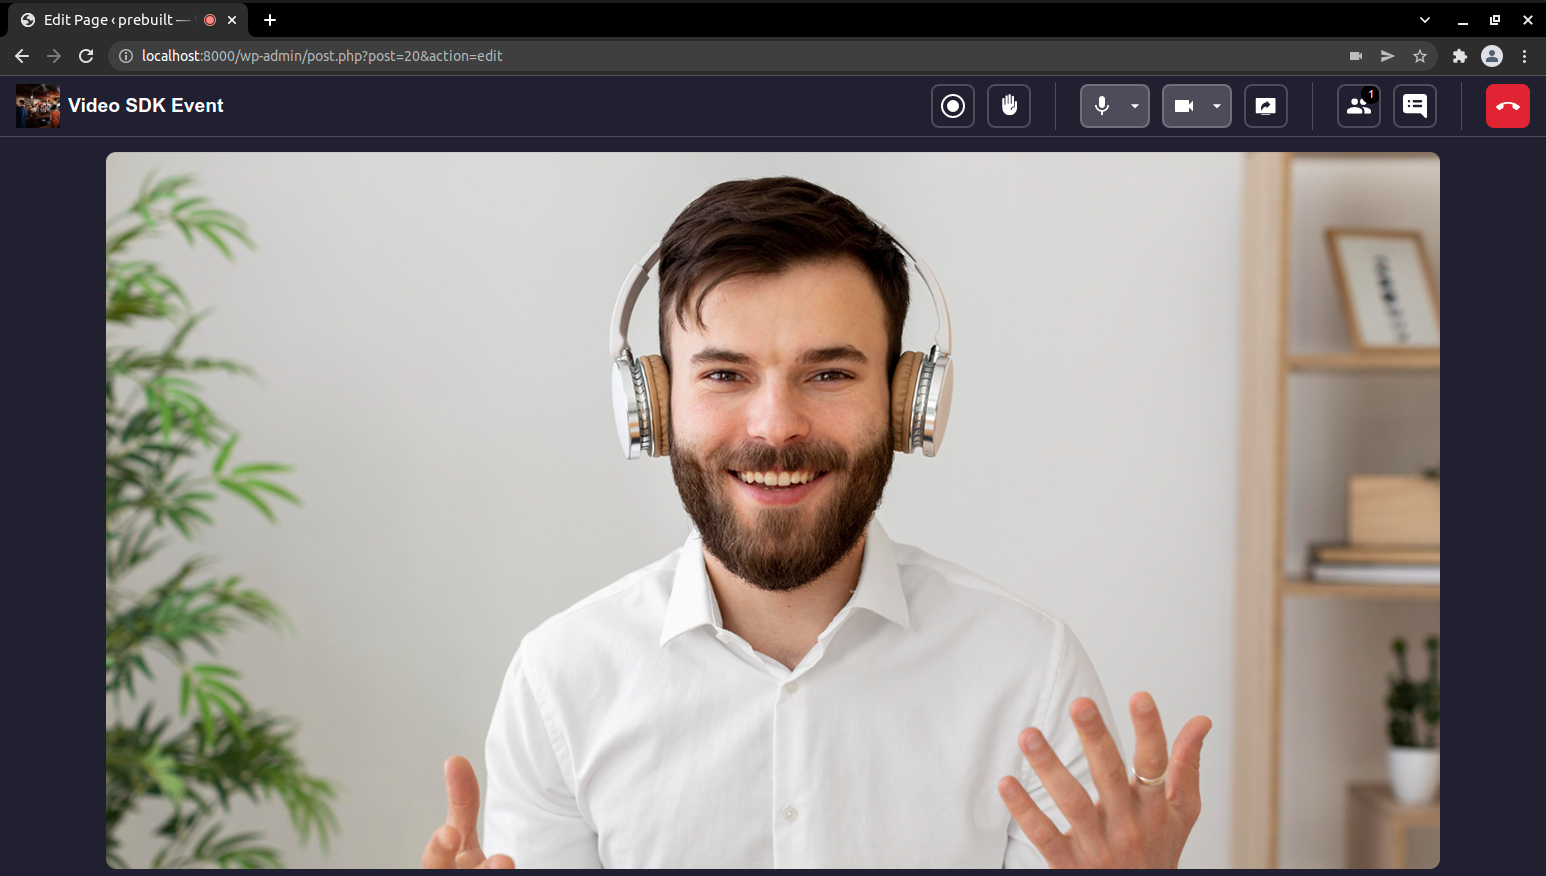
Press Join button to enter in session.
Advanced
How to Assign Dynamic Meeting Id
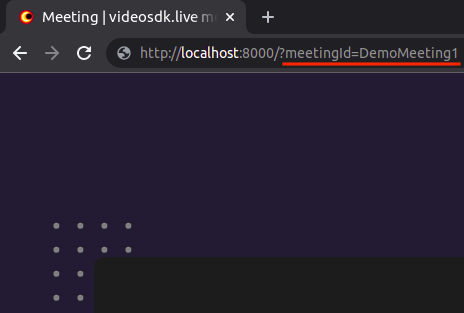
Step 1 : Pass Dynamic Meeting id as Params
For assigning dynamic meeting id, we have to pass meeting id as params.
To accomplish that we have to add meetingId=DemoMeeting1 after the url as described below
Step 2 : Fetch Meeting id from params
After assigning meeting id as params, we have to fetch it in code block, so that we can join the session with dynamic meeting id.
For that we will use URLSearchParams API to get the data in the URL query parameters.
const url = new URLSearchParams(window.location.search);
For getting meetingId, we will use get(params_name) method
const meetingId = url.get("meetingId")
Now, we need to modify only meetingId property from config object
<script>
      var script = document.createElement("script");
      script.type = "text/javascript";

      script.addEventListener("load", function (event) {
        const meeting = new VideoSDKMeeting();

        //Get URL query parameters
        const url = new URLSearchParams(window.location.search);

        const config = {
          // ...
          meetingId: url.get("meetingId"), // Get meeting id from params.
          // ...
        };

        meeting.init(config);
      });


      script.src =
        "https://sdk.videosdk.live/rtc-js-prebuilt/0.2.6/rtc-js-prebuilt.js";
      document.getElementsByTagName("head")[0].appendChild(script);
    </script>
For executing code block we can follow this steps Join Session
Got a Question? ![]() Ask us on discord
Ask us on discord

