Start or Join Meeting - Javascript
After the successful installation of VideoSDK, the next step is to integrate VideoSDK features with your webApp/MobileApp.
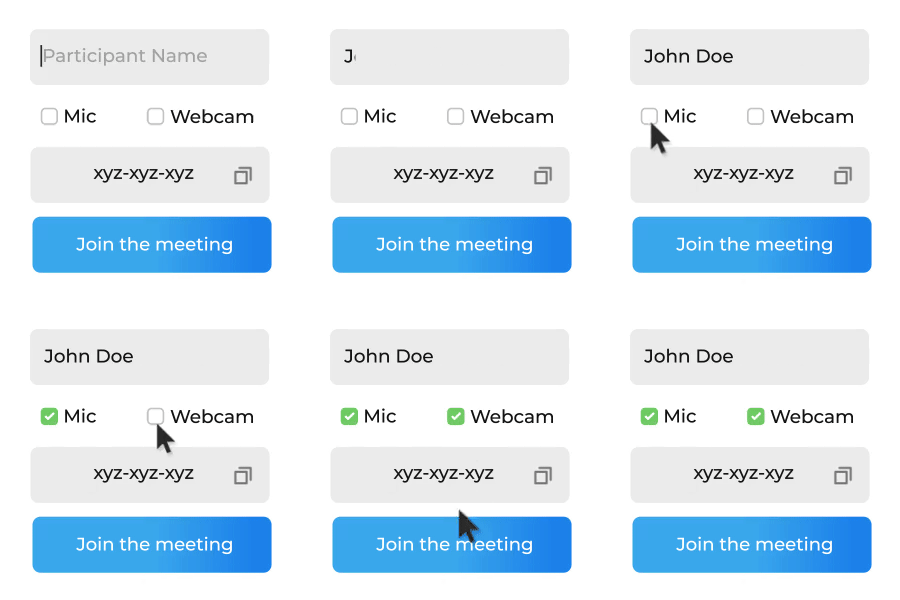
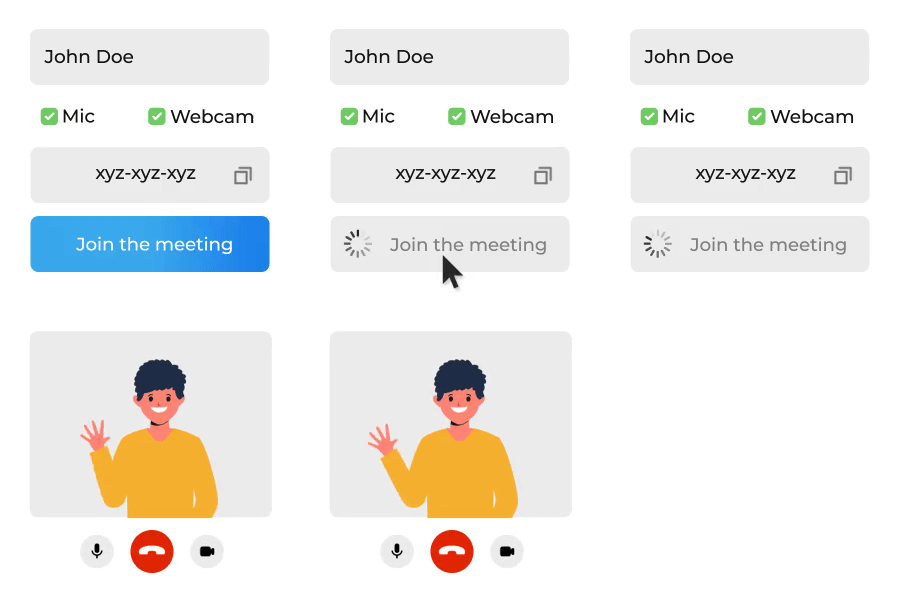
To Communicate with other participant's audio or video call, you will need to join the meeting.
This guide will provide an overview of how to configure, initialize and join a VideoSDK meeting.

1. Configuration
To configure a meeting, you will need generated token and meetingId, we had discussed in Server Setup. This code snippet calls API from local server
Scenario 1 - Suppose you don't have any meetingId, you can simply generate meetingId by invoking create-meeting API.
Scenario 2 - Suppose you have meetingId, now you don't have to call create-meeting API to generate meetingId, instead you can call validate-meeting API to validate meetingId.
Token generation API is necessary for both scenario.
const getToken = async () => {
  try {
    const response = await fetch(`${LOCAL_SERVER_URL}/get-token`, {
      method: "GET",
      headers: {
        Accept: "application/json",
        "Content-Type": "application/json",
      },
    });
    const { token } = await response.json();
    return token;
  } catch (e) {
    console.log(e);
  }
};

const getMeetingId = async (token) => {
  try {
    const VIDEOSDK_API_ENDPOINT = `${LOCAL_SERVER_URL}/create-meeting`;
    const options = {
      method: "POST",
      headers: {
        "Content-Type": "application/json",
      },
      body: JSON.stringify({ token }),
    };
    const response = await fetch(VIDEOSDK_API_ENDPOINT, options)
      .then(async (result) => {
        const { meetingId } = await result.json();
        return meetingId;
      })
      .catch((error) => console.log("error", error));
    return response;
  } catch (e) {
    console.log(e);
  }
};

/** This API is for validate the meeting id  */
/** Not require to call this API after create meeting API  */
const validateMeeting = async (token, meetingId) => {
  try {
    const VIDEOSDK_API_ENDPOINT = `${LOCAL_SERVER_URL}/validate-meeting/${meetingId}`;
    const options = {
      method: "POST",
      headers: {
        "Content-Type": "application/json",
      },
      body: JSON.stringify({ token }),
    };
    const response = await fetch(VIDEOSDK_API_ENDPOINT, options)
      .then(async (result) => {
        const { meetingId } = await result.json();
        return meetingId;
      })
      .catch((error) => console.log("error", error));
    return response;
  } catch (e) {
    console.log(e);
  }
};

const access_token = await getToken();
const meetingId = await getMeetingId(access_token);
2. Initialization
After configuration, you will have to Initialize
meeting by providing name, meetingId, micEnabled, webcamEnabled & maxResolution.
NOTE : For React & React native developer, you have
to be familiar with hooks concept. You can understand hooks concept on React Hooks.

import { VideoSDK } from "@videosdk.live/js-sdk";

// Configure authentication token
VideoSDK.config("<Authentication-token>");

// Initialise meeting
const meeting = VideoSDK.initMeeting({
  meetingId: "<Id-on-meeting>", // required
  name: "<Name-of-participant>", // required
  participantId:'Id-of-participant' // optional, default: SDK will generate
  micEnabled: "<Flag-to-enable-mic>", // optional, default: true
  webcamEnabled: "<Flag-to-enable-webcam>", // optional, default: true
  maxResolution: "<Maximum-resolution>", // optional, default: "hd"
  customVideoTrack: "<Video-track>", // optional
  customMicrophoneTrack: "<Microphone-track>", // optional
   multiStream: true // optional, default: true
});
3. Join
After configuration & initialization, the third step is to call join() to join a meeting.
After joining, you will be able to Manage Participant in a meeting.

const onPress = () => {
  // Joining Meeting
  meeting?.join();
};
Events
Following events are emitted on the meeting when it is successfully joined.
- Local Participant will receive a
meeting-joinedevent when successfully joined. - Remote Participant will receive a
participant-joinedevent with the newly joinedParticipantobject from the event callback.
meeting.on("meeting-joined", () => {
  console.log("Meeting Joined Successfully");
});

meeting.on("participant-joined", (participant) => {
  console.log("New Participant Joined: ", participant.id);
});
Got a Question? Ask us on discord

