Start HLS - React Native
Before initiating HLS, it is essential to have a VideoSDK Room in progress, which you intend to utilize for interactive live streaming. For detailed instructions on setting up interactive live streaming, please refer to the steps outlined in the quick start guide here.
This page uses the following asynchronous methods. Refer to their API reference for the errors each Promise may reject with, and handle these rejections appropriately based on your use case.
Starting HLS
Once the user has joined the room, the startHLS() method, accessible from the useRoom hook, is used to initiate interactive livestream of a room. This method accepts the following parameters:
-
config (optional): This parameter defines how the interactive livestream layout should look like.try {await startHLS({// Layout Configurationlayout: {type: "GRID", // "SPOTLIGHT" | "SIDEBAR", Default : "GRID"priority: "SPEAKER", // "PIN", Default : "SPEAKER"gridSize: 4, // MAX : 25},// Theme of interactive livestream layouttheme: "DARK", // "LIGHT" | "DEFAULT"// `mode` is used to either interactive livestream video & audio both or only audio.mode: "video-and-audio", // "audio", Default : "video-and-audio"// Quality of interactive livestream and is only applicable to `video-and-audio` type mode.quality: "high", /* Default : "med""low" (SD HLS) | "med" (HD HLS) | "high" (FHD HLS) */// This mode refers to orientation of interactive livestream.// landscape : Start interactive livestream of the room in horizontally// portrait : Start interactive livestream of the room in vertically (Best for mobile view)orientation: "portrait", // "landscape" | "portrait", Default : "landscape"});} catch (err) {console.error("startHLS failed:", err);} -
transcription (optional): Generates a transcription, and optionally a summary, after the interactive livestream ends. It takesenabled,summary({ enabled, prompt }) andmodelId. Pass it as the second argument, for examplestartHLS(config, { enabled: true }).
If you wish for only the hosts to be visible in the livestream, you can pin all participants in the SEND_AND_RECV mode and commence the livestream with the SPOTLIGHT layout, prioritizing pinned participants
Example
import { useRoom } from "@videosdk.live/react-native-sdk";
import { TouchableOpacity, Text } from "react-native";

const RoomView = () => {
  const { startHLS } = useRoom();

  const handleStartLivestream = async () => {
    // Start Hls
    try {
      await startHLS({
        layout: {
          type: "GRID",
          priority: "SPEAKER",
          gridSize: 4,
        },
        theme: "DARK",
        mode: "video-and-audio",
        quality: "high",
        orientation: "portrait",
      });
    } catch (err) {
      console.error("startHLS failed:", err);
    }
  };

  return (
    <>
      <TouchableOpacity
        onPress={() => {
          handleStartLivestream();
        }}
      >
        <Text>Start Hls</Text>
      </TouchableOpacity>
    </>
  );
};
Understanding Layouts
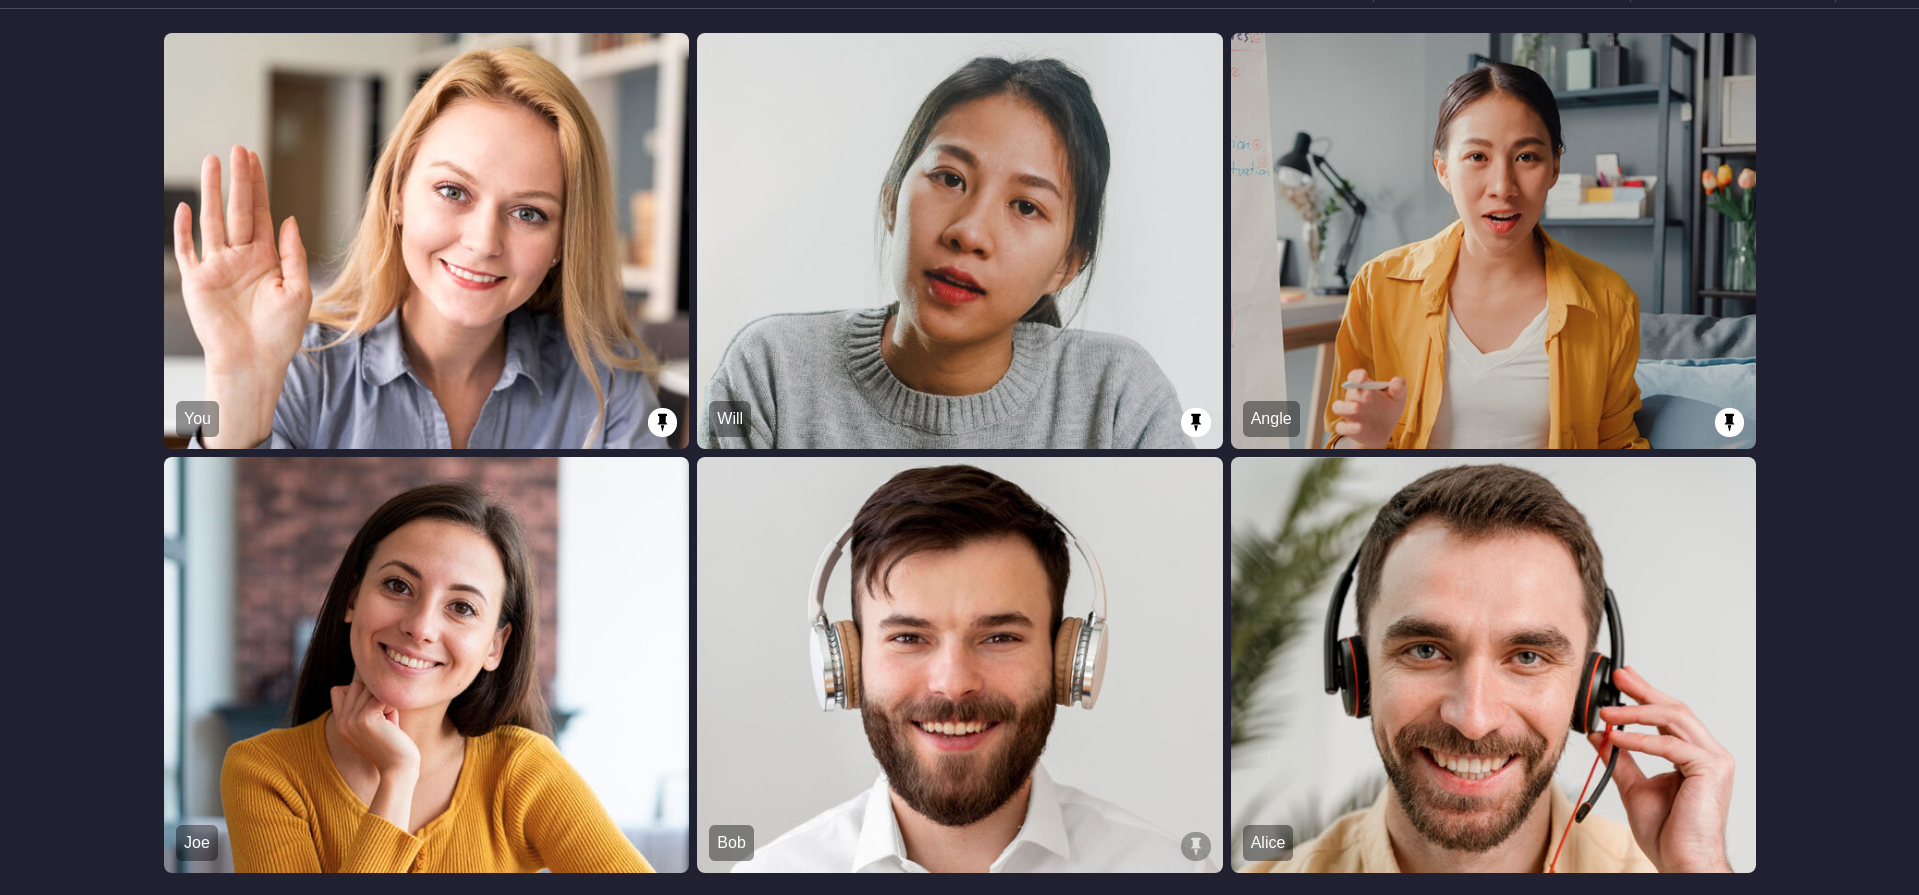
1. GRID Layout
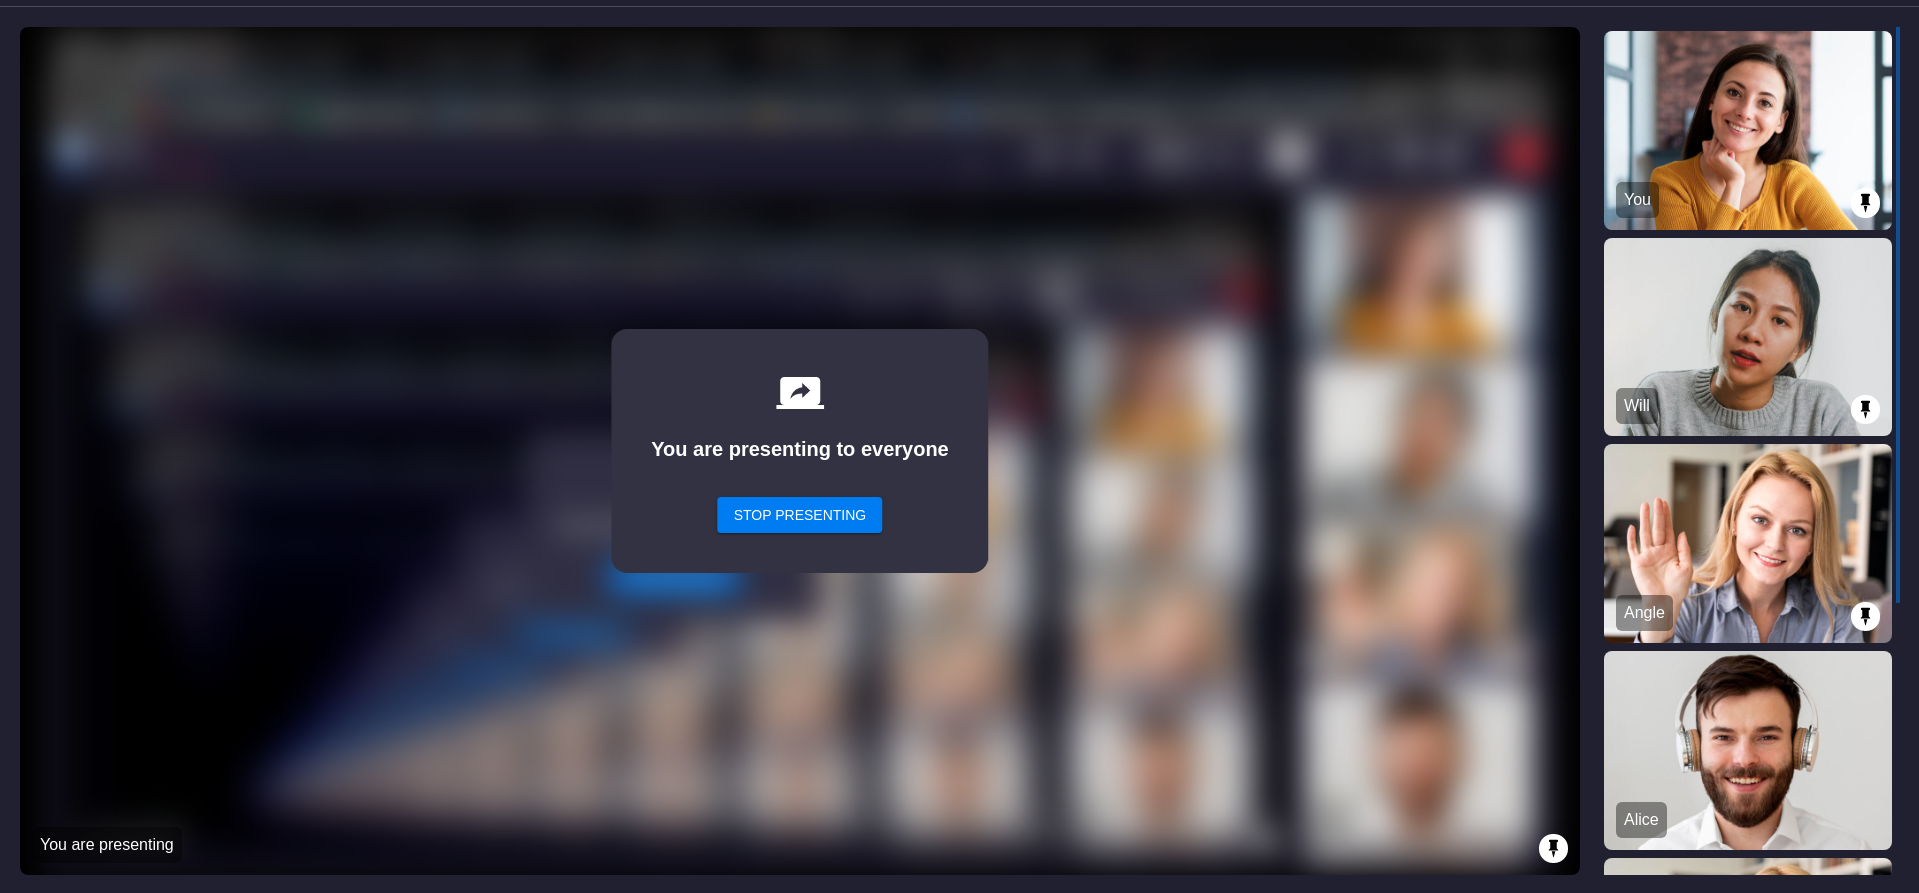
This layout serves as the default layout when no participants are pinned, resembling a typical room grid layout. However, when a participant is pinned, that individual takes precedence and is showcased prominently at the top of the main screen grid, surpassing all non-pinned participants.
During screenshare, the main view exclusively displays screenshare media, while the side panel maintains the same order of pinned and unpinned participants.
| Grid | Grid with Screenshare |
|---|---|
 |  |
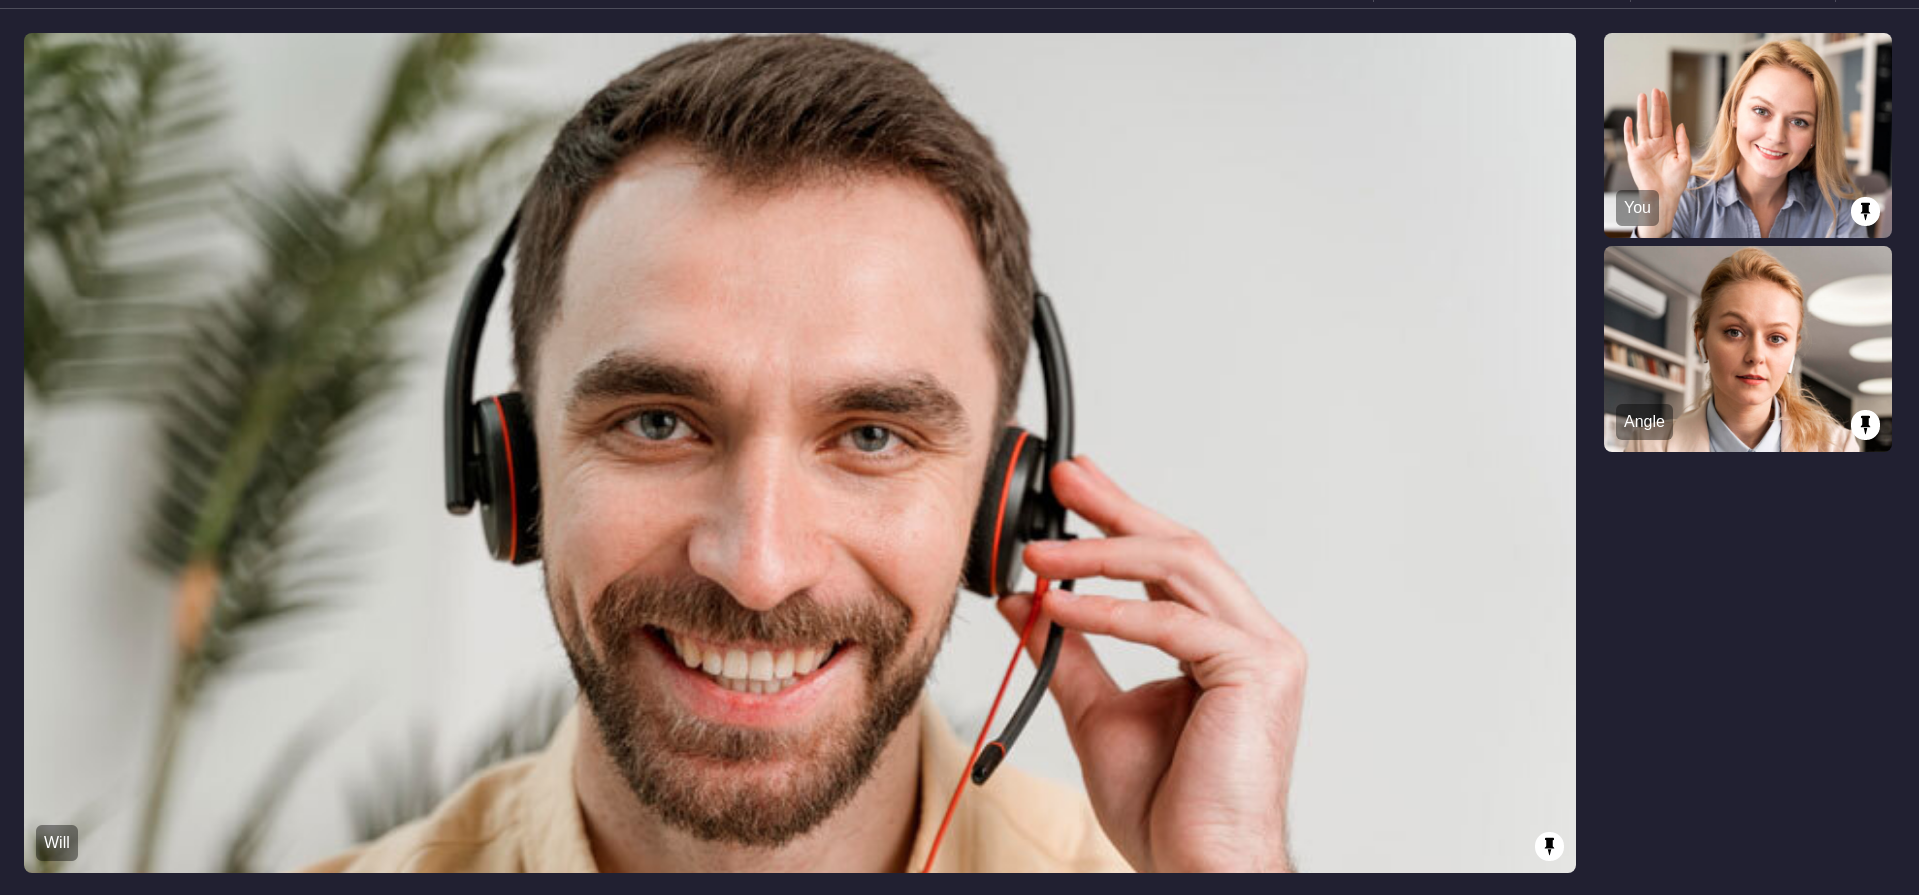
2. SIDEBAR Layout
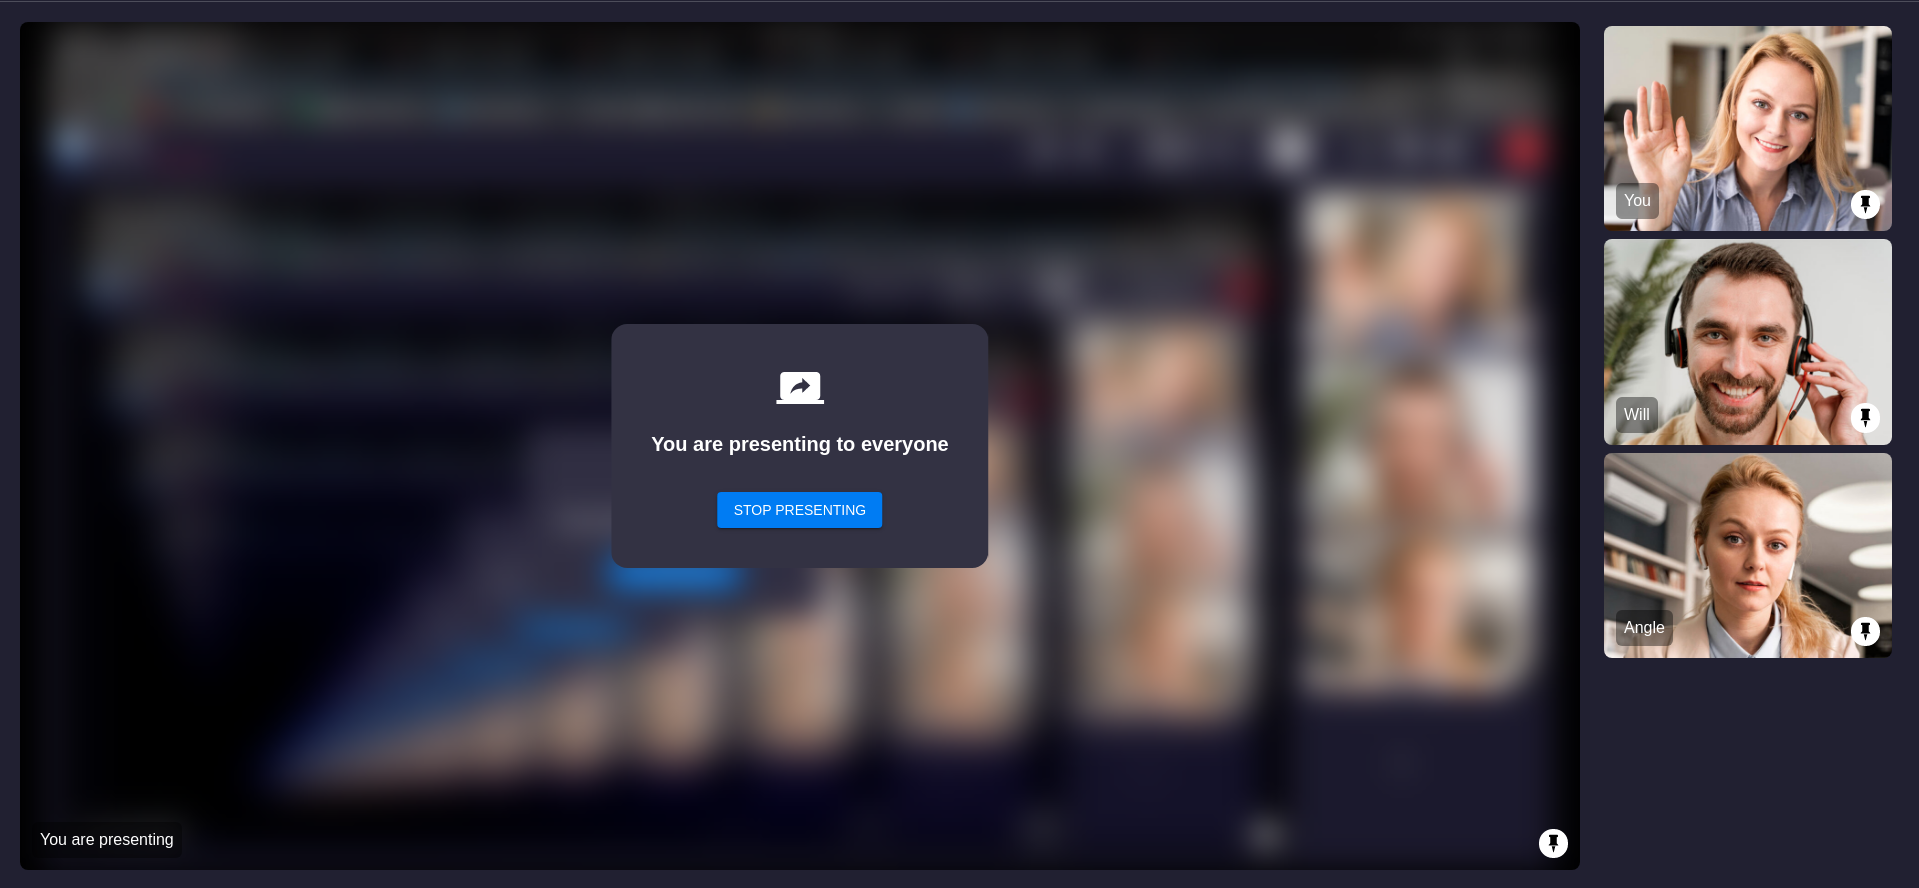
This layout contains a primary screen view and an accompanying sidebar grid layout. Only pinned participants are visible, with all unpinned participants excluded from this view. If more than one participant is pinned, the first participant to be pinned takes the main screen layout, and any remaining pinned participants appear in the sidebar.
In case a pinned participant initiates screenshare, the screenshare media will be visible in the main screen layout, and the webcam views of other pinned participants will be visible in the sidebar.
| Sidebar | Sidebar with Screenshare |
|---|---|
 |  |
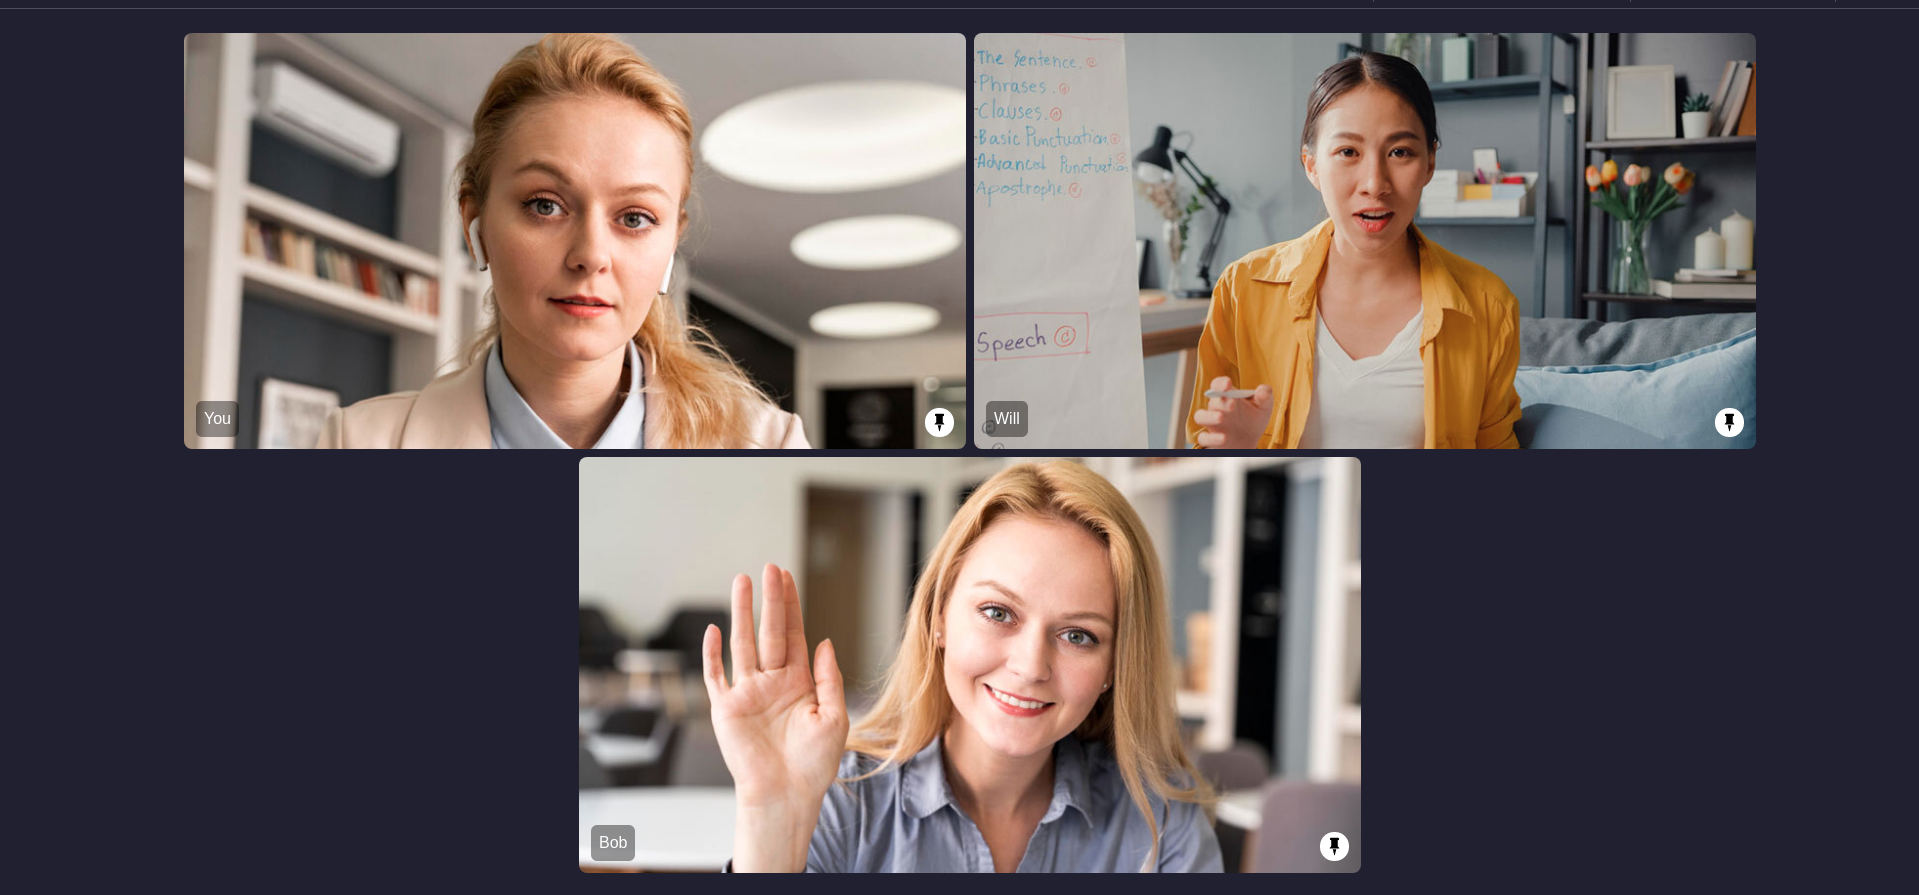
3. SPOTLIGHT Layout
This layout solely features the main screen view, where multiple pinned participants are visible. Similar to the SIDEBAR layout, only pinned participants are visible in the main screen.
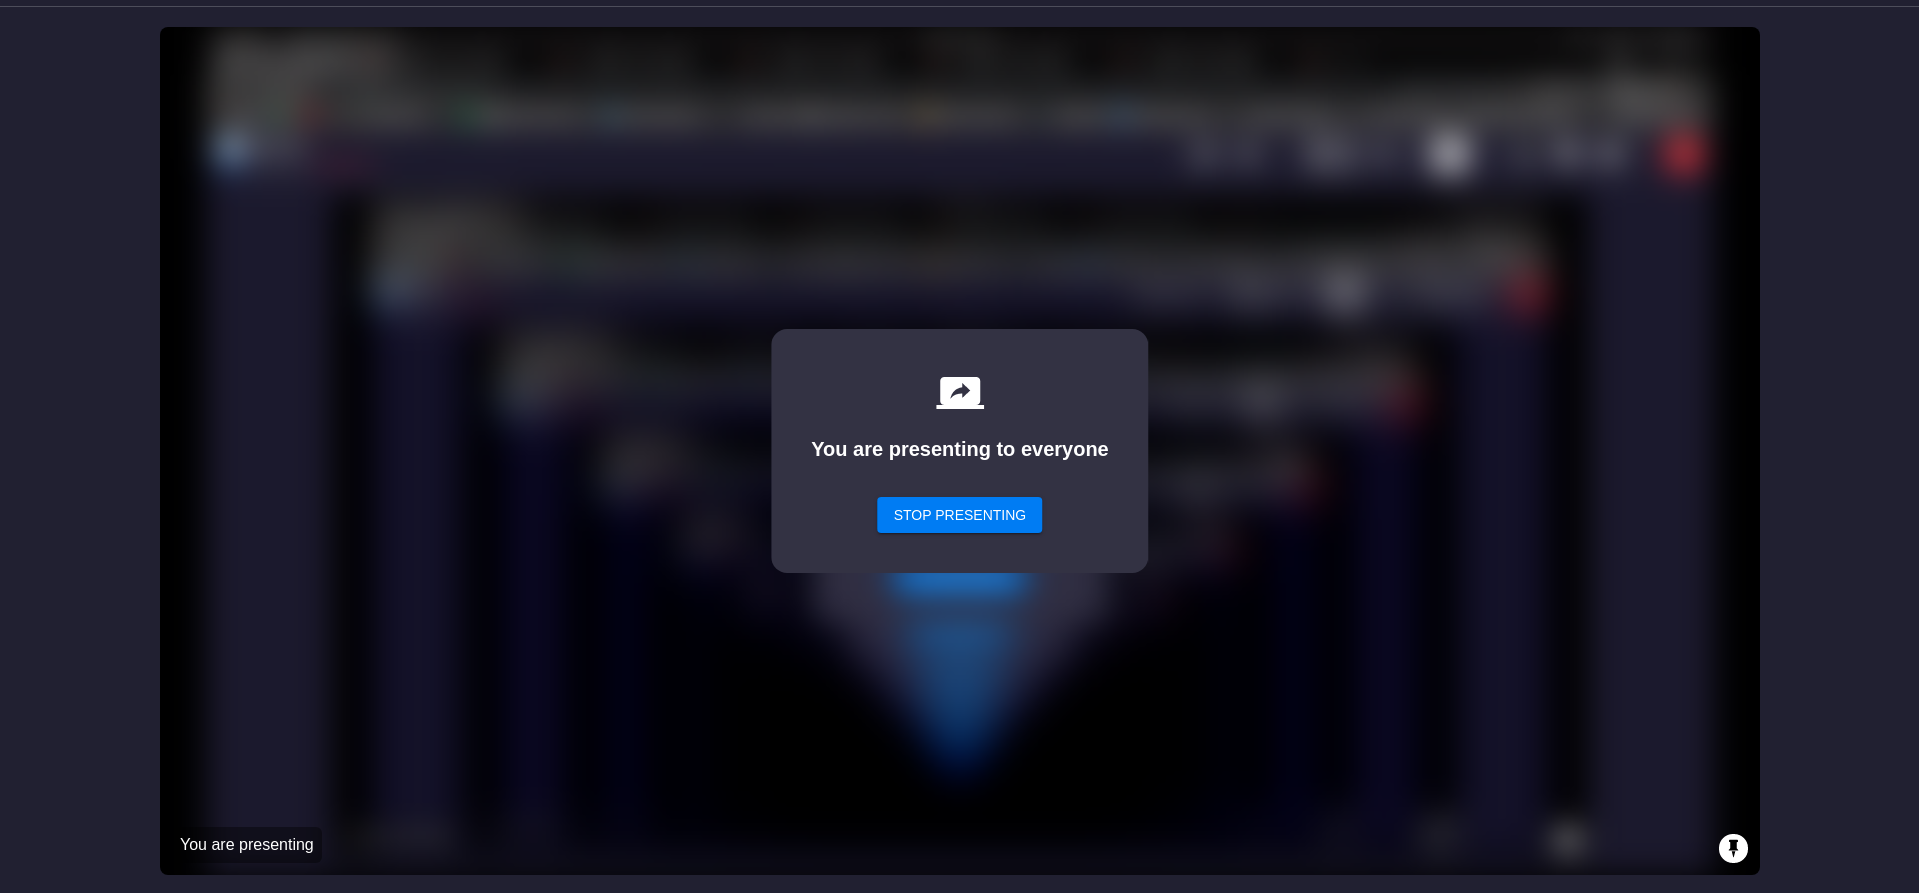
If a pinned participant begins screenshare, only the screenshare view will be visible on the main screen, and no webcam views of pinned participants will be displayed during screenshare.
| Spotlight | Spotlight with Screenshare |
|---|---|
 |  |
Event associated with HLS
-
onHlsStateChanged - The
onHlsStateChanged()event is triggered whenever the state of room HLS changes. -
You can get the
playbackHlsUrlandlivestreamUrlof the HLS to play on the Viewer side in thehlsUrlof the event when the state changes toConstants.hlsEvents.HLS_PLAYABLE, as well as from thehlsUrlsfrom theuseRoomhook.
import { Constants, useRoom } from "@videosdk.live/react-native-sdk";

function onHlsStateChanged(data) {
  const { state } = data;

  if (state === Constants.hlsEvents.HLS_STARTING) {
    console.log("Room Hls is starting");
  } else if (state === Constants.hlsEvents.HLS_STARTED) {
    console.log("Room Hls is started");
  } else if (state === Constants.hlsEvents.HLS_PLAYABLE) {
    // on HLS_PLAYABLE you will receive playbackHlsUrl and livestreamUrl in hlsUrl
    const { playbackHlsUrl, livestreamUrl } = data.hlsUrl;
    console.log("Room Hls is Playable");
  } else if (state === Constants.hlsEvents.HLS_STOPPING) {
    console.log("Room Hls is stopping");
  } else if (state === Constants.hlsEvents.HLS_STOPPED) {
    console.log("Room Hls is stopped");
  } else {
    //
  }
}

const { roomId } = useRoom({
  onHlsStateChanged,
});
Custom Template
With VideoSDK, you have the option to employ your own custom-designed layout template for the livestream. To use a custom template, follow this guide to create and set up the template. Once the template is configured, you can start HLS using the REST API, specifying the templateUrl parameter.
API Reference
The API references for all the methods utilized in this guide are provided below.
Got a Question?  Ask us on discord

