Share screen - React Native iOS
Contents
Create Broadcast Upload Extension in iOS
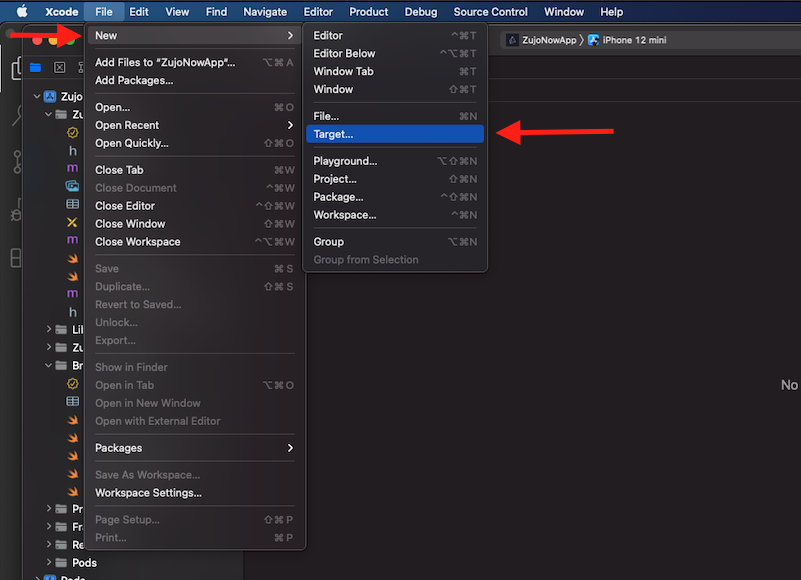
Step 1 : Open Target
Open your project with xcode, the select File > New > Target in menu bar.
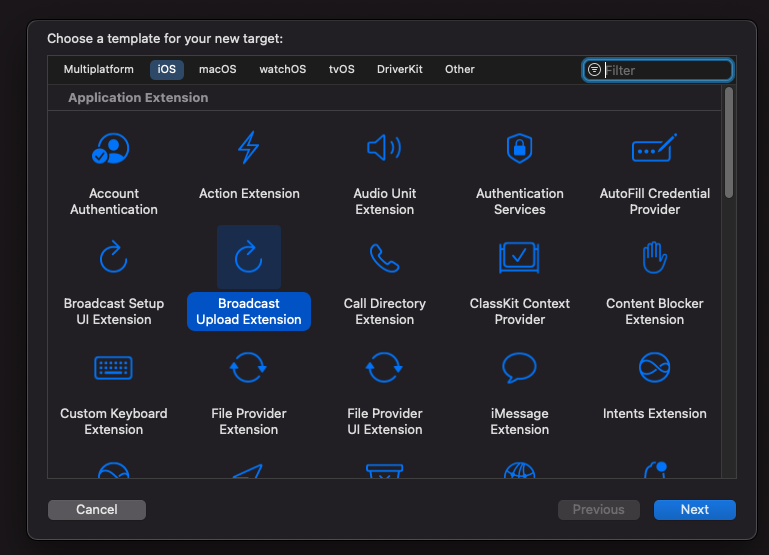
Step 2 : Select Target
Select Broadcast Upload Extension and click next.
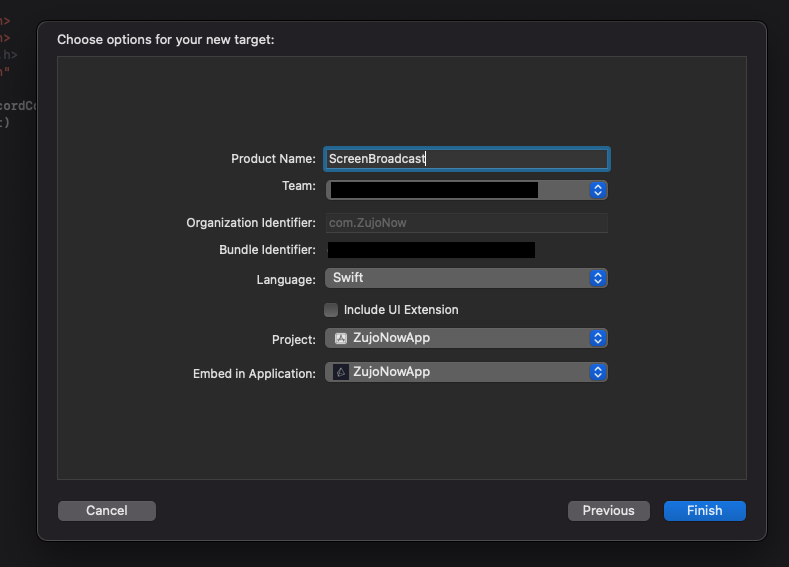
Step 3 : Configure Broadcast Upload Extension
Enter the extension's name in the Product Name field, choose the team from the dropdown, uncheck the "Include UI extension" field, and click "Finish."
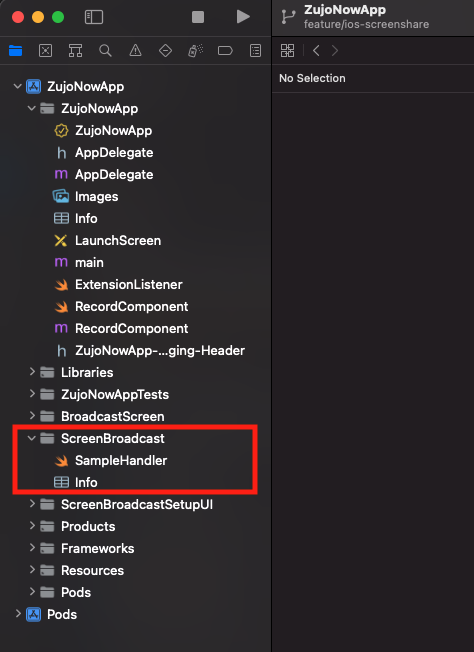
Step 4 : Activate Extension scheme
You will be prompted with a popup : Activate "Your-Extension-name" scheme?, click on activate.

Now, the "Broadcast" folder will appear in the Xcode left side bar.
Step 5 : Add External file in Created Extension
Open the videosdk-rtc-react-native-sdk-example repository, and copy the following files: SampleUploader.swift, SocketConnection.swift, DarwinNotificationCenter.swift, and Atomic.swift to your extension's folder. Ensure that these files are added to the target.
Step 6 : Update SampleHandler.swift file
Open SampleHandler.swift, and copy the content of the file. Paste this content into your extension's SampleHandler.swift file.
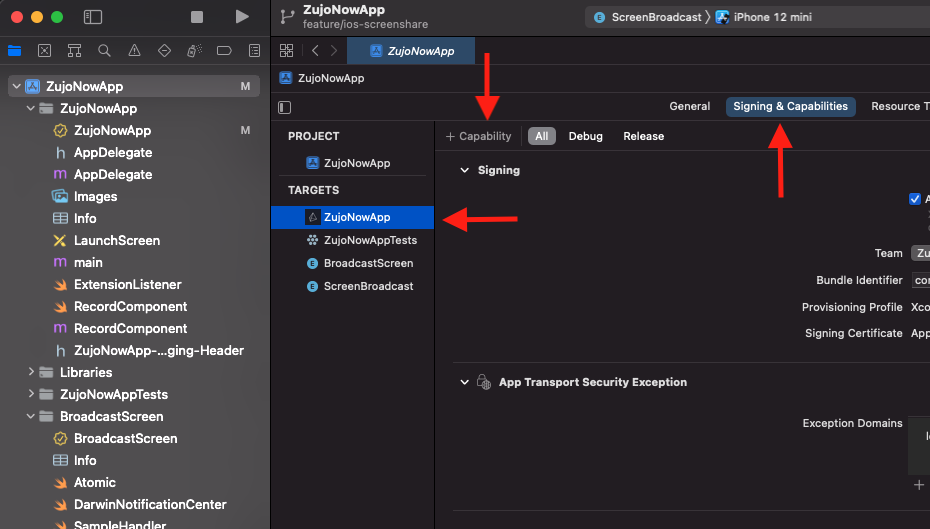
Step 7 : Add Capability in App
In Xcode, navigate to YourappName > Signing & Capabilities, and click on +Capability to configure the app group.
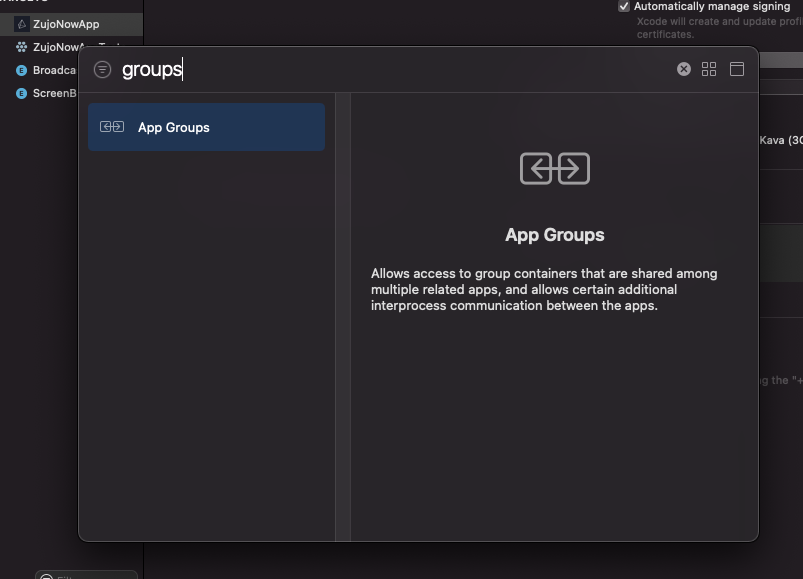
Choose App Groups from the list.
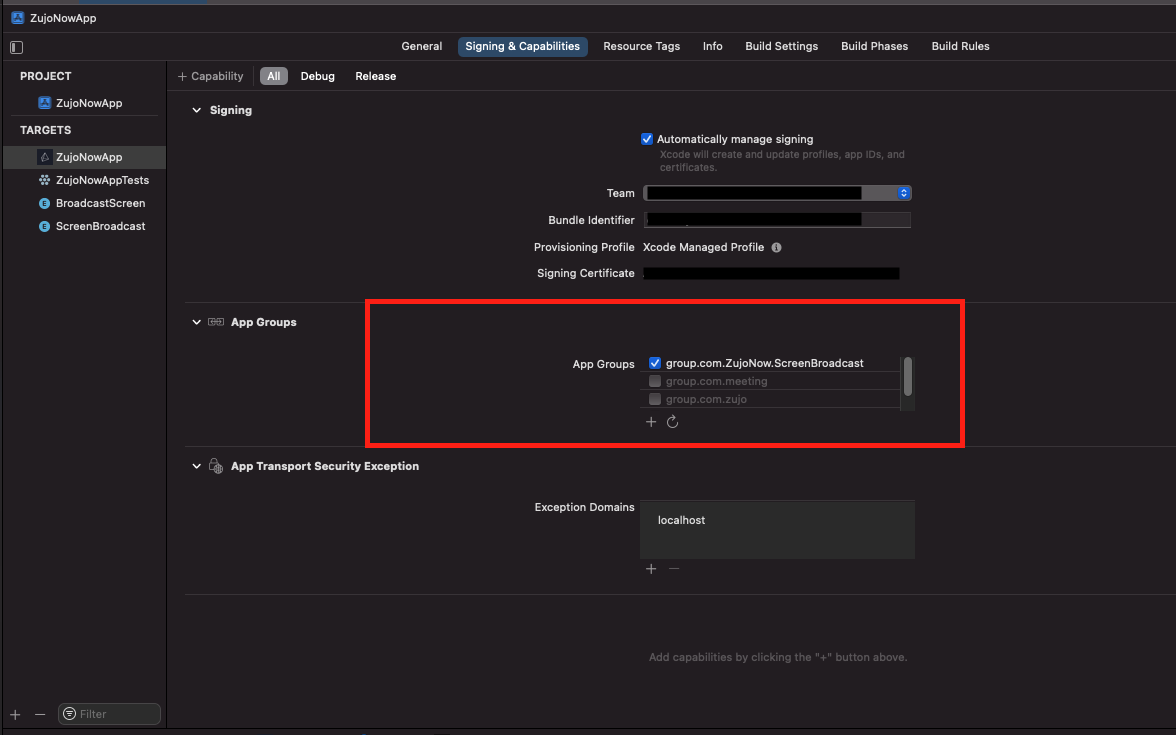
After that, select or add the generated App Group ID that you have created before.
Step 8 : Add Capability in Extension
Go to Your-Extension-Name > Signing & Capabilities and configure App Group functionality which we had perform in previous steps. (Group id should be same for both targets).

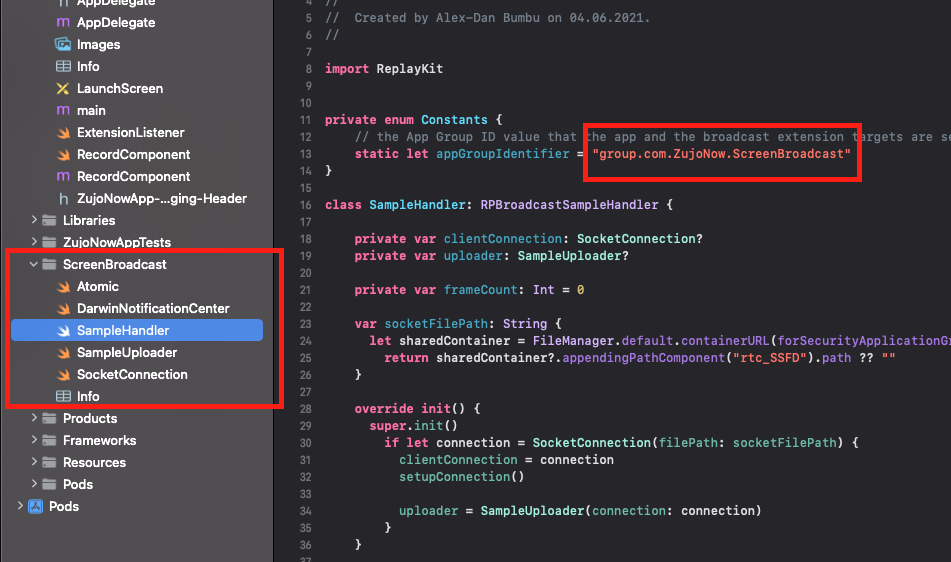
Step 9 : Add App Group Id in Extension File
Go to the extension's SampleHandler.swift file and paste your group ID in the appGroupIdentifier constant.
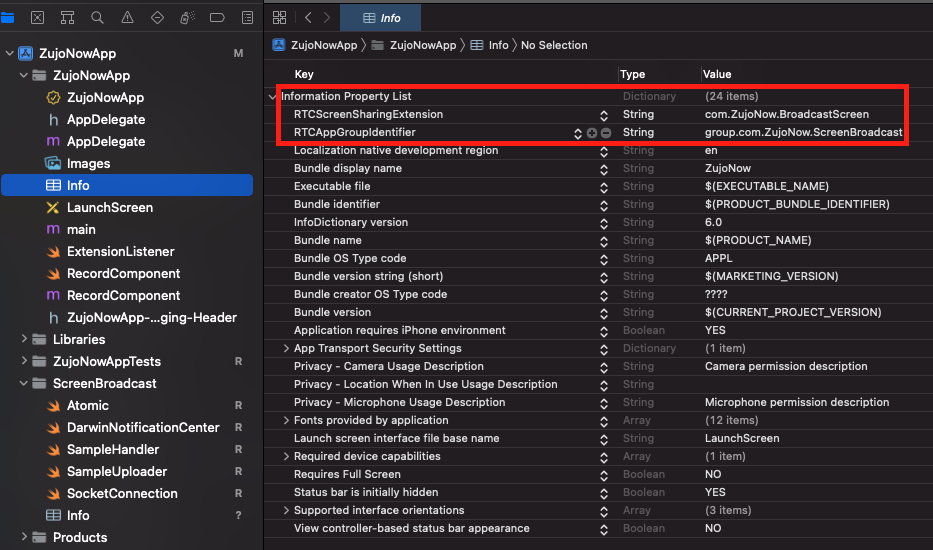
Step 10 : Update App level info.plist file
- Add a new key RTCScreenSharingExtension in Info.plist with the extension's Bundle Identifier as the value.
- Add a new key RTCAppGroupIdentifier in Info.plist with the extension's App groups Id as the value.
Note : For the extension's Bundle Identifier, go to TARGETS > Your-Extension-Name > Signing & Capabilities .
You can also check out the extension's example code on github.
Create iOS Native Module for RPSystemBroadcastPickerView
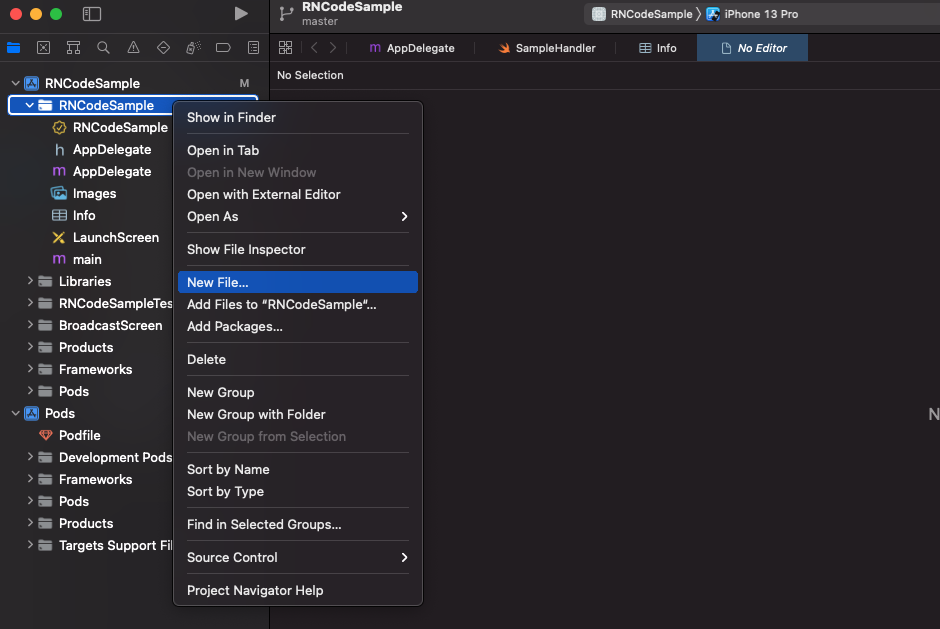
Step 1 : Add Files in iOS Project
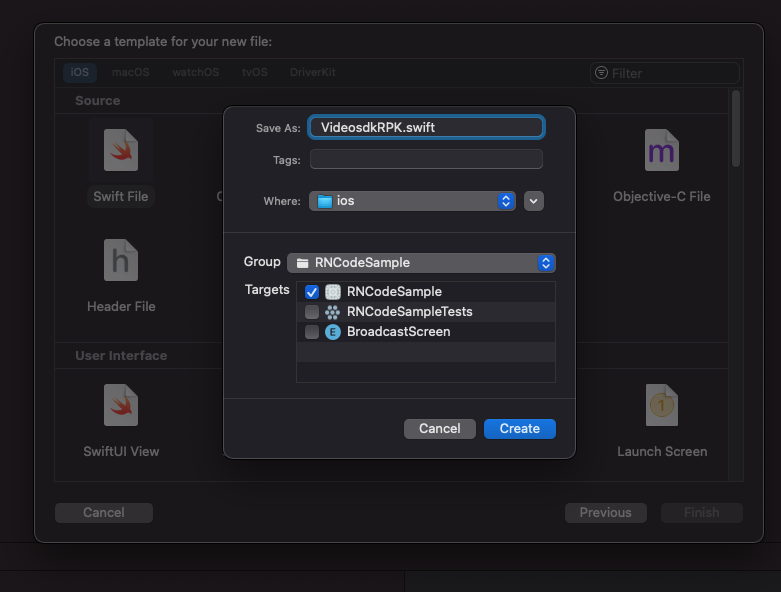
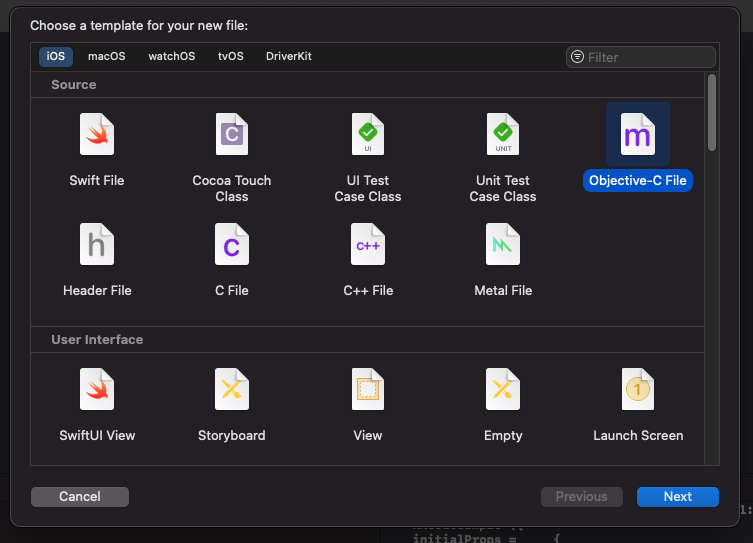
Go to Xcode > Your App and create a new file named VideosdkRPK.swift.
After clicking the Create button, it will prompt you to create a bridging header.
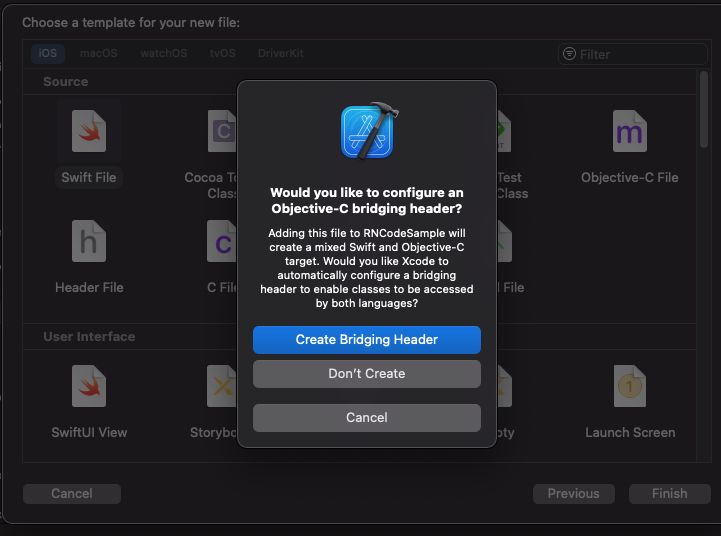
After creating the bridging header file, create an Objective-c file named VideosdkRPK.
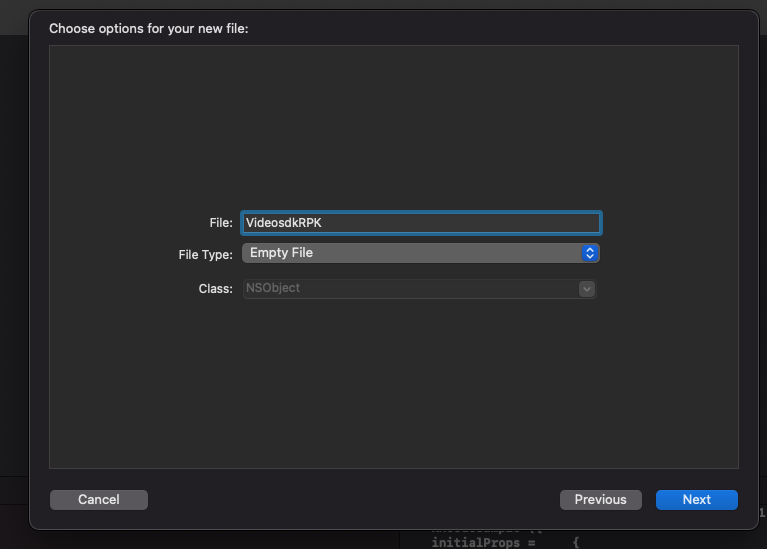
-
For the
VideosdkRPK.swiftfile, copy the content from here. -
In the
Appname-Bridging-Headerfile, add the line#import "React/RCTEventEmitter.h". -
For the
VideosdkRPK.mfile, copy the content from here.
Step 2 : Enable Xcode Capabilities
Enable the necessary capabilities in Xcode:
- Open your project in Xcode.
- Navigate to your target settings.
- Select the "Signing & Capabilities" tab.
- Click the "+" button to add capabilities.
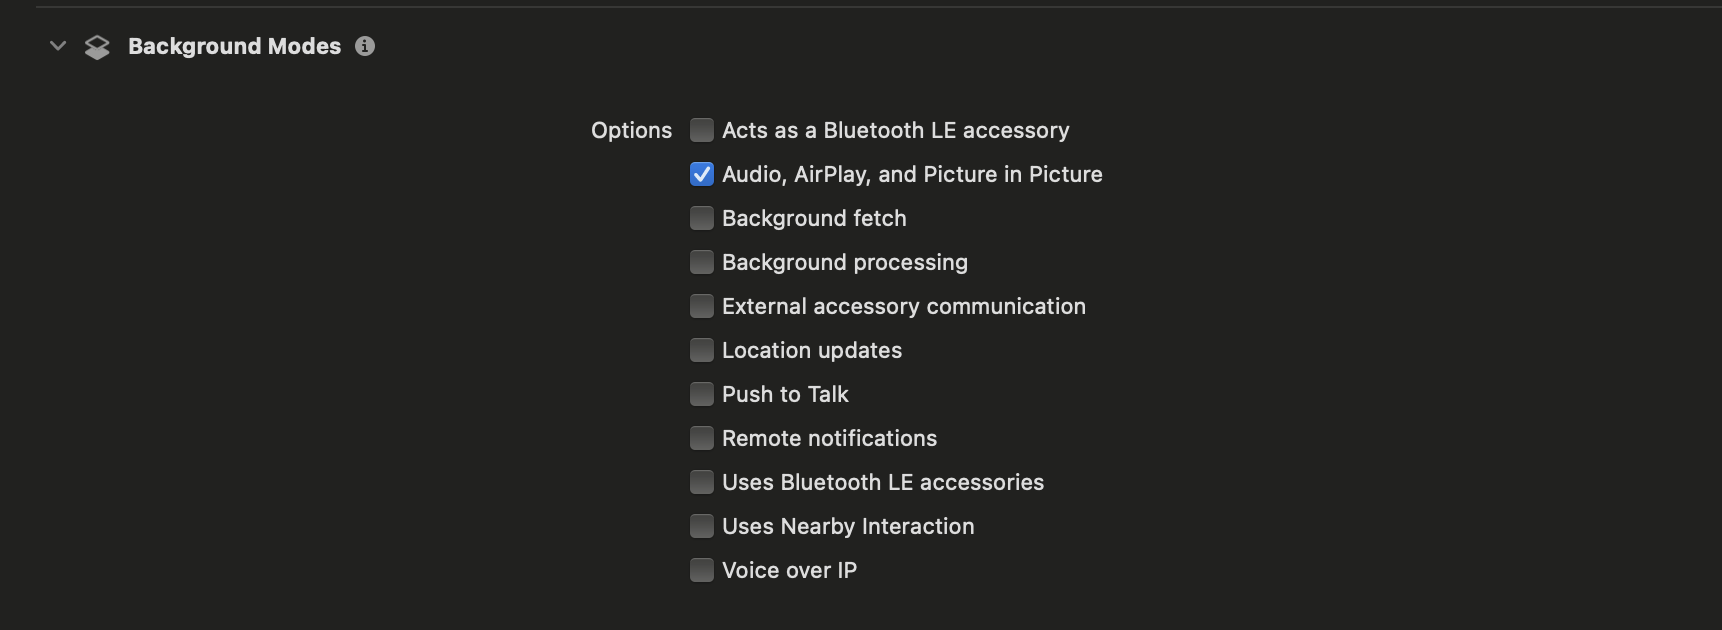
- Add Background Modes.
Under Background Modes, enable the following options:
- Audio, AirPlay, and Picture in Picture
Step 3 : Integrate Native Module on React native side
-
Create a file named
VideosdkRPK.jsand copy the ccontent from here. -
Add the lines given below for handling the enable and disable screen share event.
import React, { useEffect } from "react";
import VideosdkRPK from "../VideosdkRPK";
import { TouchableOpacity, Text } from "react-native";

const { enableScreenShare, disableScreenShare } = useMeeting({});

useEffect(() => {
  VideosdkRPK.addListener("onScreenShare", (event) => {
    if (event === "START_BROADCAST") {
      enableScreenShare();
    } else if (event === "STOP_BROADCAST") {
      disableScreenShare();
    }
  });

  return () => {
    VideosdkRPK.removeSubscription("onScreenShare");
  };
}, []);

return (
  <>
    <TouchableOpacity
      onPress={() => {
        // Calling startBroadcast from iOS Native Module
        VideosdkRPK.startBroadcast();
      }}
    >
      <Text> Start Screen Share </Text>
    </TouchableOpacity>

    <TouchableOpacity
      onPress={() => {
        disableScreenShare();
      }}
    >
      <Text> Stop Screen Share </Text>
    </TouchableOpacity>
  </>
);
- The
VideosdkRPK.startBroadcast()method produces the following result.
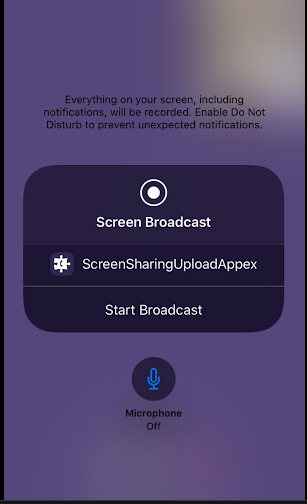
After clicking the Start Broadcast button, you will be able to get the screen share stream in the session.
Got a Question? ![]() Ask us on discord
Ask us on discord

