Quick Start for Interactive Live Streaming in React Native
VideoSDK empowers you to seamlessly integrate interactive live streaming features into your React Native application in minutes. While built for meetings, the SDK is easily adaptable for live streaming with support for up to 100 hosts/co-hosts and 2,000 viewers in real-time. Perfect for social use cases, this guide will walk you through integrating live streaming into your app.
For standard live streaming with 6-7 second latency and playback support, follow this documentation.
Prerequisites
Before proceeding, ensure that your development environment meets the following requirements:
- Video SDK Developer Account (Not having one, follow Video SDK Dashboard)
- Basic understanding of React Native
- React Native VideoSDK
- Have Node and NPM installed on your device.
- Android Studio or Xcode installed
- Basic understanding of Hooks (useState, useRef, useEffect)
- React Context API (optional)
Getting Started with the Code!
Follow the steps to create the environment necessary to add live streaming into your app. You can also find the code sample for quickstart here.
Create new React Native app
Create a new React Native app using the below command.
$ npx react-native init videosdkIlsReactNativeApp
$ cd videosdkIlsReactNativeApp
VideoSDK Installation
Install the VideoSDK by using the following command. Ensure that you are in your project directory before running this command.
- NPM
- Yarn
npm install "@videosdk.live/react-native-sdk" "@videosdk.live/react-native-incallmanager"
yarn add "@videosdk.live/react-native-sdk" "@videosdk.live/react-native-incallmanager"
Project Structure
  root
   ├── node_modules
   ├── android
   ├── ios
   ├── App.js
   ├── api.js
   ├── index.js
You are going to use functional components to leverage React Native's reusable component architecture. There will be components for users, videos, and controls (mic, camera, leave) over the video.
You will be working on these files:
- api.js: Responsible for handling API calls such as generating unique streamId and token
- App.js: Responsible for rendering container and joining the Live Stream.
Project Configuration
Expo Setup (Essential for Expo Developers)
If you are developing with Expo, setting up VideoSDK is mandatory. Follow this guide to configure your Expo environment.
Android Setup
<manifest
  xmlns:android="http://schemas.android.com/apk/res/android"
  package="com.cool.app"
>
    <!-- Give all the required permissions to app -->
    <uses-permission android:name="android.permission.INTERNET" />
    <uses-permission android:name="android.permission.ACCESS_NETWORK_STATE" />
    <!-- Needed to communicate with already-paired Bluetooth devices. (Legacy up to Android 11) -->
    <uses-permission
        android:name="android.permission.BLUETOOTH"
        android:maxSdkVersion="30" />
    <uses-permission
        android:name="android.permission.BLUETOOTH_ADMIN"
        android:maxSdkVersion="30" />

    <!-- Needed to communicate with already-paired Bluetooth devices. (Android 12 upwards)-->
    <uses-permission android:name="android.permission.BLUETOOTH_CONNECT" />

    <uses-permission android:name="android.permission.CAMERA" />
    <uses-permission android:name="android.permission.MODIFY_AUDIO_SETTINGS" />
    <uses-permission android:name="android.permission.RECORD_AUDIO" />
    <uses-permission android:name="android.permission.WAKE_LOCK" />
</manifest>
  dependencies {
   implementation project(':rnwebrtc')
  }
include ':rnwebrtc'
project(':rnwebrtc').projectDir = new File(rootProject.projectDir, '../node_modules/@videosdk.live/react-native-webrtc/android')
import live.videosdk.rnwebrtc.WebRTCModulePackage;

public class MainApplication extends Application implements ReactApplication {
  private static List<ReactPackage> getPackages() {
      @SuppressWarnings("UnnecessaryLocalVariable")
      List<ReactPackage> packages = new PackageList(this).getPackages();
      // Packages that cannot be autolinked yet can be added manually here, for example:
      packages.add(new WebRTCModulePackage());
      return packages;
  }
}
/* This one fixes a weird WebRTC runtime problem on some devices. */
android.enableDexingArtifactTransform.desugaring=false
-keep class org.webrtc.** { *; }
buildscript {
  ext {
      minSdkVersion = 23
  }
}
iOS Setup
To update CocoaPods, you can reinstall the gem using the following command:
$ sudo gem install cocoapods
Select Your_Xcode_Project/TARGETS/BuildSettings, in Header Search Paths, add "$(SRCROOT)/../node_modules/@videosdk.live/react-native-incall-manager/ios/RNInCallManager"
pod ‘react-native-webrtc’, :path => ‘../node_modules/@videosdk.live/react-native-webrtc’
You need to change the platform field in the Podfile to 12.0 or above because react-native-webrtc doesn't support iOS versions earlier than 12.0. Update the line: platform : ios, ‘12.0’.
After updating the version, you need to install the pods by running the following command:
Pod install
Add the following lines to your info.plist file located at (project folder/ios/projectname/info.plist):
<key>NSCameraUsageDescription</key>
<string>Camera permission description</string>
<key>NSMicrophoneUsageDescription</key>
<string>Microphone permission description</string>
Register Service
Register VideoSDK services in your root index.js file for the initialization service.
import { AppRegistry } from "react-native";
import App from "./App";
import { name as appName } from "./app.json";
import { register } from "@videosdk.live/react-native-sdk";

register();

AppRegistry.registerComponent(appName, () => App);
Step 1: Get started with API.js
Prior to moving on, you must create an API request to generate a unique streamId. You will need an authentication token, which you can create either through the videosdk-rtc-api-server-examples or directly from the VideoSDK Dashboard for developers.
//Auth token we will use to generate a streamId and connect to it
export const authToken = "<Generated-from-dashboard>";
// API call to create stream
export const createStream = async ({ token }) => {
  const res = await fetch(`https://api.videosdk.live/v2/rooms`, {
    method: "POST",
    headers: {
      authorization: `${token}`,
      "Content-Type": "application/json",
    },
    body: JSON.stringify({}),
  });
  //Destructuring the streamId from the response
  const { roomId: streamId } = await res.json();
  return streamId;
};
Step 2: Initialize and Join the Live Stream
To set up the wireframe of App.js, you'll use VideoSDK Hooks and Context Providers, which include:
- MeetingProvider: The context provider for managing live streams. Accepts config and token as props and makes them accessible to all nested components.
- useMeeting: A hook providing APIs to manage live streams, like joining, leaving, and toggling the mic or webcam.
- useParticipant: A hook to handle properties and events for a specific participant, such as their name, webcam, and mic streams.
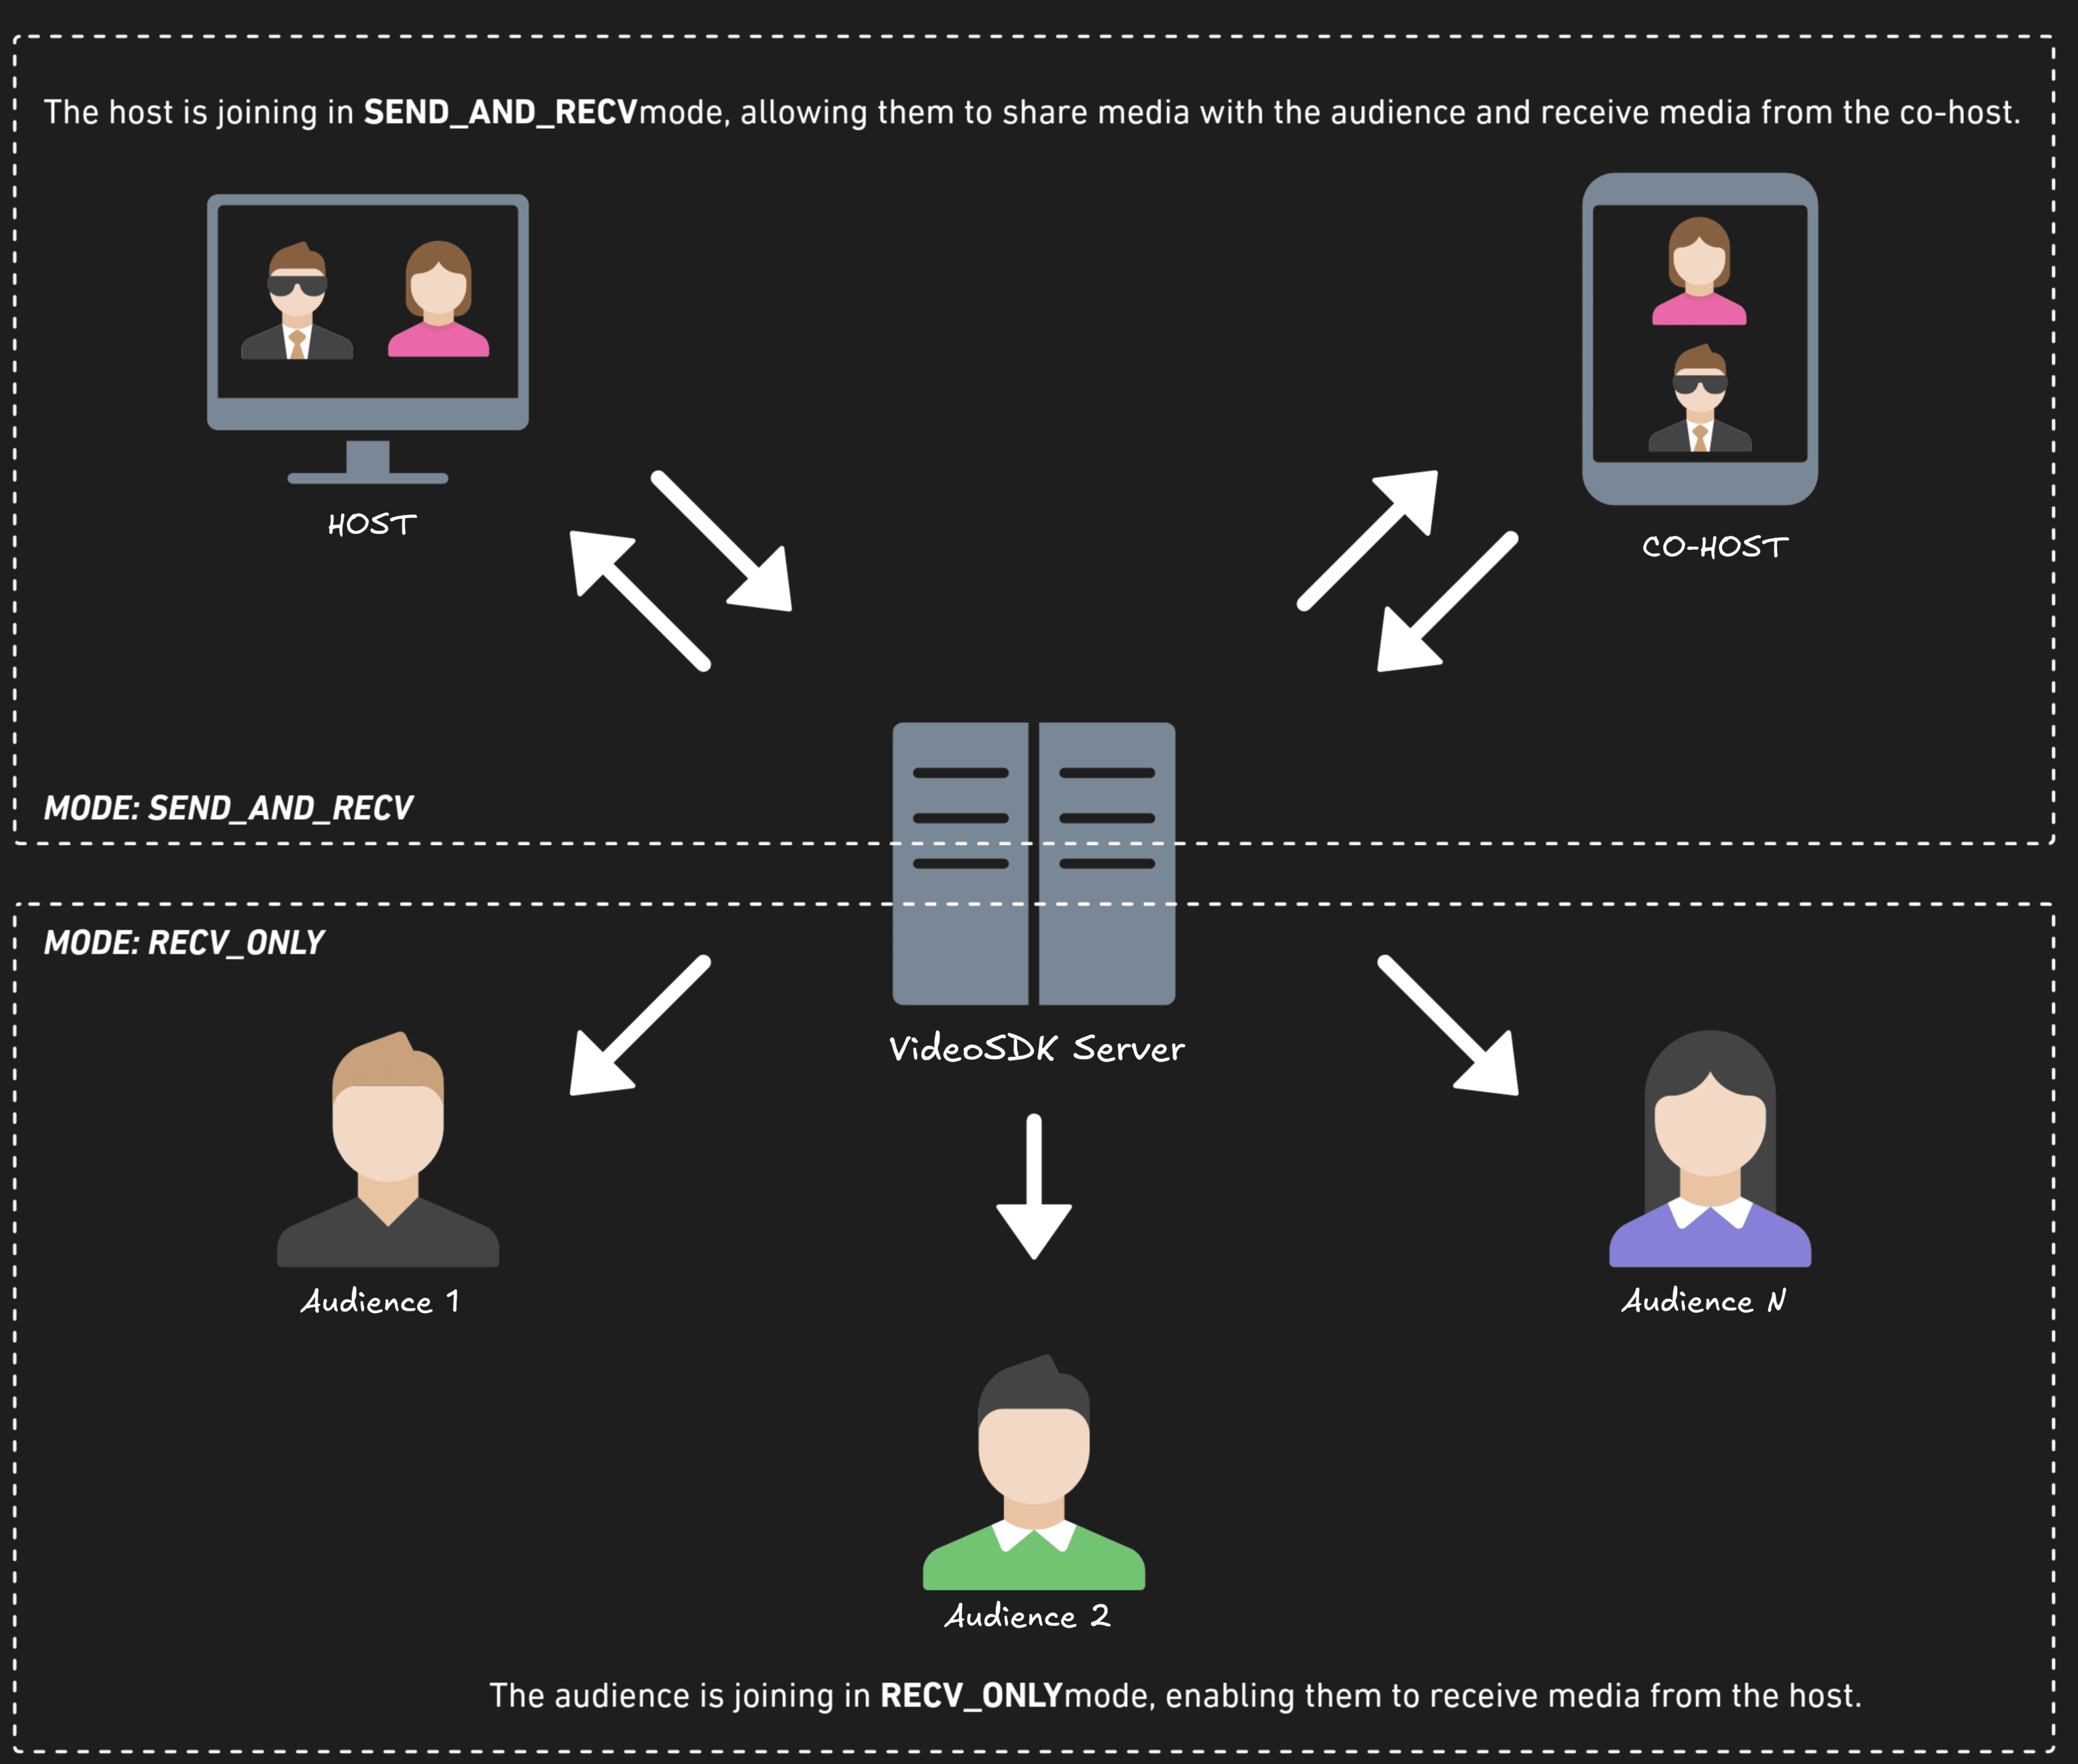
Before proceeding, let's understand the two modes of a Live Stream:
1. SEND_AND_RECV (For Host or Co-host):
- Designed primarily for the Host or Co-host.
- Allows sending and receiving media.
- Hosts can broadcast their audio/video and interact directly with the audience.
2. RECV_ONLY (For Audience):
- Tailored for the Audience.
- Enables receiving media shared by the Host.
- Audience members can view and listen but cannot share their own media.
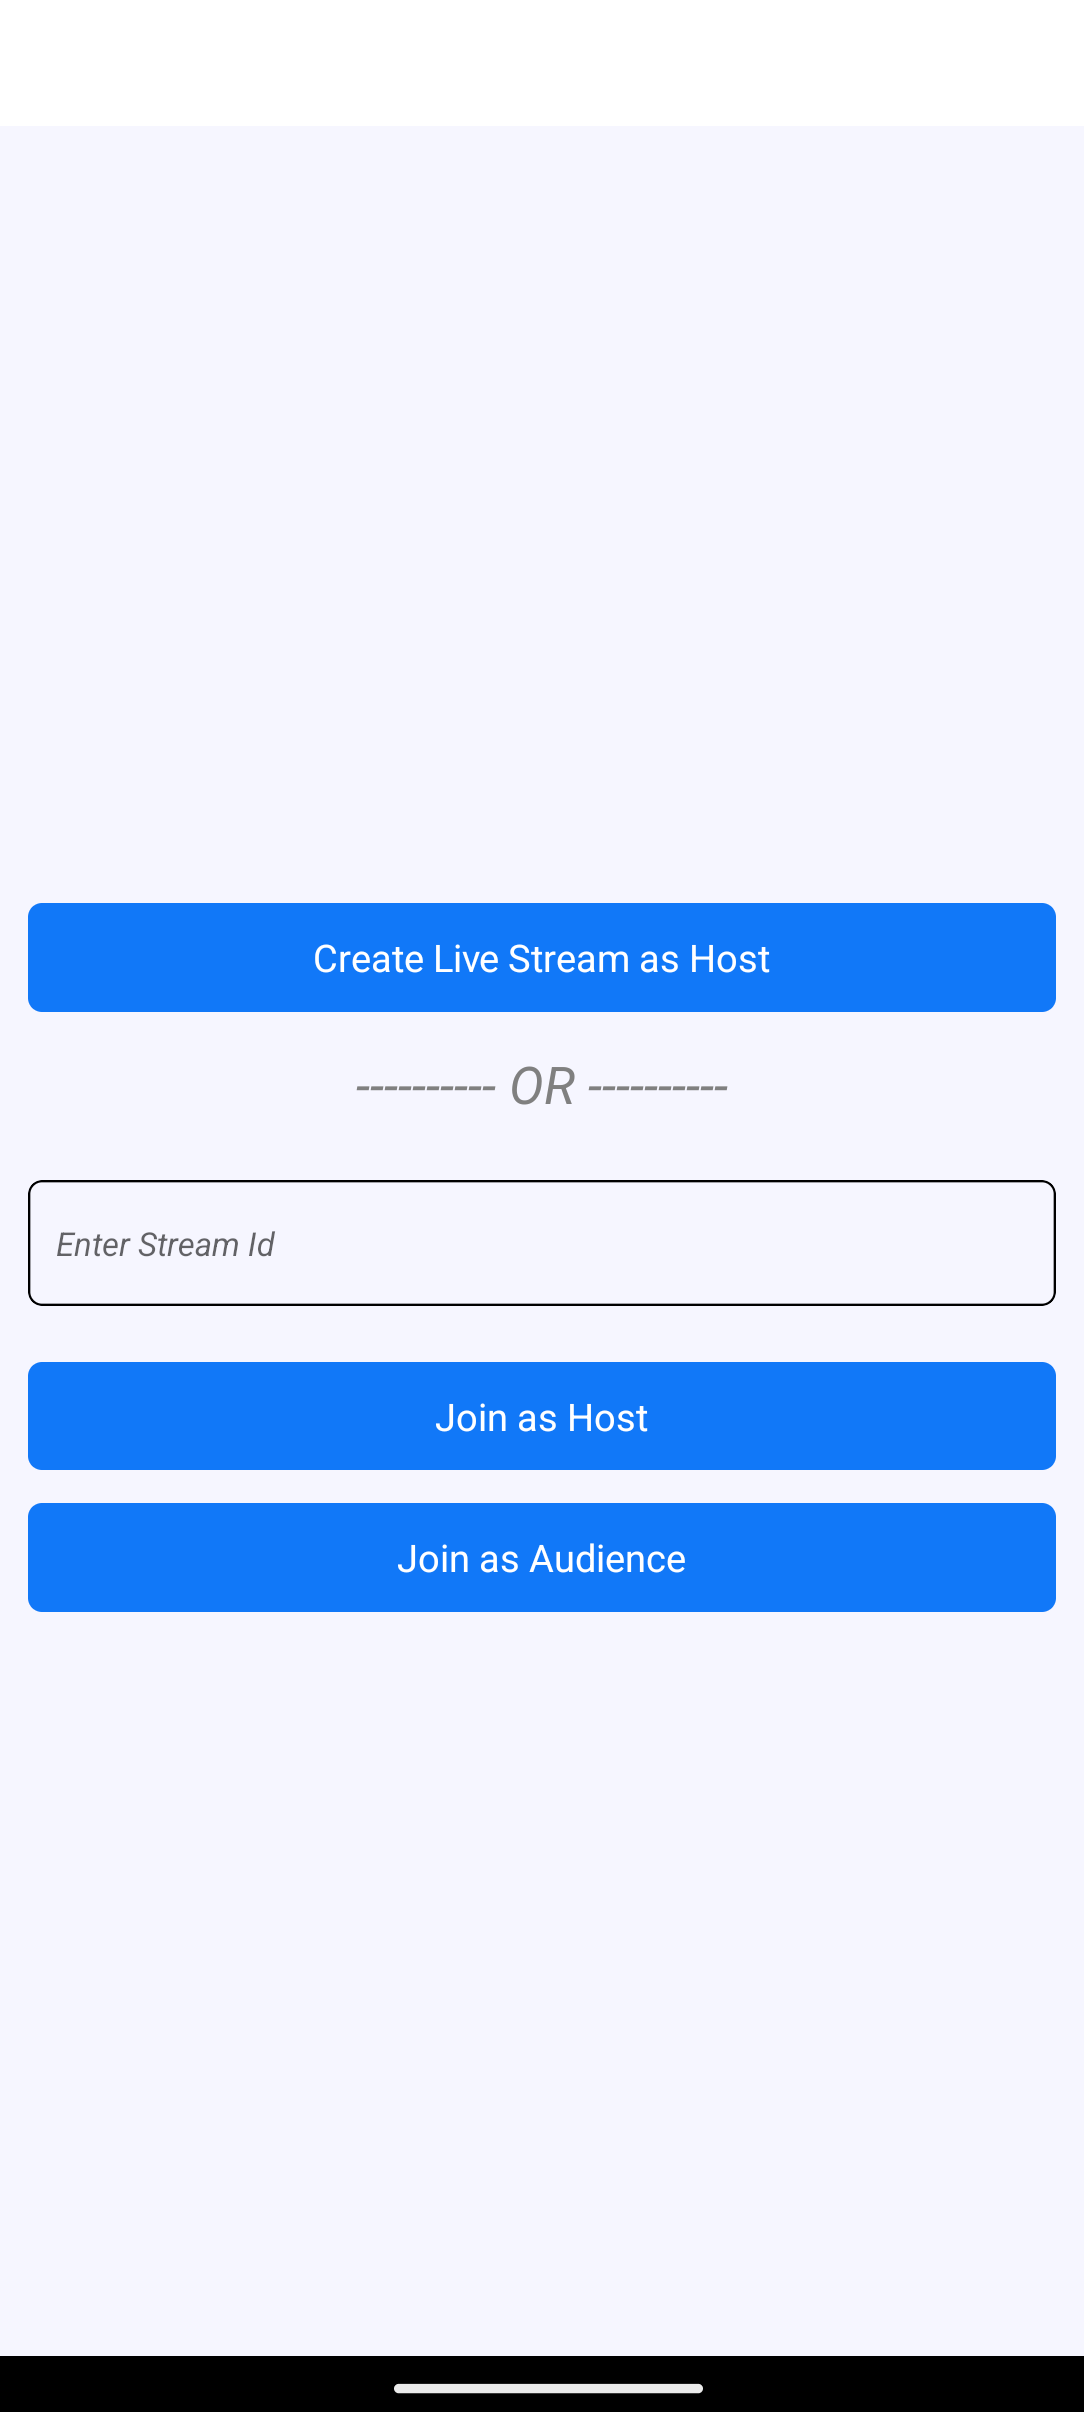
The Join Screen allows users to either create a new Live Stream or join an existing one as a host or audience, using these actions:
-
Join as Host: Allows the user to join an existing Live Stream using the provided streamId with theSEND_AND_RECVmode, enabling full host privileges. -
Join as Audience: Enables the user to join an existing Live Stream using the provided streamId with theRECV_ONLYmode, allowing view-only access. -
Create Live Stream as Host: Lets the user initiate a new Live Stream inSEND_AND_RECVmode, granting full host controls.
import React, { useState } from "react";
import {
  SafeAreaView,
  View,
  Text,
  TextInput,
  TouchableOpacity,
  StyleSheet,
  Alert,
  FlatList,
} from "react-native";
import {
  MeetingProvider,
  useMeeting,
  useParticipant,
  Constants,
  register,
  RTCView,
} from "@videosdk.live/react-native-sdk";
import { authToken, createStream } from "./api";

register();

// Join Screen - Handles joining or creating a live stream
function JoinView({ initializeStream, setMode }) {
  const [streamId, setStreamId] = useState("");

  const handleAction = async (mode) => {
    // Sets the mode (Host or Audience) and initializes the stream
    setMode(mode);
    await initializeStream(streamId);
  };

  return (
    <SafeAreaView style={styles.container}>
      <TouchableOpacity
        style={styles.button}
        onPress={() => handleAction(Constants.modes.SEND_AND_RECV)}
      >
        <Text style={styles.buttonText}>Create Live Stream as Host</Text>
      </TouchableOpacity>
      <Text style={styles.separatorText}>---------- OR ----------</Text>
      <TextInput
        style={styles.input}
        placeholder="Enter Stream Id"
        onChangeText={setStreamId}
      />
      <TouchableOpacity
        style={styles.button}
        onPress={() => handleAction(Constants.modes.SEND_AND_RECV)}
      >
        <Text style={styles.buttonText}>Join as Host</Text>
      </TouchableOpacity>
      <TouchableOpacity
        style={styles.button}
        onPress={() => handleAction(Constants.modes.RECV_ONLY)}
      >
        <Text style={styles.buttonText}>Join as Audience</Text>
      </TouchableOpacity>
    </SafeAreaView>
  );
}

// Live Stream Container - Placeholder for the live stream container
function LSContainer(props) {
  return null;
}

// Main App Component - Handles the app flow and stream lifecycle
function App() {
  const [streamId, setStreamId] = useState(null); // Holds the current stream ID
  const [mode, setMode] = useState(Constants.modes.SEND_AND_RECV); // Holds the current user mode (Host or Audience)

  const initializeStream = async (id) => {
    // Creates a new stream if no ID is provided or uses the given stream ID
    const newStreamId = id || (await createStream({ token: authToken }));
    setStreamId(newStreamId);
  };

  const onStreamLeave = () => setStreamId(null); // Resets the stream state on leave

  return authToken && streamId ? (
    <MeetingProvider
      config={{
        meetingId: streamId,
        micEnabled: true, // Enables microphone by default
        webcamEnabled: true, // Enables webcam by default
        name: "John Doe", // Default participant name
        mode,
      }}
      token={authToken}
    >
      {/* Renders the live stream container if a stream is active */}
      <LSContainer streamId={streamId} onLeave={onStreamLeave} />
    </MeetingProvider>
  ) : (
    // Renders the join view if no stream is active
    <JoinView initializeStream={initializeStream} setMode={setMode} />
  );
}

const styles = StyleSheet.create({
  container: {
    flex: 1,
    backgroundColor: "#F6F6FF",
    justifyContent: "center",
    paddingHorizontal: 12,
  },
  button: {
    backgroundColor: "#1178F8",
    padding: 12,
    marginTop: 14,
    borderRadius: 6,
    alignItems: "center",
  },
  buttonText: {
    color: "white",
    fontSize: 16,
  },
  input: {
    padding: 12,
    borderWidth: 1,
    borderRadius: 6,
    fontStyle: "italic",
    marginVertical: 10,
  },
  controls: {
    flexDirection: "row",
    justifyContent: "space-around",
    marginVertical: 16,
    flexWrap: "wrap",
  },
  noMedia: {
    backgroundColor: "grey",
    height: 300,
    justifyContent: "center",
    alignItems: "center",
    marginVertical: 8,
    marginHorizontal: 8,
  },
  noMediaText: {
    fontSize: 16,
  },
  separatorText: {
    alignSelf: "center",
    fontSize: 22,
    marginVertical: 16,
    fontStyle: "italic",
    color: "grey",
  },
});

export default App;
Output
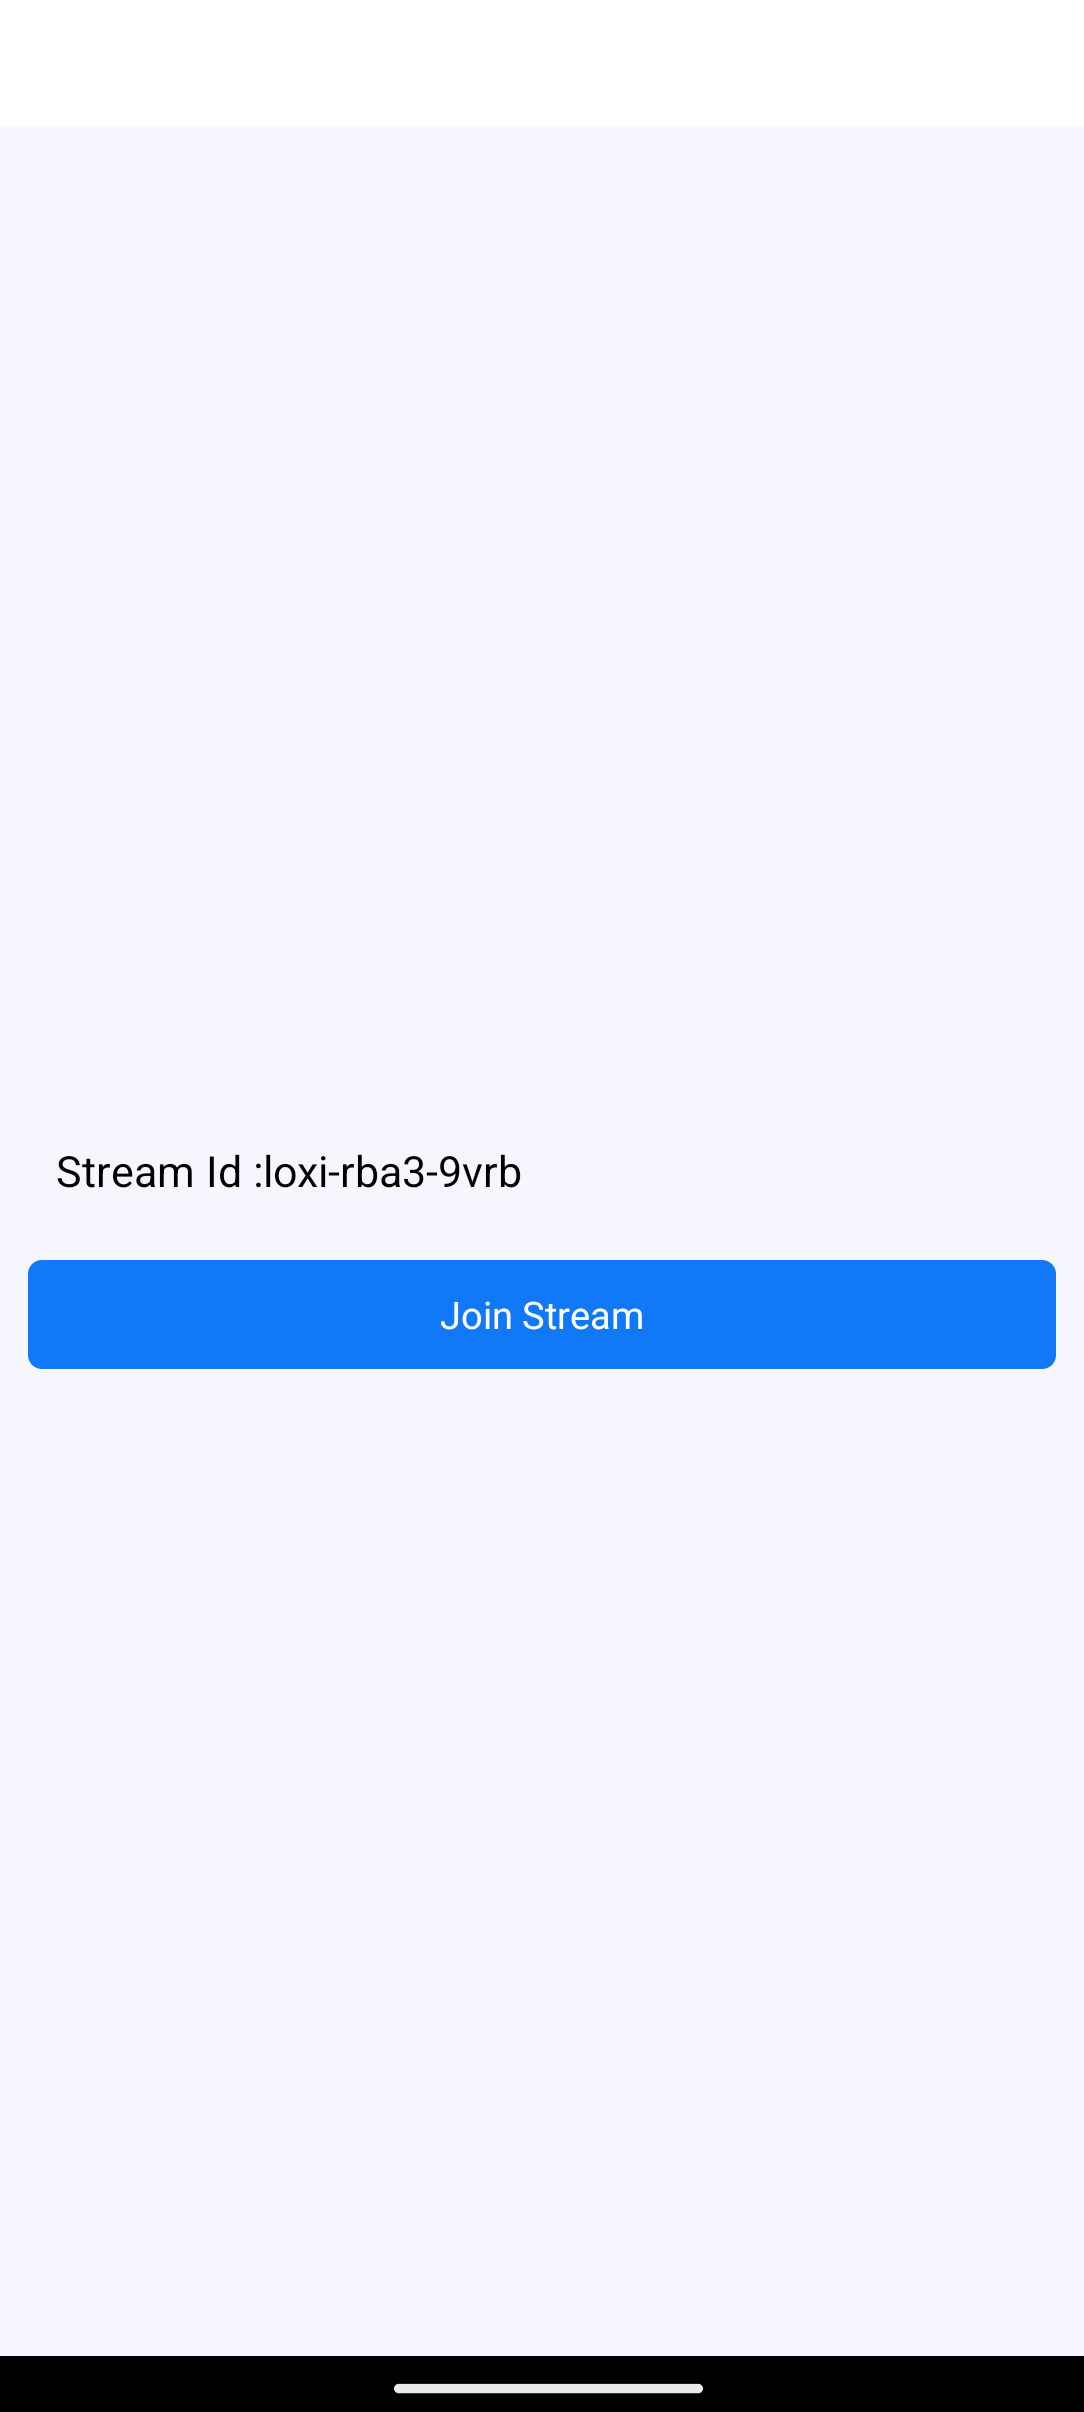
Step 3: Setting Up Live Stream View and Container
This step implements the Live Stream View and Container components to manage and display HOST participants:
-
StreamView Component:
- Displays participants in
SEND_AND_RECVmode using the Participant component. - Includes LSControls for managing the session.
- Displays participants in
-
LSContainer Component:
- Manages joining the stream via join from useMeeting.
- Shows the StreamView after joining or a
Join Streambutton otherwise.
// Component to manage live stream container and session joining
function LSContainer({ streamId, onLeave }) {
  const [joined, setJoined] = useState(false); // Track if the user has joined the stream

  const { join } = useMeeting({
    onMeetingJoined: () => setJoined(true), // Set `joined` to true when successfully joined
    onMeetingLeft: onLeave, // Handle the leave stream event
    onError: (error) => Alert.alert("Error", error.message), // Display an alert on encountering an error
  });

  return (
    <SafeAreaView style={styles.container}>
      {streamId ? (
        <Text style={{ fontSize: 18, padding: 12 }}>Stream Id :{streamId}</Text>
      ) : null}
      {/* Show the stream view if joined, otherwise display the "Join Stream" button */}
      {joined ? (
        <StreamView />
      ) : (
        <TouchableOpacity style={styles.button} onPress={join}>
          <Text style={styles.buttonText}>Join Stream</Text>
        </TouchableOpacity>
      )}
    </SafeAreaView>
  );
}

// Component to display the live stream view
function StreamView() {
  const { participants } = useMeeting(); // Access participants using the VideoSDK useMeeting hook
  const participantsArrId = Array.from(participants.entries())
    .filter(
      ([_, participant]) => participant.mode === Constants.modes.SEND_AND_RECV
    )
    .map(([key]) => key);

  return (
    <View style={{ flex: 1 }}>
      <FlatList
        data={participantsArrId}
        renderItem={({ item }) => {
          return <Participant participantId={item} />;
        }}
      />
      <LSControls />
    </View>
  );
}

function Participant() {
  return null;
}

function LSControls() {
  return null;
}
Output
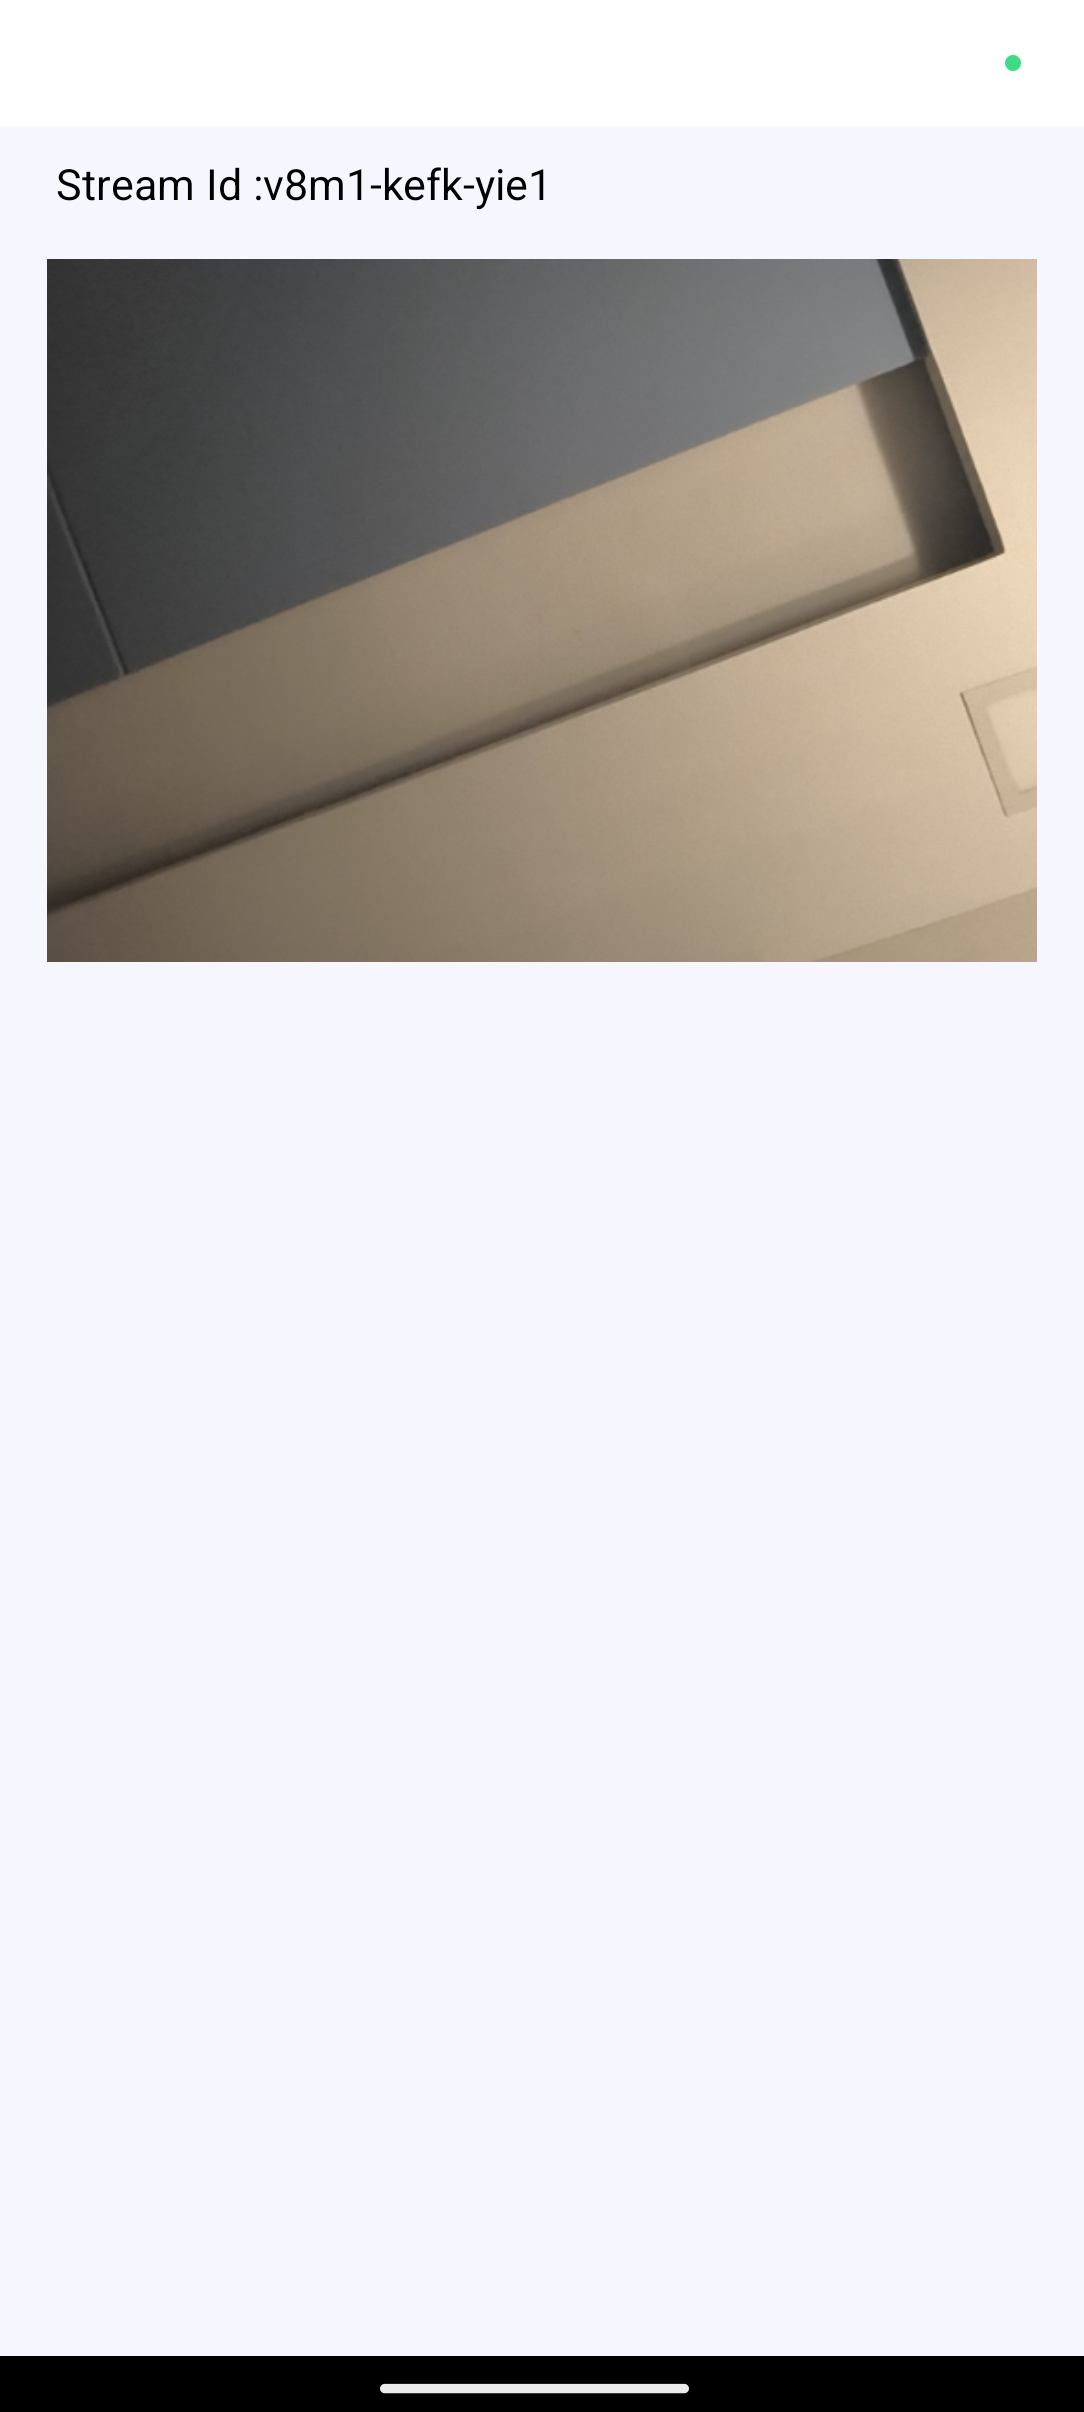
Step 4: Render Individual Participant's View
This step component displays an individual participant's audio and video streams. It uses the useParticipant hook to retrieve the participant's data.
We don't need to manage the audio stream manually; RTCView handles it seamlessly under the hood.
// Component to render video streams for a participant
function Participant({ participantId }) {
  const { webcamStream, webcamOn } = useParticipant(participantId);

  return webcamOn && webcamStream ? (
    <RTCView
      streamURL={new MediaStream([webcamStream?.track]).toURL()}
      objectFit={"cover"}
      style={{
        height: 300,
        marginVertical: 8,
        marginHorizontal: 8,
      }}
    />
  ) : (
    <View style={styles.noMedia}>
      <Text style={styles.noMediaText}>NO MEDIA</Text>
    </View>
  );
}
Output
Step 5: Implement Live Stream Controls
This step provides buttons to leave the stream, toggle the microphone and camera, and switch between Host Mode (send/receive streams) and Audience Mode (receive streams only). It uses useMeeting to access these functionalities.
// Component for managing stream controls
function LSControls() {
  const { leave, toggleMic, toggleWebcam, changeMode, meeting } = useMeeting(); // Access methods

  const currentMode = meeting.localParticipant.mode; // Get the current participant's mode

  return (
    <View style={styles.controls}>
      <TouchableOpacity style={styles.button} onPress={leave}>
        <Text style={styles.buttonText}>Leave</Text>
      </TouchableOpacity>
      {currentMode === Constants.modes.SEND_AND_RECV && (
        <>
          <TouchableOpacity style={styles.button} onPress={toggleMic}>
            <Text style={styles.buttonText}>Toggle Mic</Text>
          </TouchableOpacity>
          <TouchableOpacity style={styles.button} onPress={toggleWebcam}>
            <Text style={styles.buttonText}>Toggle Camera</Text>
          </TouchableOpacity>
        </>
      )}
      <TouchableOpacity
        style={styles.button}
        onPress={() =>
          changeMode(
            currentMode === Constants.modes.SEND_AND_RECV
              ? Constants.modes.RECV_ONLY
              : Constants.modes.SEND_AND_RECV
          )
        }
      >
        <Text style={styles.buttonText}>
          {currentMode === Constants.modes.SEND_AND_RECV
            ? "Switch to Audience"
            : "Switch to Host"}
        </Text>
      </TouchableOpacity>
    </View>
  );
}
Output
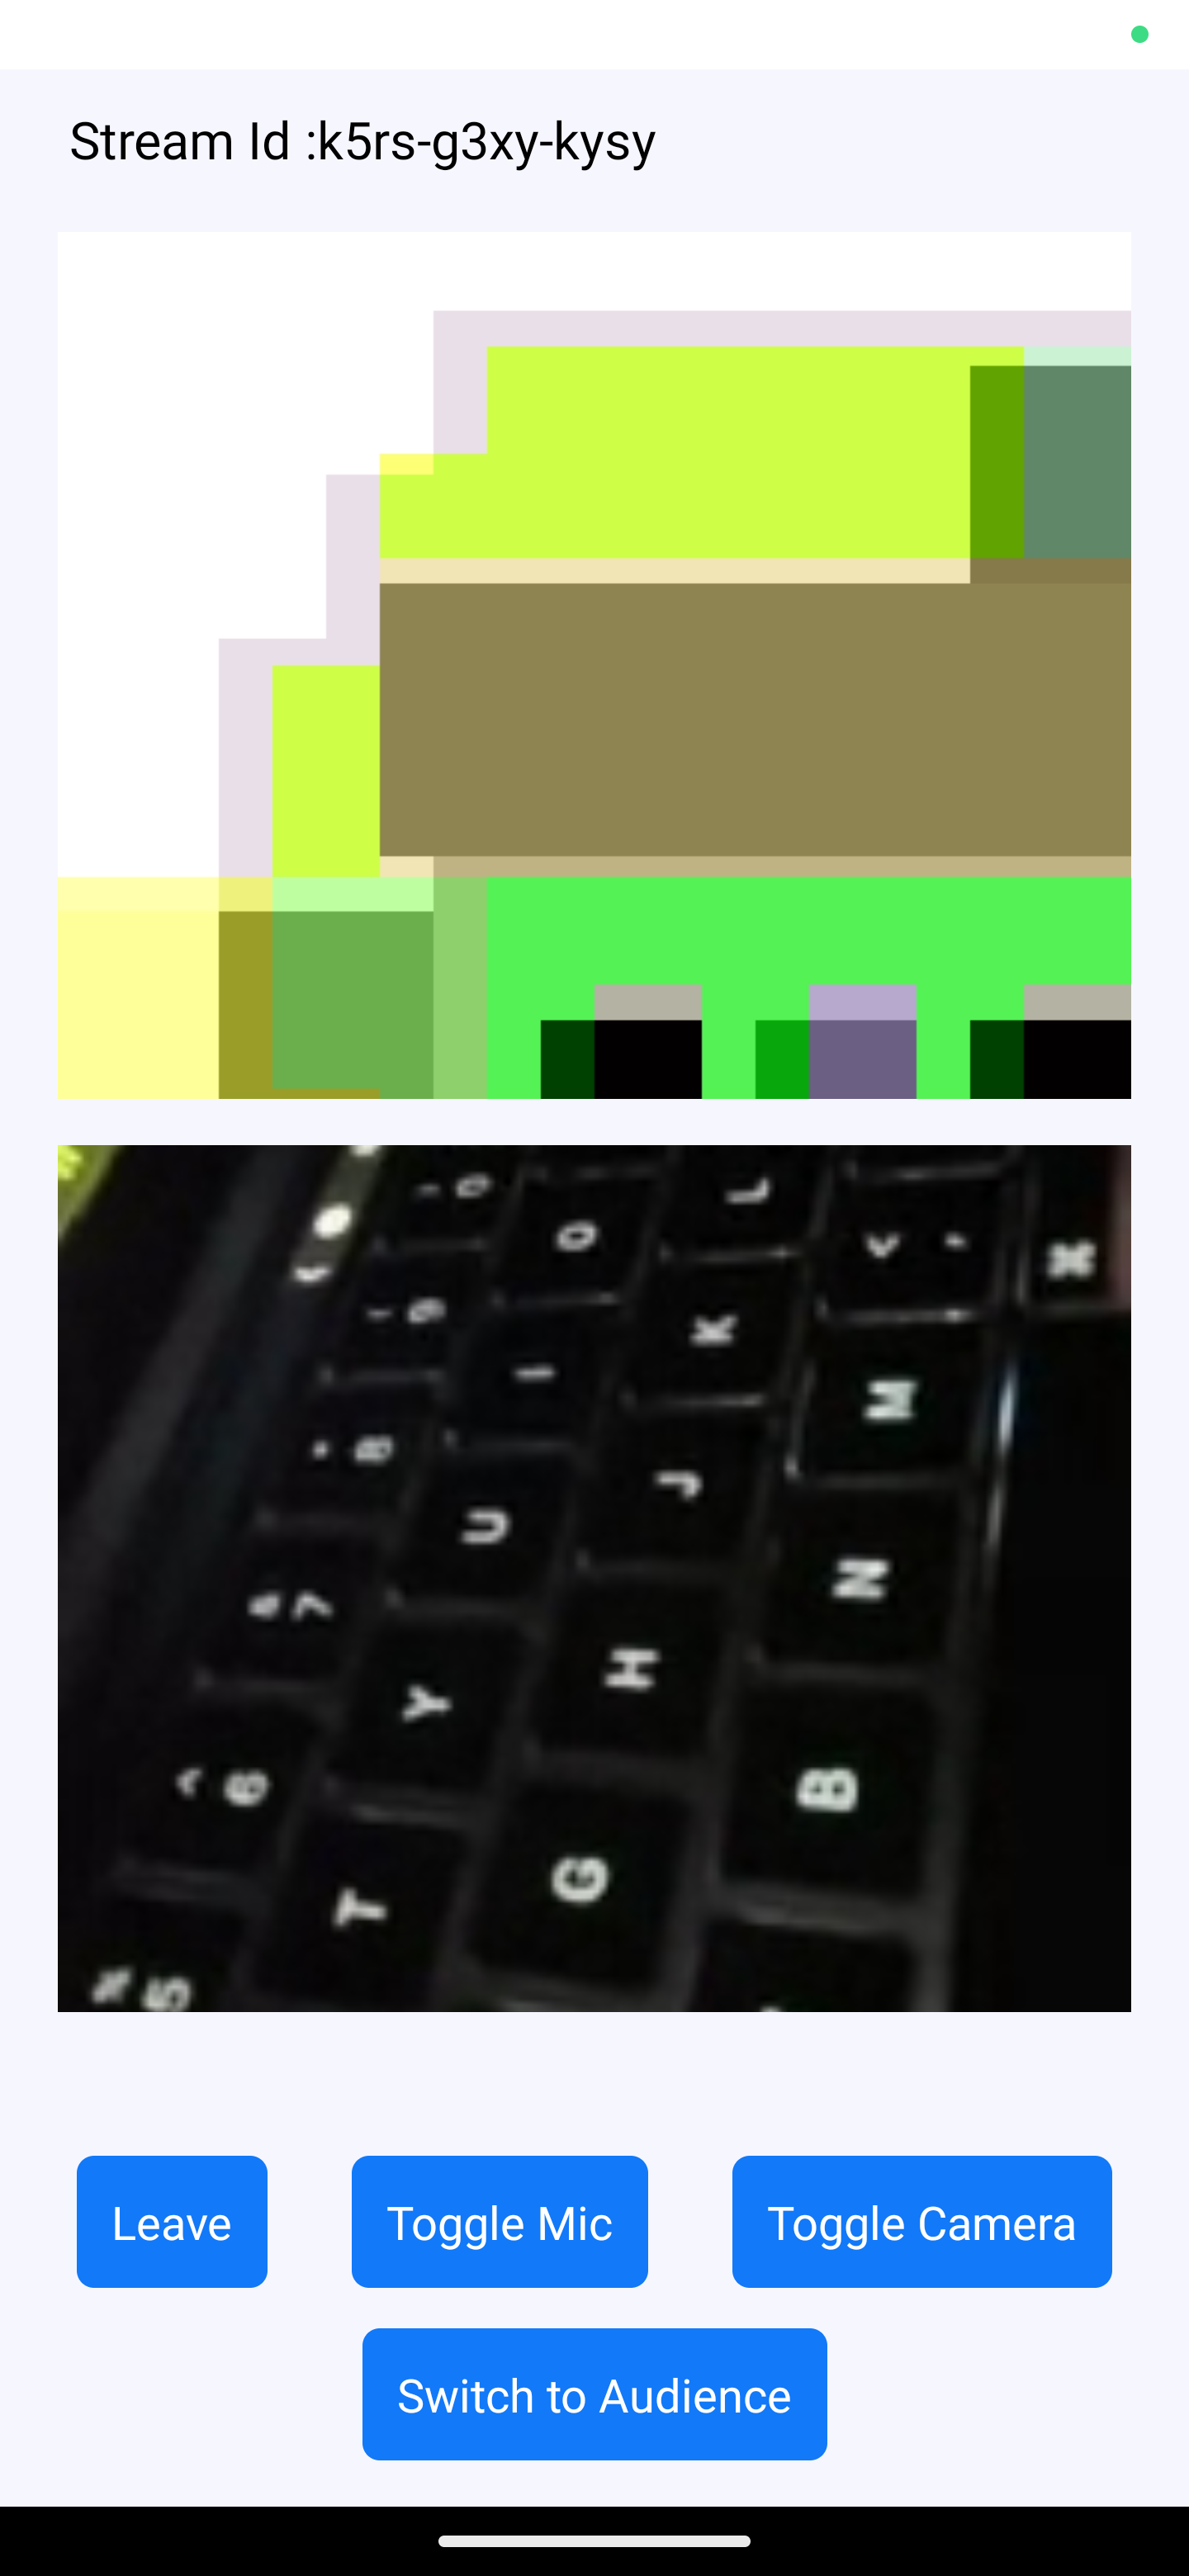
Final Output
You can checkout the complete quick start example here.
Got a Question? Ask us on discord

