Rendering Host and Audience Views - React
In a live stream setup, only hosts (participants in SEND_AND_RECV mode) can broadcast their audio and video. Audience members (in RECV_ONLY mode) are passive viewers who do not share their audio/video.
To ensure optimal performance and a clean user experience, your app should:
- Render audio and video elements only for hosts (i.e., participants in
SEND_AND_RECVmode). - Display the total audience count to give context on viewership without rendering individual audience tiles.
Filtering and Rendering Hosts
The steps involved in rendering the audio and video of hosts are as follows.
- Filtering Hosts and Checking their Mic/Webcam Status
- Rendering Video Streams of Hosts
- Rendering Audio Streams of Hosts
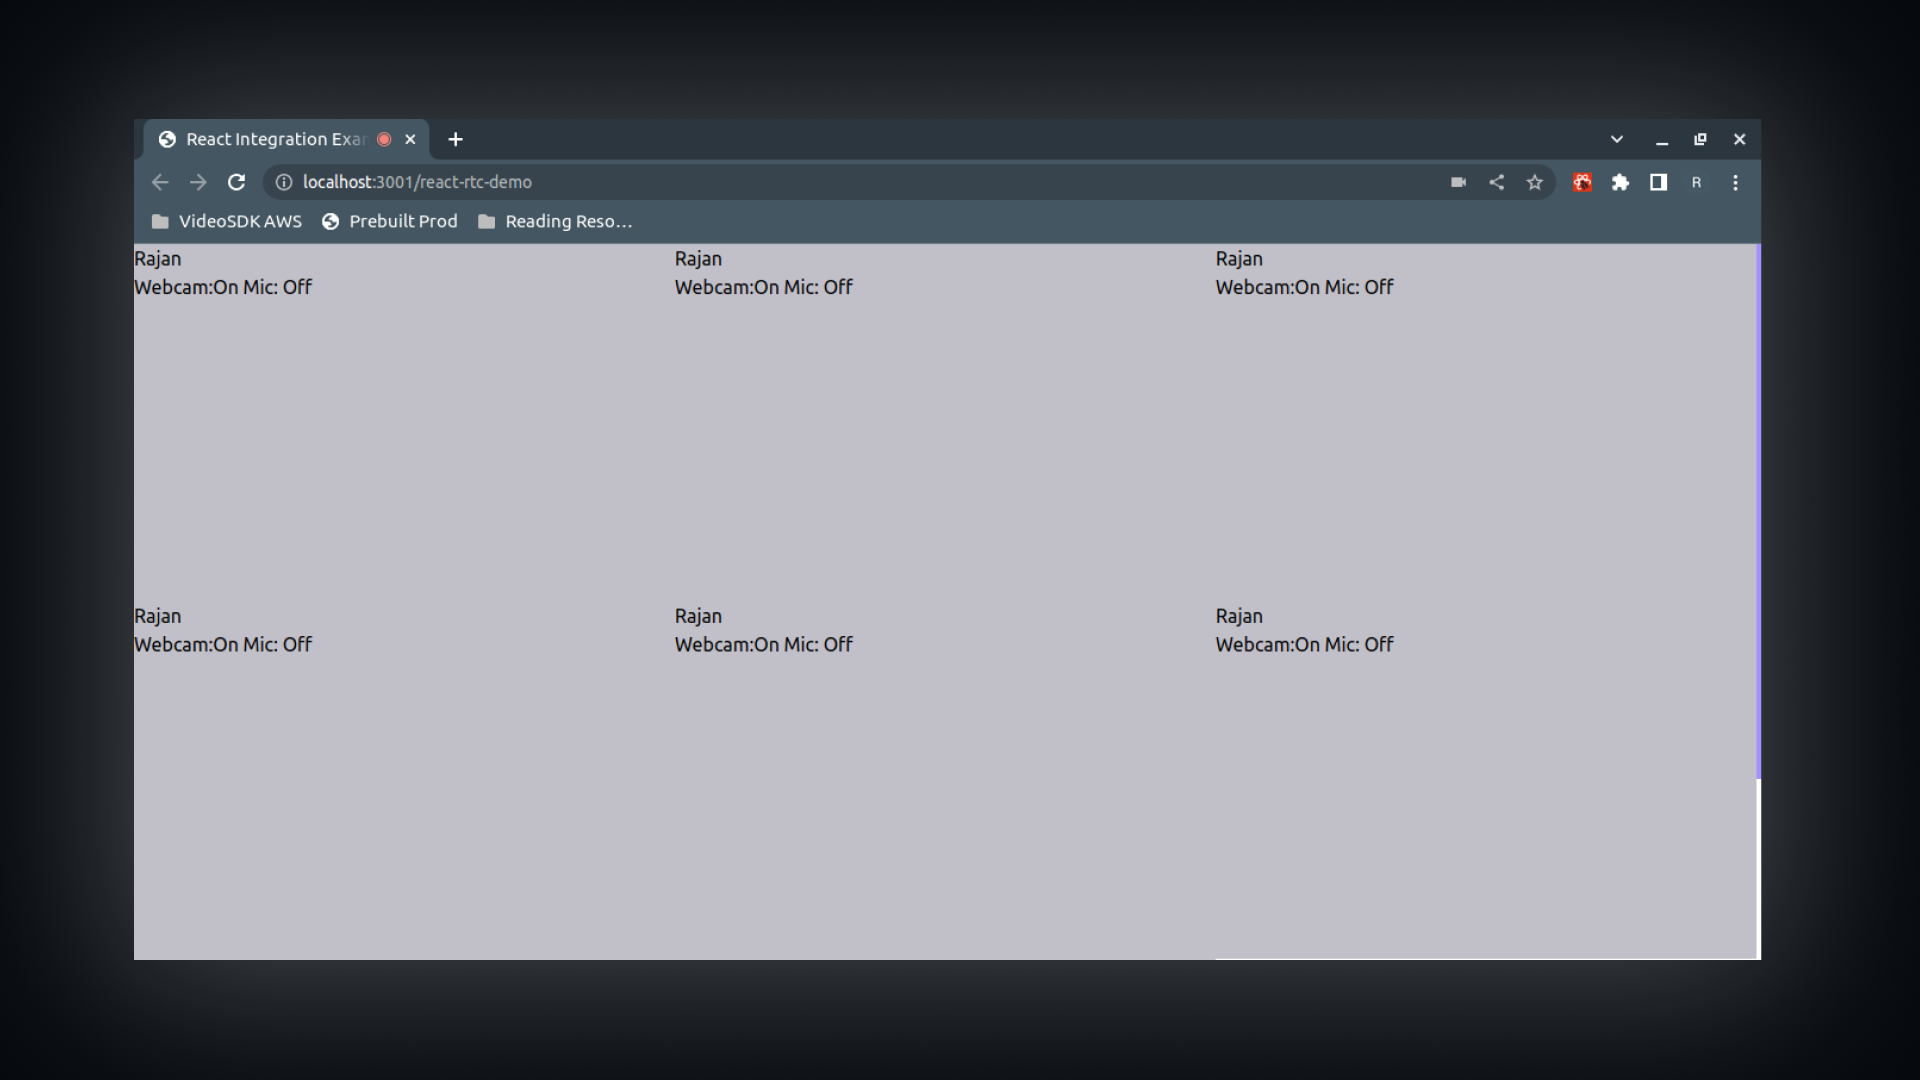
1. Filtering Hosts and Checking their Mic/Webcam Status
In a live stream, only participants in SEND_AND_RECV mode (i.e., hosts) actively share their audio and video. To render their streams, begin by accessing all participants using the useMeeting hook. Then, filter out only those in SEND_AND_RECV mode.
For each of these participants, use the useParticipant hook, which provides real-time information like displayName, micOn, and webcamOn. Display their name along with the current status of their microphone and webcam. If the webcam is off, show a simple placeholder with their name. If it's on, render their video feed. This ensures only hosts are visible to the audience, keeping the experience clean and intentional.
const LiveStreamView = () => {
  const { participants } = useMeeting();

  // Filter hosts only
  const hostParticipants = [...participants.values()].filter(
    (participant) => participant.mode === "SEND_AND_RECV"
  );

  return (
    <div
      style={{
        display: "grid",
        gridTemplateColumns: "repeat(3, 1fr)",
        gap: "12px",
      }}
    >
      {hostParticipants.map((participant) => (
        <ParticipantView key={participant.id} participantId={participant.id} />
      ))}
    </div>
  );
};

const ParticipantView = ({ participantId }) => {
  const { displayName, micOn, webcamOn, webcamStream } =
    useParticipant(participantId);

  return (
    <div
      style={{
        height: "300px",
        background: "#C0C2C9",
      }}
    >
      <p>{displayName}</p>
      <p>
        Webcam: {webcamOn ? "On" : "Off"} | Mic: {micOn ? "On" : "Off"}
      </p>
    </div>
  );
};
2. Rendering Video Streams of Hosts
Once you've filtered for participants in SEND_AND_RECV mode (i.e., hosts), you can use the useParticipant hook to access their real-time data, including their webcamStream, webcamOn, and whether they are the local participant.
To render their video feed, create a <video> element and link it to the webcamStream using a ref and the useEffect hook. If the webcam is off, display a simple placeholder.
You can also apply styling to maintain the video’s aspect ratio using object-fit, and optionally mirror the video for the local participant.
import { useEffect, useRef } from "react";
import { useParticipant } from "@videosdk.live/react-sdk";

const ParticipantView = ({ participantId }) => {
  const { displayName, micOn, webcamOn, webcamStream, isLocal } =
    useParticipant(participantId);

  const webcamRef = useRef(null);

  useEffect(() => {
    if (webcamRef.current) {
      if (webcamOn && webcamStream) {
        const mediaStream = new MediaStream();
        mediaStream.addTrack(webcamStream.track);

        webcamRef.current.srcObject = mediaStream;
        webcamRef.current
          .play()
          .catch((error) =>
            console.error("videoElem.current.play() failed", error)
          );
      } else {
        webcamRef.current.srcObject = null;
      }
    }
  }, [webcamStream, webcamOn]);

  return (
    <div
      style={{
        height: "300px",
        background: "#C0C2C9",
        display: "flex",
        flexDirection: "column",
        justifyContent: "center",
        alignItems: "center",
        overflow: "hidden",
      }}
    >
      <p>{displayName}</p>
      <p>
        Webcam: {webcamOn ? "On" : "Off"} | Mic: {micOn ? "On" : "Off"}
      </p>
      {webcamOn ? (
        <video
          width={"100%"}
          height={"100%"}
          ref={webcamRef}
          autoPlay
          style={{
            objectFit: "contain", //Maintaining the aspect ratio
            ...(isLocal
              ? { transform: "scaleX(-1)", WebkitTransform: "scaleX(-1)" }
              : {}), //Mirror view for local participant
          }}
        />
      ) : (
        <div
          style={{
            width: "100%",
            height: "100%",
            background: "#aaa",
            display: "flex",
            justifyContent: "center",
            alignItems: "center",
            fontSize: "1.2rem",
          }}
        >
          {displayName}
        </div>
      )}
    </div>
  );
};
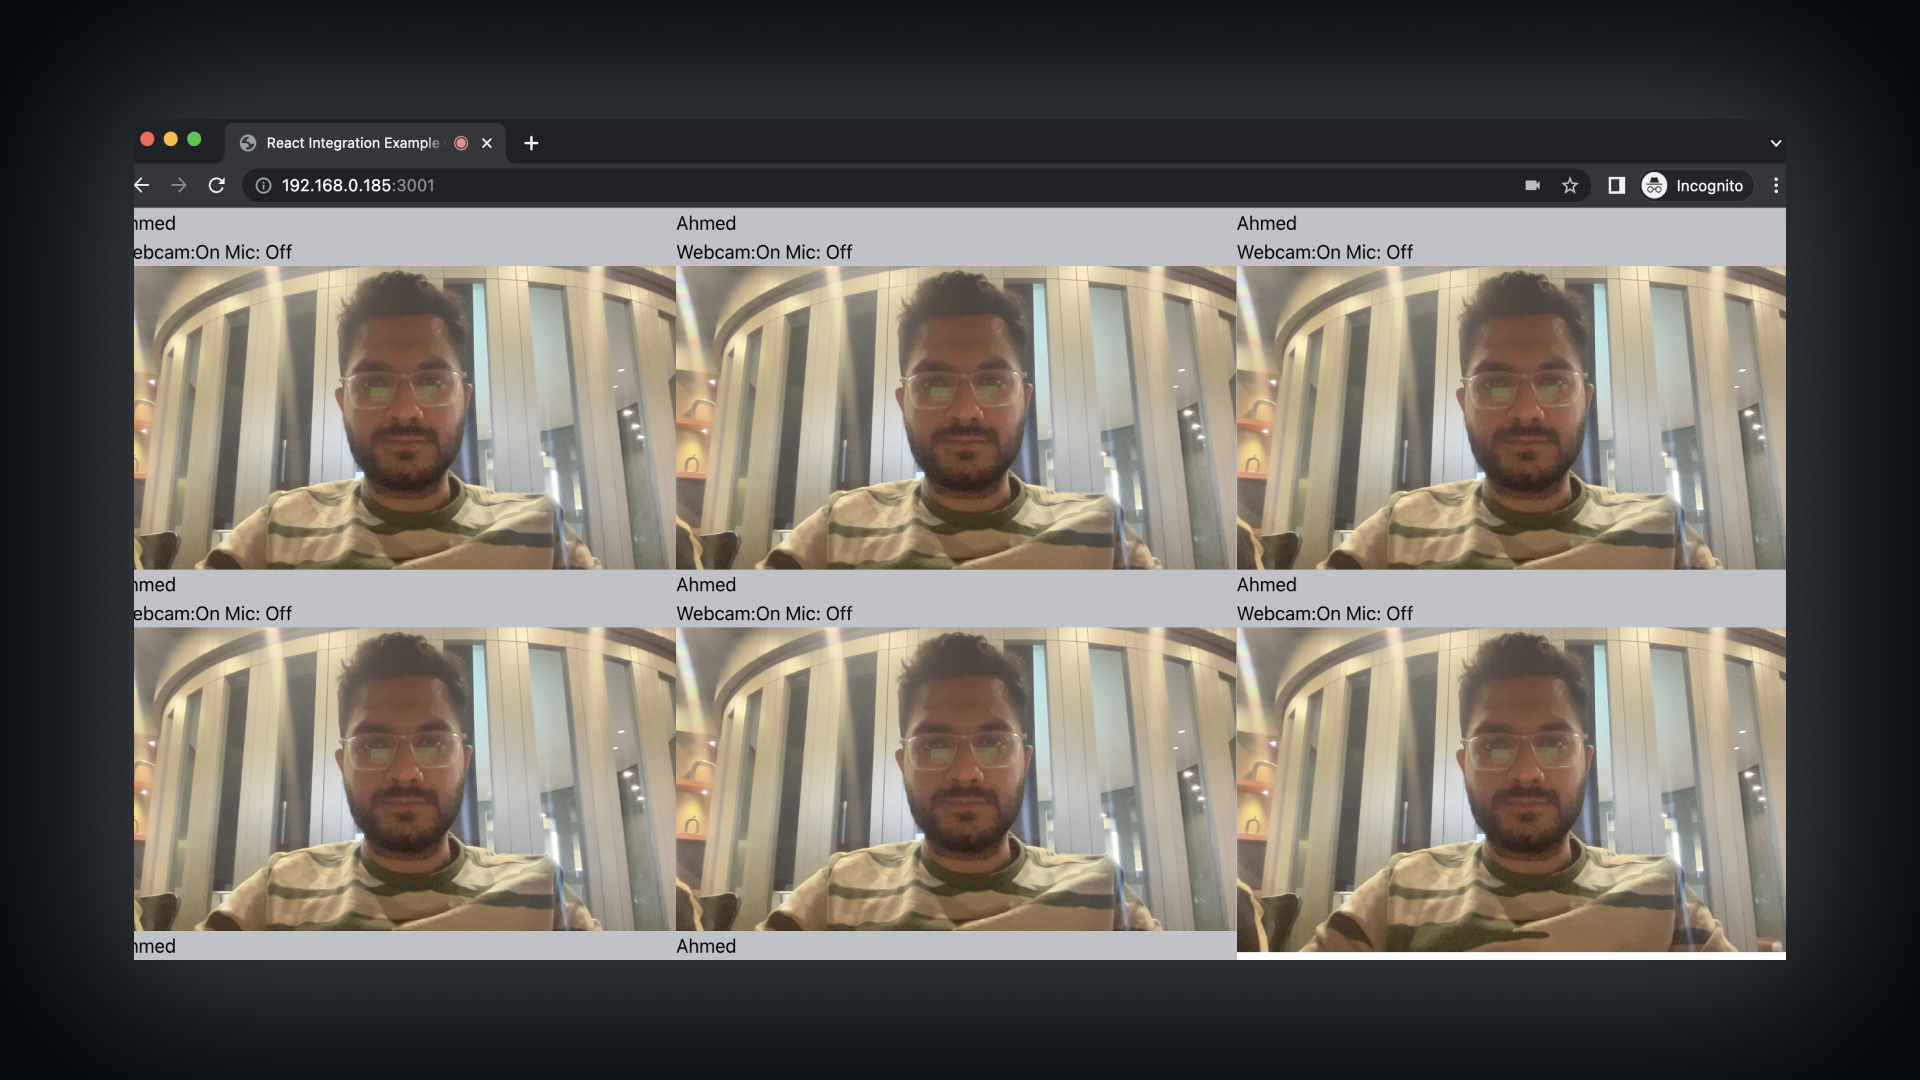
3. Rendering Audio Streams of Hosts
Alongside video rendering, you can also play a participant’s audio whenever their mic is turned on. Use the useParticipant hook to access the micStream and isLocal properties. Create an <audio> element and update it dynamically using a ref. To prevent audio echo, mute the audio element if the participant is local.
import { useEffect, useRef } from "react";
import { useParticipant } from "@videosdk.live/react-sdk";

const ParticipantView = ({ participantId }) => {
  const {
    displayName,
    micOn,
    micStream,
    webcamOn,
    webcamStream,
    isLocal,
  } = useParticipant(participantId);

  const webcamRef = useRef(null);
  const audioRef = useRef(null);

  // Attach webcam stream
  useEffect(() => {
    if (webcamRef.current) {
      if (webcamOn && webcamStream) {
        const mediaStream = new MediaStream();
        mediaStream.addTrack(webcamStream.track);

        webcamRef.current.srcObject = mediaStream;
        webcamRef.current
          .play()
          .catch((error) =>
            console.error("videoElem.current.play() failed", error)
          );
      } else {
        webcamRef.current.srcObject = null;
      }
    }
  }, [webcamStream, webcamOn]);

  // Attach mic stream
  useEffect(() => {
    if (audioRef.current) {
      if (micOn && micStream) {
        const mediaStream = new MediaStream();
        mediaStream.addTrack(micStream.track);

        audioRef.current.srcObject = mediaStream;
        audioRef.current
          .play()
          .catch((error) =>
            console.error("audioElem.current.play() failed", error)
          );
      } else {
        audioRef.current.srcObject = null;
      }
    }
  }, [micStream, micOn]);

  return (
    <div
      style={{
        height: "300px",
        background: "#C0C2C9",
        display: "flex",
        flexDirection: "column",
        justifyContent: "center",
        alignItems: "center",
        overflow: "hidden",
      }}
    >
      <p>{displayName}</p>
      <p>
        Webcam: {webcamOn ? "On" : "Off"} | Mic: {micOn ? "On" : "Off"}
      </p>

      {/* Webcam Video */}
      {webcamOn ? (
        <video
          width={"100%"}
          height={"100%"}
          ref={webcamRef}
          autoPlay
          style={{
            objectFit: "contain",
            ...(isLocal
              ? { transform: "scaleX(-1)", WebkitTransform: "scaleX(-1)" }
              : {}),
          }}
        />
      ) : (
        <div
          style={{
            width: "100%",
            height: "100%",
            background: "#aaa",
            display: "flex",
            justifyContent: "center",
            alignItems: "center",
            fontSize: "1.2rem",
          }}
        >
          {displayName}
        </div>
      )}

      {/* Audio Element */}
      <audio ref={audioRef} autoPlay muted={isLocal} /> //Muted for local participant
    </div>
  );
};
Autoplay Audio and Video
autoplay is a parameter passed to <audio> and <video> elements, indicating that their media should play automatically without requiring the user to click on the video or hit the play button.
When developing an audio-video calling app, ensure that the autoplay flag is set to true, allowing any loaded media to play even if the play() method was not explicitly called.
You can learn more about the autoplay flag in the official documentation.
API Reference
The API references for all the methods and events utilized in this guide are provided below.
Got a Question? ![]() Ask us on discord
Ask us on discord

