Virtual Background- React
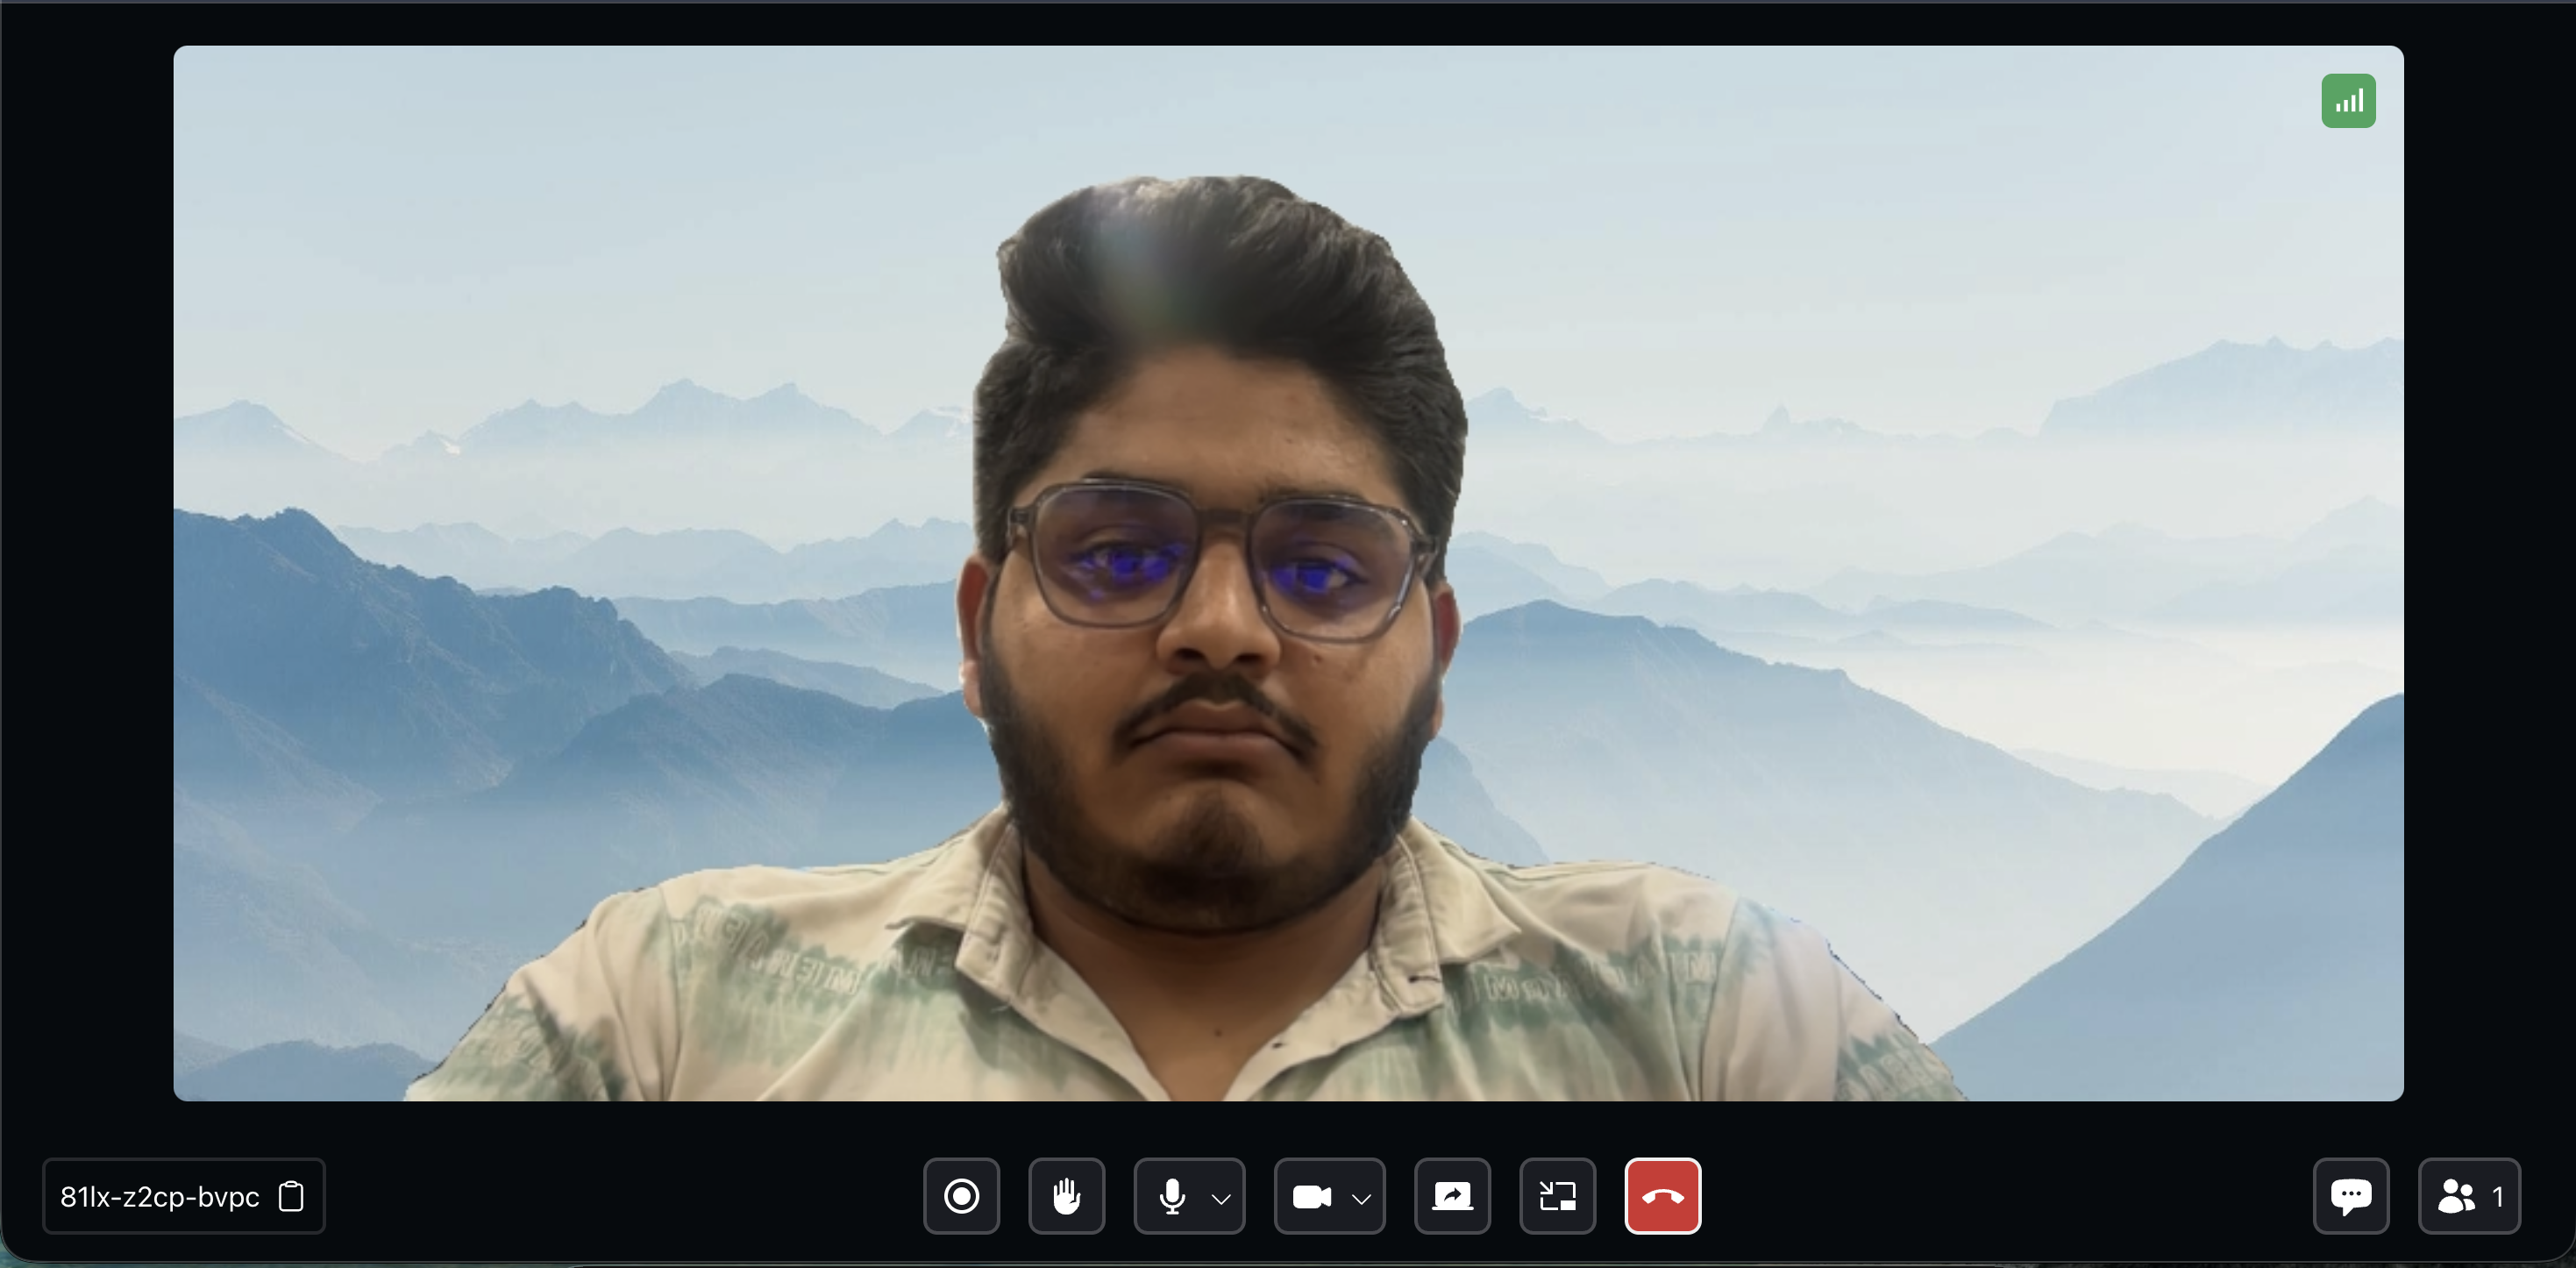
Virtual backgrounds enhance the video call or meeting experience by enabling participants to replace their physical background with a digital image or video. This feature offers several benefits, including maintaining privacy, reducing visual distractions, and adding an element of creativity or fun to the meeting. Users can choose from preloaded images or upload their own backgrounds.
- Currently, this feature is supported only on desktop browsers.
Install VideoSDK Virtual Background package
- NPM
- YARN
npm install --save "@videosdk.live/videosdk-virtual-background-web"
yarn add "@videosdk.live/videosdk-virtual-background-web"
Note: We will no longer be publishing new versions of the @videosdk.live/videosdk-media-processor-web package. Going forward, we will exclusively maintain a dedicated package for this feature. Please use @videosdk.live/videosdk-virtual-background-web instead.
Instantiate Virtual Background Processor
After installing the library, initialize an instance of the VirtualBackgroundProcessor.
// Import package
import { VirtualBackgroundProcessor, VBModel, BlurIntensity } from "@videosdk.live/videosdk-virtual-background-web";

const MeetingView = () => {
  // Instantiate VirtualBackgroundProcessor Class
  const videoProcessor = new VirtualBackgroundProcessor();

  const handleStartVirtualBackground = () => {};

  const handleStopVirtualBackground = () => {};

  const handleDisposeVirtualBackground = () => {};

  const handleChangeConfig = () => {};

  return (
    <>
      <button onClick={handleStartVirtualBackground}>
        Start Virtual Background
      </button>
      <button onClick={handleChangeConfig}>Change Virtual Background</button>
      <button onClick={handleStopVirtualBackground}>
        Stop Virtual Background
      </button>
      <button onClick={handleDisposeVirtualBackground}>
        Dispose Virtual Background
      </button>
    </>
  );
};
Using Virtual Background
Utilize the processor by first initializing it, then start processing a stream, and finally, pass the processed video stream to VideoSDK.
Initializing
The processor supports model selection during initialization.
VBModel.landscape→ Uses Selfie Segmenter LandscapeVBModel.multiClass→ Uses Multi-Class Selfie SegmentationVBModel.meet→ Uses MediaPipe Meet Segmentation.
The VBModel.multiClass model is currently in beta.
Model selection is available from version 0.1.0 and above. If no value is provided, VBModel.landscape will be used by default.
const MeetingView = () =>{
  // Instantiate VirtualBackgroundProcessor Class
  const videoProcessor = new VirtualBackgroundProcessor();

  const handleStartVirtualBackground = () => {
    // Initialize processor with model selection
    if (!videoProcessor.ready) {
      await videoProcessor.init(VBModel.landscape); // or "VBModel.multiClass" | "VBModel.meet"
    }
  }
  const handleStopVirtualBackground = () => {
    ...
  }

  const handleDisposeVirtualBackground = () =>{
    ...
  }

  return <>...</>;
}
Starting the Processor
To initiate the processing of a video stream, you need to provide a MediaStream that you want to process and a config to be used for processing. Once these parameters are passed to the processor, it will return a MediaStream.
-
MediaStream : MediaStream is essentially a video stream captured from the camera. You can use the
createCameraVideoTrackmethod to generate aMediaStream. -
config : This object accepts
type,imageUrl, andblurIntensityproperties.type: Accepts filter typeimageorblur.imageUrl: The path of the image, which will be ignored when thetypeisblur.blurIntensity: The intensity of the blur effect. Accepts a value ofBlurIntensityenum (low,mid, orhigh). The default value ismid. This property will be ignored when thetypeisimage.
NOTE : If you intend to display a specific background image, make sure it is uploaded on a CDN.
Blur intensity support is available from version 0.1.1 and above.
import { useMeeting, createCameraVideoTrack } from "@videosdk.live/react-sdk";
import { VirtualBackgroundProcessor, VBModel, BlurIntensity } from "@videosdk.live/videosdk-virtual-background-web";

const MeetingView = () => {
  // Instantiate VirtualBackgroundProcessor Class
  const videoProcessor = new VirtualBackgroundProcessor();

  const { changeWebcam } = useMeeting({});

  const handleStartVirtualBackground = async () => {
    // Initialize processor if not ready
    if (!videoProcessor.ready) {
      await videoProcessor.init(VBModel.landscape); // or "VBModel.multiClass" | "VBModel.meet"
    }

    // Configuration for starting processor
    const config = {
      type: "image", // "blur"
      imageUrl: "https://cdn.videosdk.live/virtual-background/cloud.jpeg",
      // blurIntensity: BlurIntensity.mid, // "low" | "mid" | "high" (only applicable if type is "blur")
      // Here is a list of background images you can use for your project.
      // imageUrl: "https://cdn.videosdk.live/virtual-background/beach.jpeg",
      // imageUrl: "https://cdn.videosdk.live/virtual-background/san-fran.jpeg",
      // imageUrl: "https://cdn.videosdk.live/virtual-background/paper-wall.jpeg",
    };

    // Getting stream from webcam
    const stream = await createCameraVideoTrack({});
    const processedStream = await videoProcessor.start(stream, config);
  };
  return <>...</>;
};
Passing Processed Stream to VideoSDK
Once you have the processed stream, you can pass it to functions like enableWebcam(), changeWebcam() or toggleWebcam() to apply the virtual background effect during your meeting.
const MeetingView = () => {
  // Instantiate VirtualBackgroundProcessor Class
  const videoProcessor = new VirtualBackgroundProcessor();

  const { changeWebcam } = useMeeting({});

  const handleStartVirtualBackground = async () => {
    // Initialize processor if not ready
    if (!videoProcessor.ready) {
      await videoProcessor.init(VBModel.landscape); // or "VBModel.multiClass" | "VBModel.meet"
    }

    // Configuration for starting processor
    const config = {
      type: "image", // "blur"
      imageUrl: "https://cdn.videosdk.live/virtual-background/cloud.jpeg",
      // blurIntensity: BlurIntensity.mid, // "low" | "mid" | "high" (only applicable if type is "blur")
      // Here is a list of background images you can use for your project.
      // imageUrl: "https://cdn.videosdk.live/virtual-background/beach.jpeg",
      // imageUrl: "https://cdn.videosdk.live/virtual-background/san-fran.jpeg",
      // imageUrl: "https://cdn.videosdk.live/virtual-background/paper-wall.jpeg",
    };

    // Getting stream from webcam
    const stream = await createCameraVideoTrack({});
    const processedStream = await videoProcessor.start(stream, config);

    changeWebcam(processedStream);
  };
  return <>...</>;
};
Updating Video Processor Configuration
If you want to change the background while the Video Processor is running, you can call the updateProcessorConfig method to modify the filters or processing type.
const MeetingView = () => {
  // Instantiate VirtualBackgroundProcessor Class
  const videoProcessor = new VirtualBackgroundProcessor();

  const { changeWebcam } = useMeeting({});

  const handleChangeConfig = async () => {
    const config = {
      type: "image", // "blur"
      imageUrl: "https://cdn.videosdk.live/virtual-background/cloud.jpeg",
      // blurIntensity: BlurIntensity.mid, // "low" | "mid" | "high" (only applicable if type is "blur")
    };

    videoProcessor.updateProcessorConfig(config);
  };
  return <>...</>;
};
Stopping Virtual Background Processor
Additionally, you can use the stop() method on the processor to halt the background processing and replace the video stream with a new plain video stream.
const MeetingView = () => {
  // Instantiate VirtualBackgroundProcessor Class
  const videoProcessor = new VirtualBackgroundProcessor();

  const { changeWebcam } = useMeeting({});

  const handleStopVirtualBackground = async () => {
    videoProcessor.stop();

    // Pass webcam MediaStream in VideoSDK `changeWebcam` method
    const stream = await createCameraVideoTrack({});
    changeWebcam(stream);
  };
  return <>...</>;
};
Disposing Virtual Background Processor
Use dispose() when you are completely done with the processor. This performs a full cleanup and releases all underlying GPU/WASM resources. After calling dispose(), the processor instance cannot be reused.
const MeetingView = () => {
  // Instantiate VirtualBackgroundProcessor Class
  const videoProcessor = new VirtualBackgroundProcessor();

  const handleDisposeVirtualBackground = () =>{
    videoProcessor.dispose();
  }

  return <>...</>;
};
Extras
You can also pass the processed stream during initialization of the meeting.
import { useState, useEffect } from "react";
import {
  MeetingProvider,
  createCameraVideoTrack,
} from "@videosdk.live/react-sdk";
import { VirtualBackgroundProcessor, VBModel, BlurIntensity } from "@videosdk.live/videosdk-virtual-background-web";

const [mediastream, setMediaStream] = useState(null);

// Instantiate VirtualBackgroundProcessor Class
const videoProcessor = new VirtualBackgroundProcessor();

useEffect(async () => {
  const stream = await createCameraVideoTrack({});

  if (!videoProcessor.ready) {
    await videoProcessor.init(VBModel.landscape); // or "VBModel.multiClass" | "VBModel.meet"
  }
  const processedStream = await videoProcessor.start(stream, {
    type: "image", // "blur"
    imageUrl: `https://cdn.videosdk.live/virtual-background/cloud.jpeg`,
    // blurIntensity: BlurIntensity.mid, // "low" | "mid" | "high" (only applicable if type is "blur")
  });
  setMediaStream(processedStream);
}, []);

return (
  mediastream && (
    <MeetingProvider
      config={{
        meetingId,
        micEnabled: true,
        webcamEnabled: true,
        name: "TestUser",
        customCameraVideoTrack: mediastream, // Pass processed MediaStream in VideoSDK
      }}
      //...
    >
      <></>
    </MeetingProvider>
  )
);
API Reference
The API references for all the methods utilized in this guide are provided below.
Got a Question? ![]() Ask us on discord
Ask us on discord

