Picture-in-Picture Mode - React Native
Picture-in-picture (PiP) is a feature that is commonly used in video conferencing software. It allows you to continue your video conference while also performing other tasks on your device. With PiP, you can keep the video conference window open and resize it to a smaller size, allowing you to work on other tasks while still being able to see and hear the other participants in the conference. This can be very helpful if you need to take notes, send an email, or look up information during the conference.
In this guide, we will go through how you can create a Picture-in-Picture feature with VideoSDK.
- Picture-in-Picture (PiP) doesn't work after screen sharing.
- PiP is only supported in Android Devices.
Step 1: Install Package
In this step, we will install third party package react-native-pip-android to achieve PiP mode in android.
- NPM
- YARN
npm install react-native-pip-android
yarn add react-native-pip-android
Step 2: Setup
Add the following attribute in /android/app/src/main/AndroidManifest.xml file.
  <activity
    ...
      android:supportsPictureInPicture="true"
      android:configChanges=
        "screenSize|smallestScreenSize|screenLayout|orientation"
        ...
Step 3: Import Activity in MainActivity.java file
...
import com.reactnativepipandroid.PipAndroidModule;

public class MainActivity extends ReactActivity {

...

@Override
  public void onPictureInPictureModeChanged (boolean isInPictureInPictureMode) {
    PipAndroidModule.pipModeChanged(isInPictureInPictureMode);
  }
Step 4: Setup PiP on Render participant media
In accordance with the value of the usePipModeListener hook, you can render anything you want. In the example below, we'll render a participant list.
import PipHandler, { usePipModeListener } from "react-native-pip-android";

function ParticipantView({ participantId, inPipMode }) {
  const { webcamStream, webcamOn } = useParticipant(participantId);

  return webcamOn && webcamStream ? (
    <RTCView
      streamURL={new MediaStream([webcamStream.track]).toURL()}
      objectFit={"cover"}
      style={{
        height: inPipMode ? 75 : 300,
        marginVertical: 8,
        marginHorizontal: 8,
      }}
    />
  ) : null;
}

function ControlsContainer() {
  return null;
}

function MeetingView() {
  // Get `participants` from useMeeting Hook
  const { participants } = useMeeting({});

  const inPipMode = usePipModeListener();

  // Use this boolean to show / hide ui when pip mode changes
  if (inPipMode) {
    // Render the participant in PiP Box

    return [...participants.keys()].map((participantId, index) => (
      <ParticipantView
        key={index}
        participantId={participantId}
        inPipMode={true}
      />
    ));
  }

  return (
    <View style={{ flex: 1 }}>
      {[...participants.keys()].map((participantId, index) => (
        <ParticipantView key={index} participantId={participantId} />
      ))}
      <ControlsContainer />
    </View>
  );
}
Step 5: Enter in PiP mode
The enterPipMode method of PipHandler accepts the PiP box's height and width and enables entry into PiP mode for the App.
function ControlsContainer() {
  const { join, leave } = useMeeting();
  return (
    <View
      style={{
        padding: 24,
        flexDirection: "row",
        justifyContent: "space-evenly",
      }}
    >
      <Button
        onPress={() => {
          join();
        }}
        buttonText={"Join"}
        backgroundColor={"#1178F8"}
      />
      <Button
        onPress={() => {
          leave();
        }}
        buttonText={"Leave"}
        backgroundColor={"#FF0000"}
      />
      <Button
        onPress={() => {
          PipHandler.enterPipMode(300, 500);
        }}
        buttonText={"PiP"}
        backgroundColor={"blue"}
      />
    </View>
  );
}
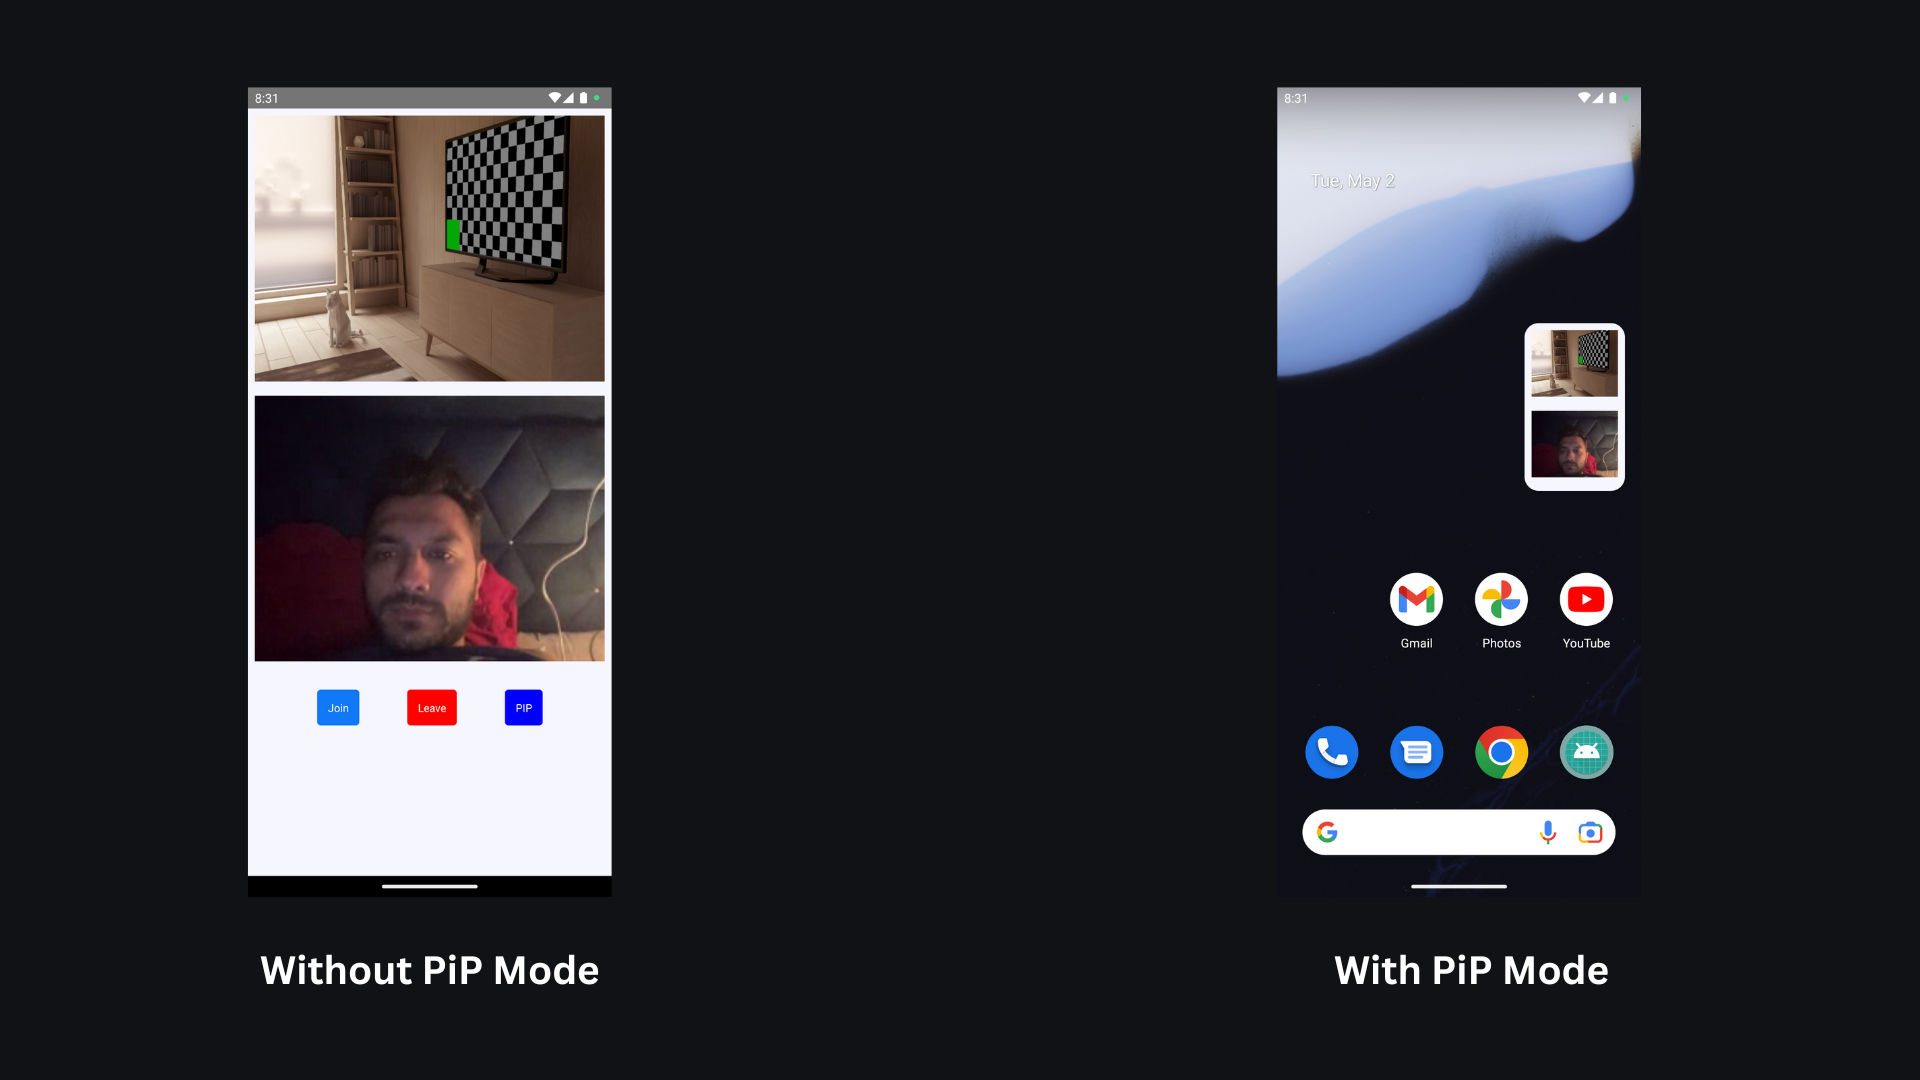
Output
Got a Question? ![]() Ask us on discord
Ask us on discord

